Antique & Vintage Auction - North Fargo Ends Wed, Aug 19Th At 7:30Pm

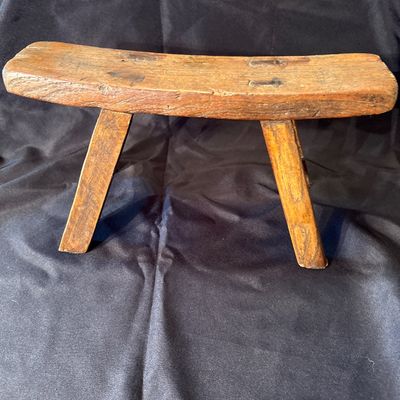
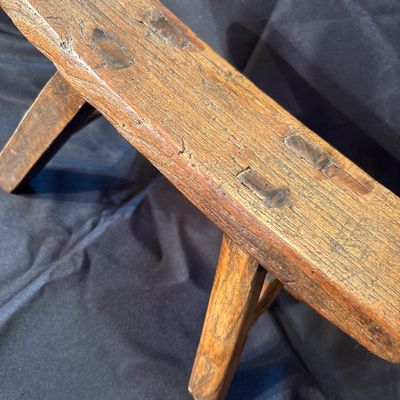
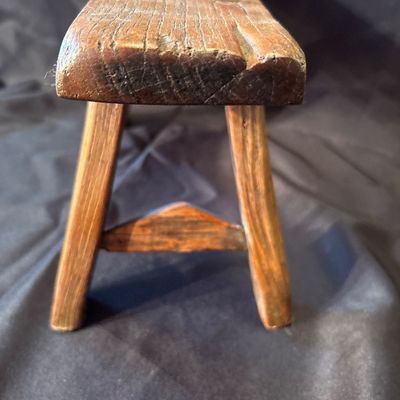
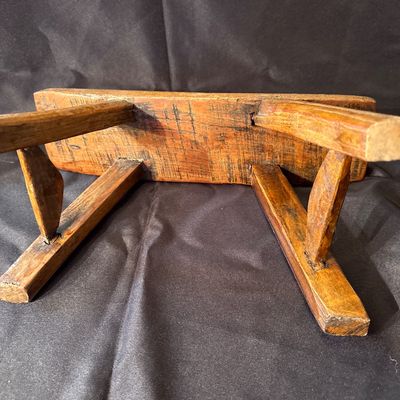
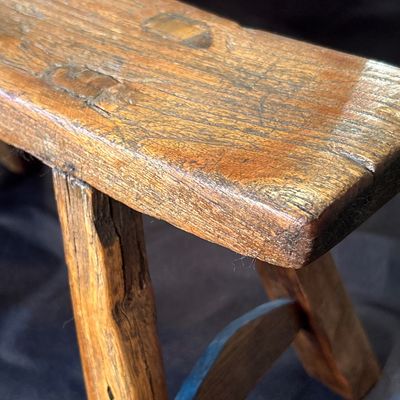
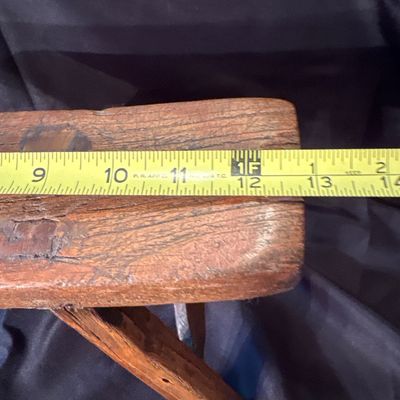
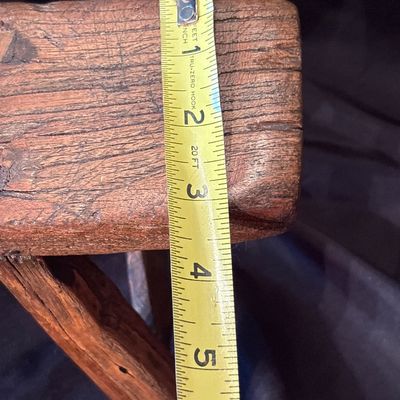
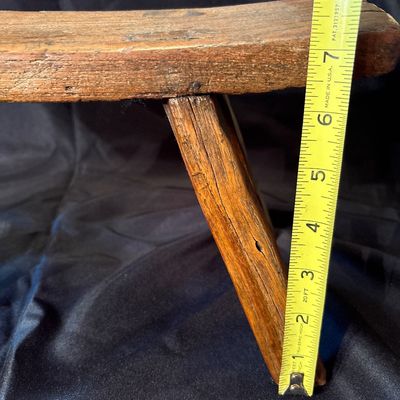
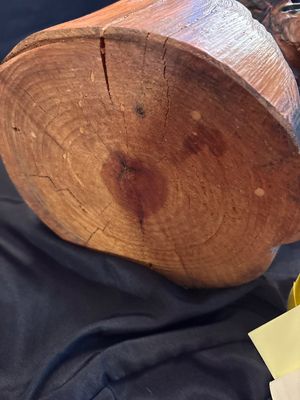
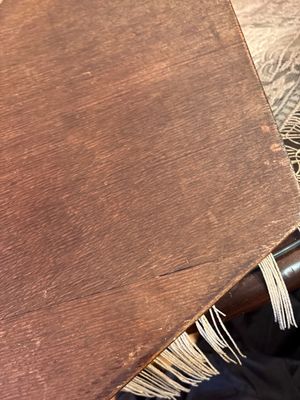
Sale Photo Thumbnail #1: Circuit 1800s, homemade milking stool
Sale Photo Thumbnail #2: Circuit 1800s, homemade milking stool
Sale Photo Thumbnail #3: Circuit 1800s, homemade milking stool
Sale Photo Thumbnail #4: Circuit 1800s, homemade milking stool
Sale Photo Thumbnail #5: Circuit 1800s, homemade milking stool
Sale Photo Thumbnail #6: Circuit 1800s, homemade milking stool
Sale Photo Thumbnail #7: Circuit 1800s, homemade milking stool
Sale Photo Thumbnail #8: Circuit 1800s, homemade milking stool
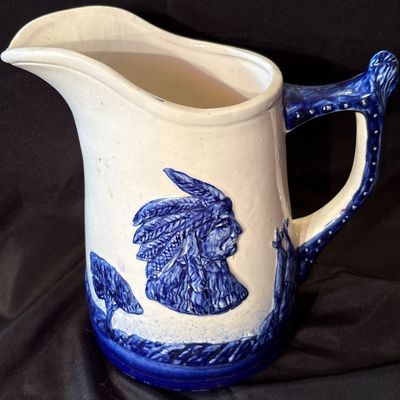
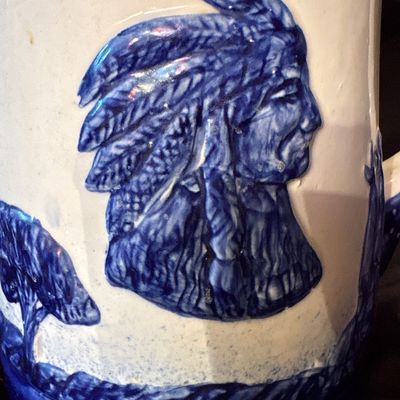
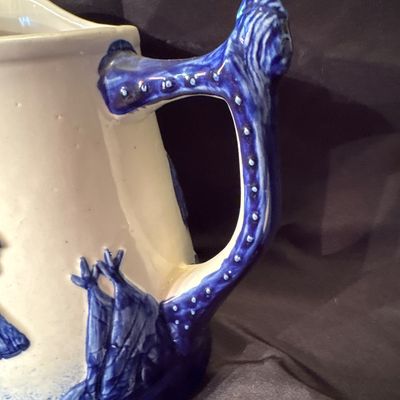
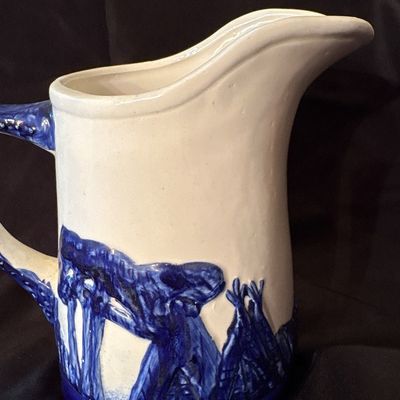
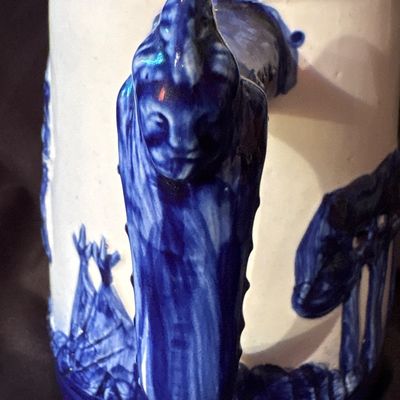
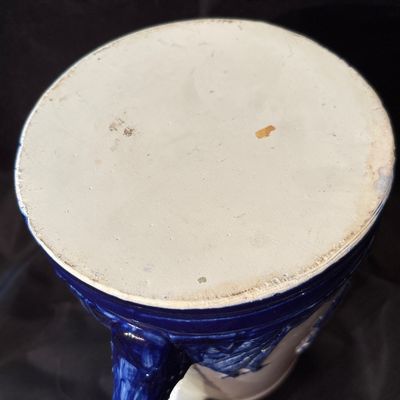
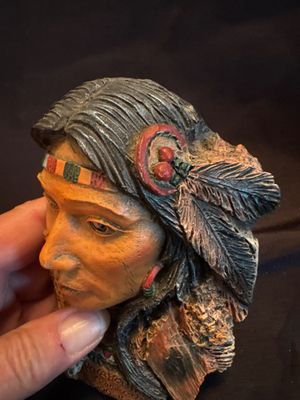
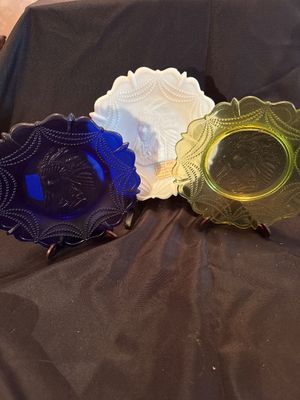
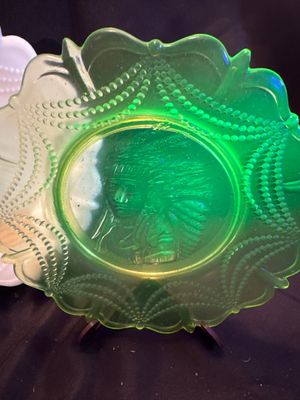
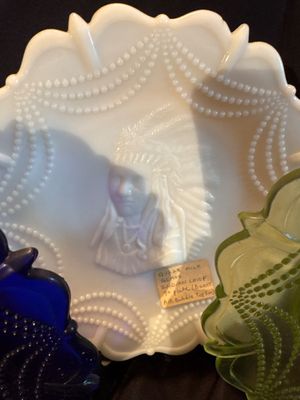
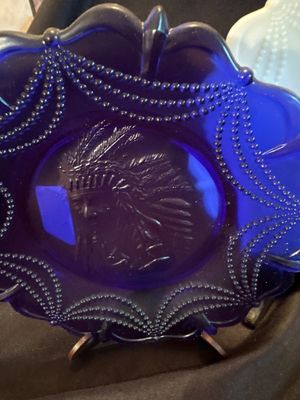
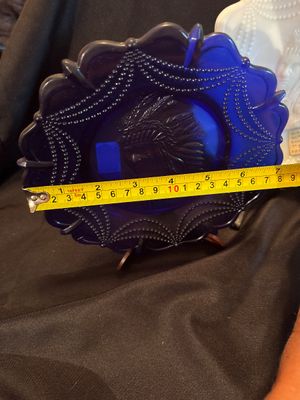
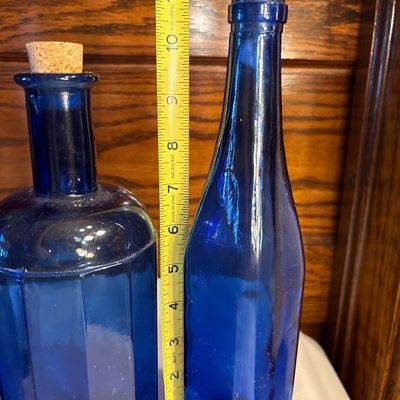
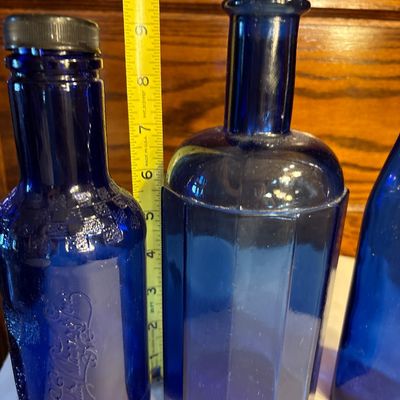
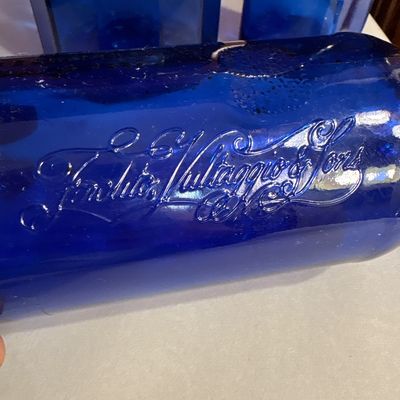
Sale Photo Thumbnail #9: Produced in the early 1900s to promote the Sleepy Eye Milling Company. See pics.
Sale Photo Thumbnail #10: Produced in the early 1900s to promote the Sleepy Eye Milling Company. See pics.
Sale Photo Thumbnail #11: Produced in the early 1900s to promote the Sleepy Eye Milling Company. See pics.
Sale Photo Thumbnail #12: Produced in the early 1900s to promote the Sleepy Eye Milling Company. See pics.
Sale Photo Thumbnail #13: Produced in the early 1900s to promote the Sleepy Eye Milling Company. See pics.
Sale Photo Thumbnail #14: Produced in the early 1900s to promote the Sleepy Eye Milling Company. See pics.
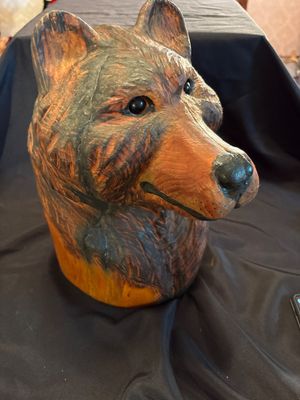
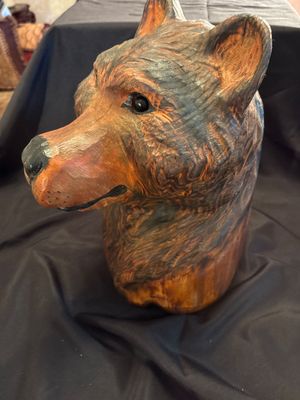
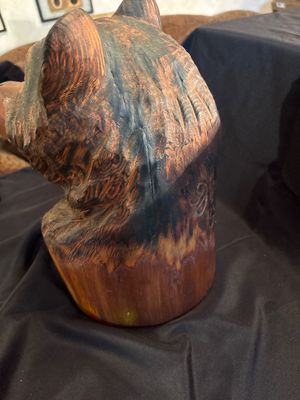
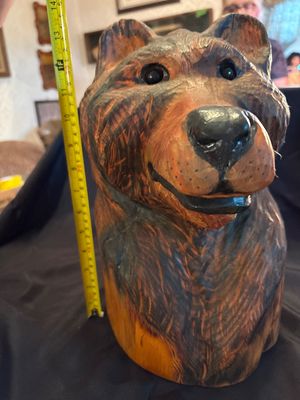
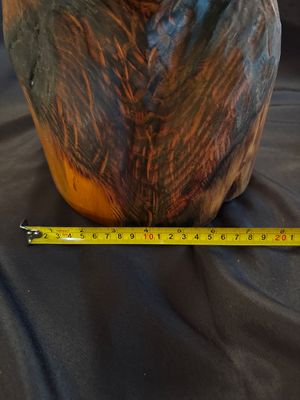
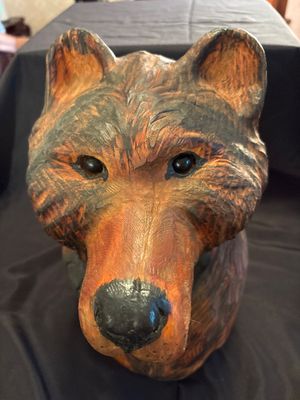
Sale Photo Thumbnail #15: Beautiful carved bear!
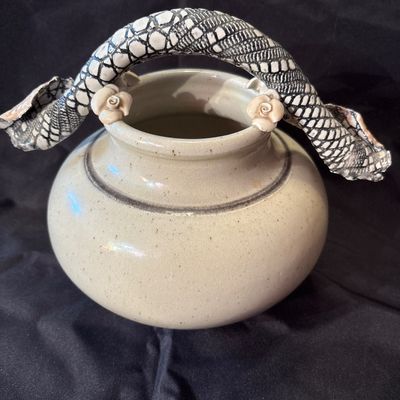
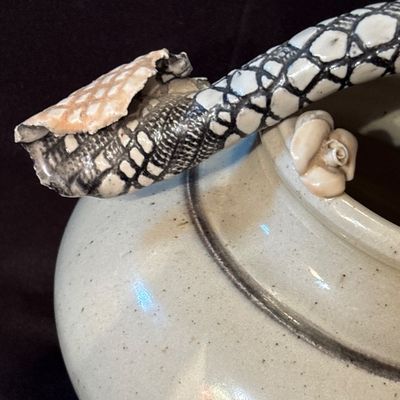
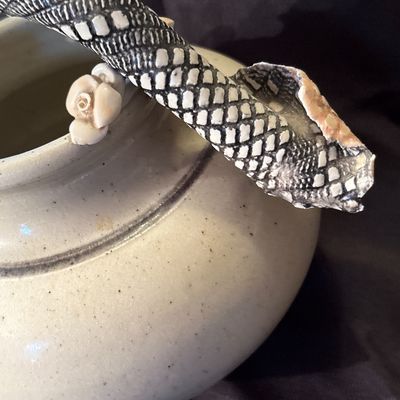
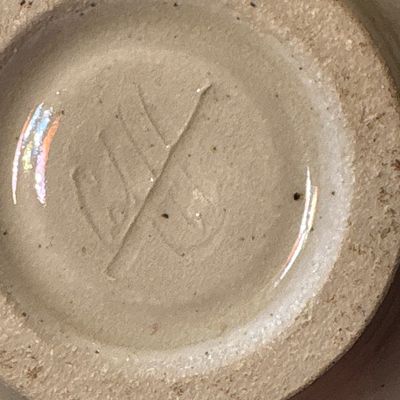
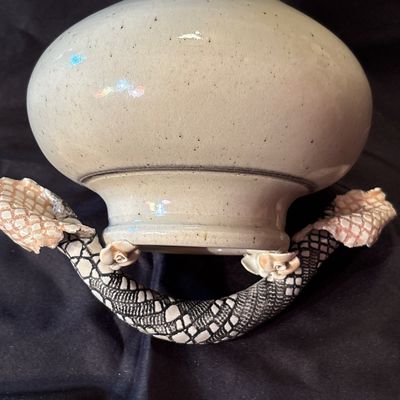
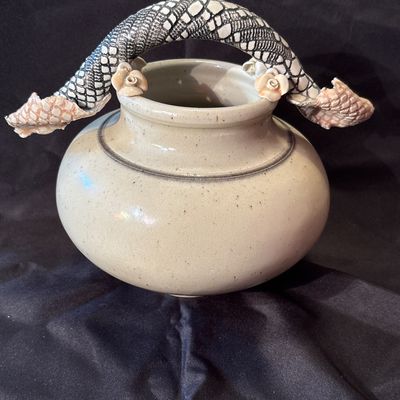
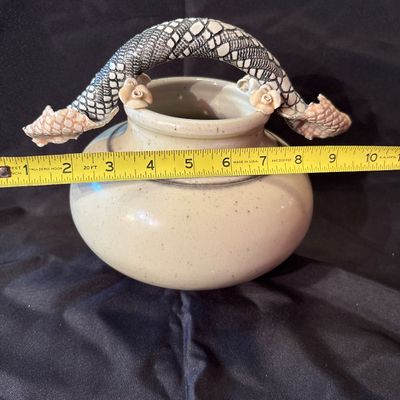
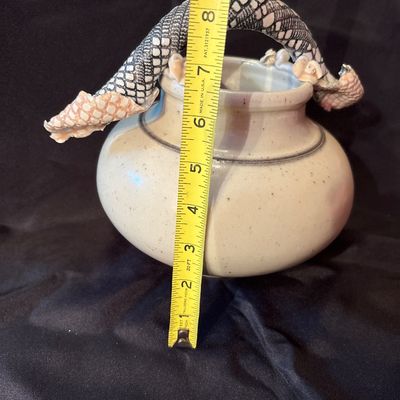
Sale Photo Thumbnail #16: Bill Campbell is known for his porcelain vessels & layered glazes. This vase features flowers as well as snake skin depiction.
Sale Photo Thumbnail #17: Beautiful carved bear!
Sale Photo Thumbnail #18: Bill Campbell is known for his porcelain vessels & layered glazes. This vase features flowers as well as snake skin depiction.
Sale Photo Thumbnail #19: Beautiful carved bear!
Sale Photo Thumbnail #20: Bill Campbell is known for his porcelain vessels & layered glazes. This vase features flowers as well as snake skin depiction.
Sale Photo Thumbnail #21: Beautiful carved bear!
Sale Photo Thumbnail #22: Bill Campbell is known for his porcelain vessels & layered glazes. This vase features flowers as well as snake skin depiction.
Sale Photo Thumbnail #23: Beautiful carved bear!
Sale Photo Thumbnail #24: Bill Campbell is known for his porcelain vessels & layered glazes. This vase features flowers as well as snake skin depiction.
Sale Photo Thumbnail #25: Beautiful carved bear!
Sale Photo Thumbnail #26: Bill Campbell is known for his porcelain vessels & layered glazes. This vase features flowers as well as snake skin depiction.
Sale Photo Thumbnail #27: Beautiful carved bear!
Sale Photo Thumbnail #28: Bill Campbell is known for his porcelain vessels & layered glazes. This vase features flowers as well as snake skin depiction.
Sale Photo Thumbnail #29: Bill Campbell is known for his porcelain vessels & layered glazes. This vase features flowers as well as snake skin depiction.
Sale Photo Thumbnail #30: See pictures
Sale Photo Thumbnail #31: See pictures
Sale Photo Thumbnail #32: See pictures
Sale Photo Thumbnail #33: See pictures
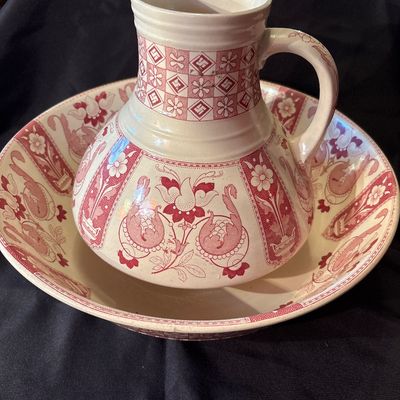
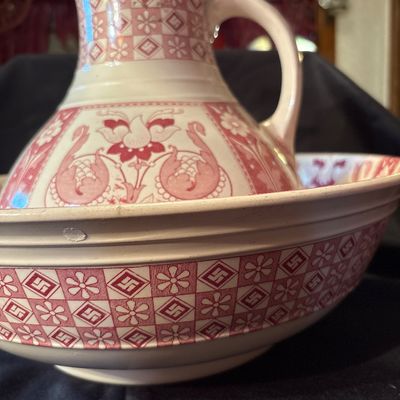
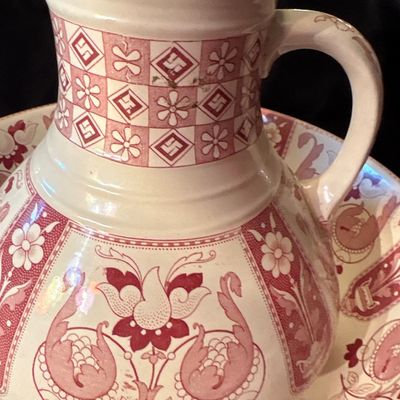
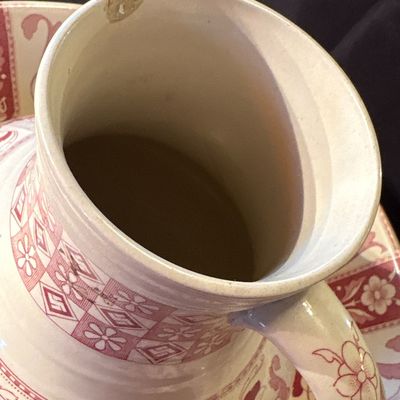
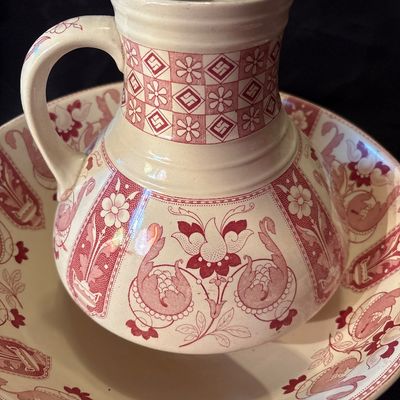
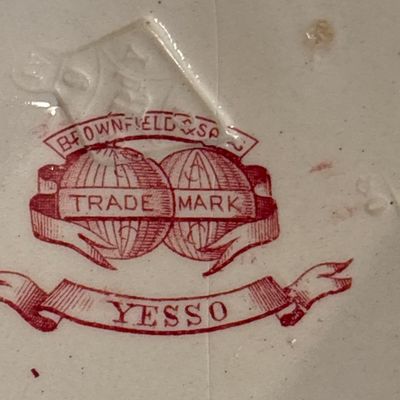
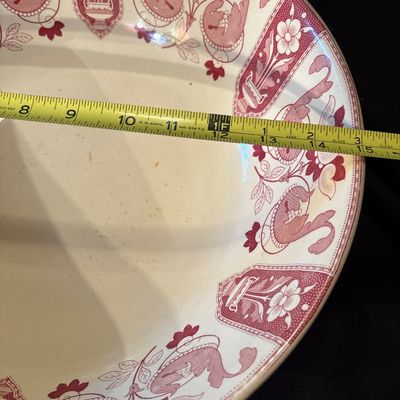
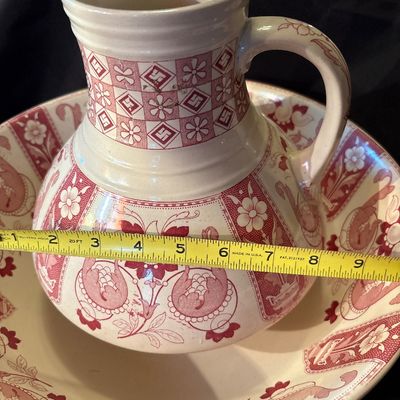
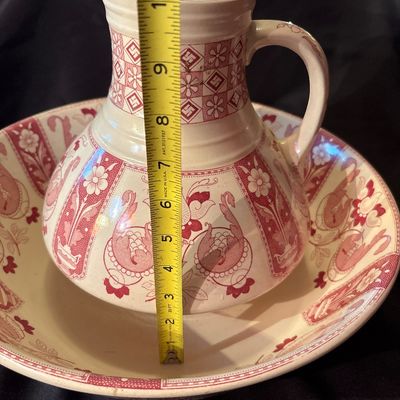
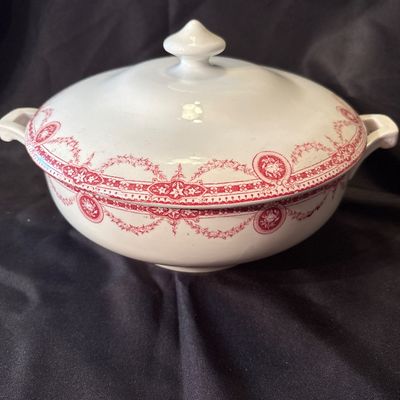
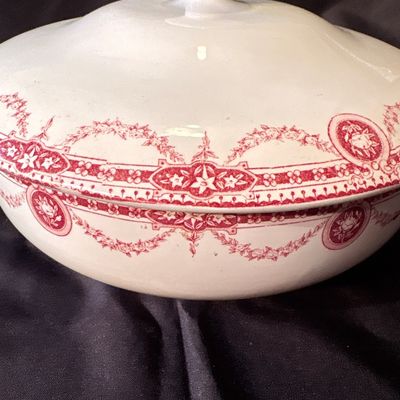
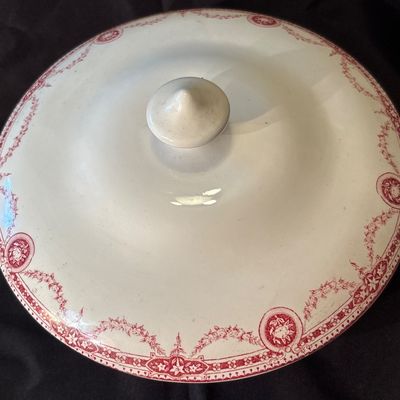
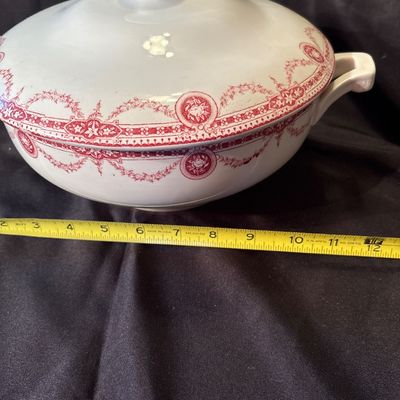
Sale Photo Thumbnail #34: From the 1800s, red transfer bowl. Made in England
Sale Photo Thumbnail #35: See pictures
Sale Photo Thumbnail #36: From the 1800s, red transfer bowl. Made in England
Sale Photo Thumbnail #37: See pictures
Sale Photo Thumbnail #38: From the 1800s, red transfer bowl. Made in England
Sale Photo Thumbnail #39: See pictures
Sale Photo Thumbnail #40: From the 1800s, red transfer bowl. Made in England
Sale Photo Thumbnail #41: See pictures
Sale Photo Thumbnail #42: From the 1800s, red transfer bowl. Made in England
Sale Photo Thumbnail #43: See pictures
Sale Photo Thumbnail #44: From the 1800s, red transfer bowl. Made in England
Sale Photo Thumbnail #45: From the 1800s, red transfer bowl. Made in England
Sale Photo Thumbnail #46: From the 1800s, red transfer bowl. Made in England
Sale Photo Thumbnail #47: From the 1800s, red transfer bowl. Made in England
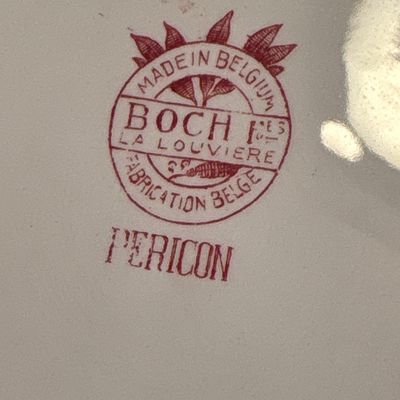
Sale Photo Thumbnail #48: Made in Belgium
Sale Photo Thumbnail #49: See pictures
Sale Photo Thumbnail #50: Made in Belgium
Sale Photo Thumbnail #51: See pictures
Sale Photo Thumbnail #52: Made in Belgium
Sale Photo Thumbnail #53: See pictures
Sale Photo Thumbnail #54: Made in Belgium
Sale Photo Thumbnail #55: See pictures
Sale Photo Thumbnail #56: Made in Belgium
Sale Photo Thumbnail #57: See pictures
Sale Photo Thumbnail #58: Made in Belgium
Sale Photo Thumbnail #59: See pictures
Sale Photo Thumbnail #60: In excellent condition.
Sale Photo Thumbnail #61: See pictures
Sale Photo Thumbnail #62: In excellent condition.
Sale Photo Thumbnail #63: See pictures
Sale Photo Thumbnail #64: In excellent condition.
Sale Photo Thumbnail #65: See pictures
Sale Photo Thumbnail #66: In excellent condition.
Sale Photo Thumbnail #67: See pictures
Sale Photo Thumbnail #68: In excellent condition.
Sale Photo Thumbnail #69: See pictures
Sale Photo Thumbnail #70: See pictures. Adorable!
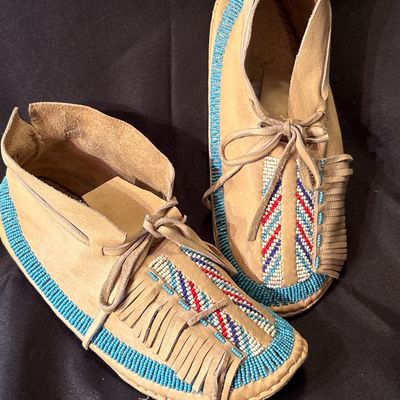
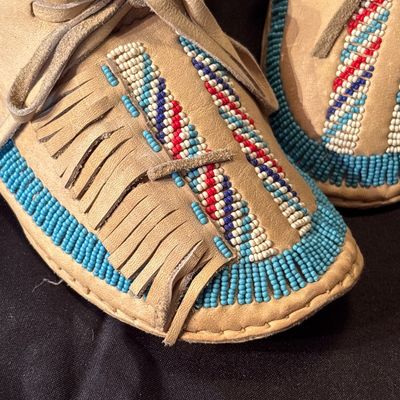
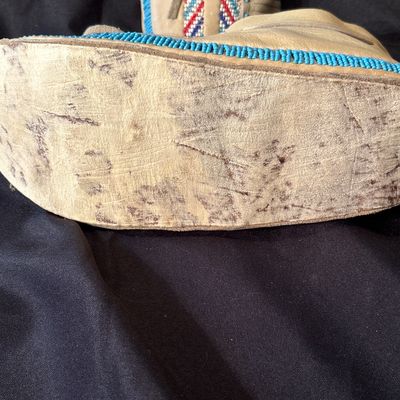
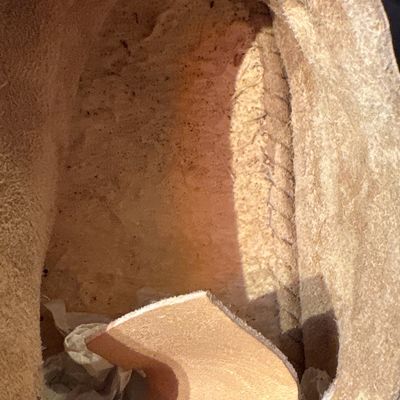
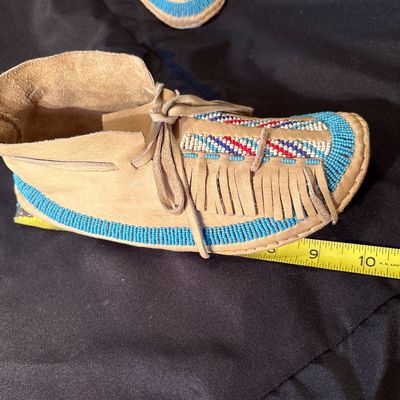
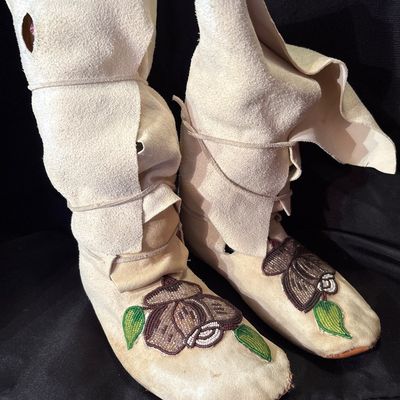
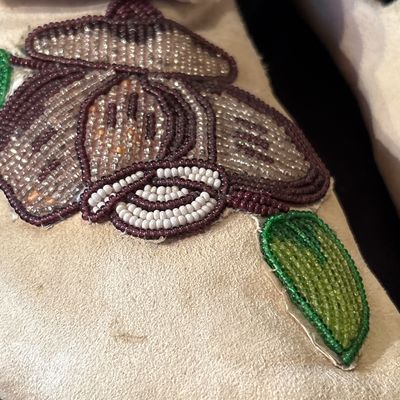
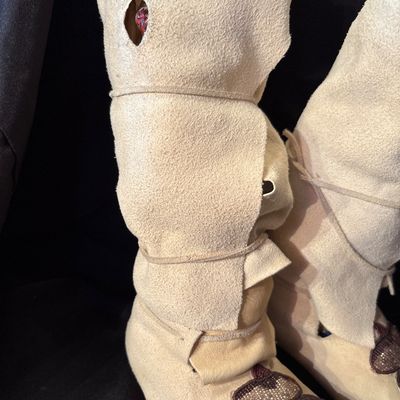
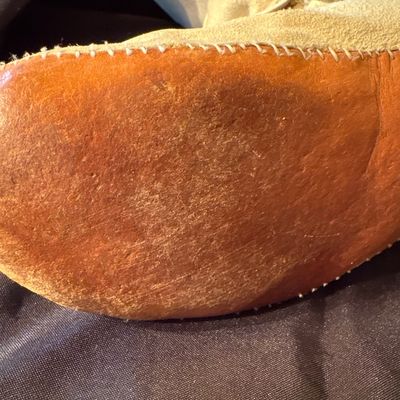
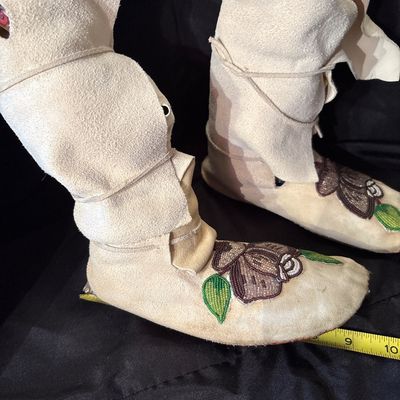
Sale Photo Thumbnail #71: Crafted from buckskin or tanned hide. Featuring folded high cuffs and beaded floral motif.
Sale Photo Thumbnail #72: See pictures. Adorable!
Sale Photo Thumbnail #73: Crafted from buckskin or tanned hide. Featuring folded high cuffs and beaded floral motif.
Sale Photo Thumbnail #74: See pictures. Adorable!
Sale Photo Thumbnail #75: Crafted from buckskin or tanned hide. Featuring folded high cuffs and beaded floral motif.
Sale Photo Thumbnail #76: See pictures. Adorable!
Sale Photo Thumbnail #77: Crafted from buckskin or tanned hide. Featuring folded high cuffs and beaded floral motif.
Sale Photo Thumbnail #78: Crafted from buckskin or tanned hide. Featuring folded high cuffs and beaded floral motif.
Sale Photo Thumbnail #79: Gorgeous!  See pictures
Sale Photo Thumbnail #80: Gorgeous!  See pictures
Sale Photo Thumbnail #81: Gorgeous!  See pictures
Sale Photo Thumbnail #82: Gorgeous!  See pictures
Sale Photo Thumbnail #83: Gorgeous!  See pictures
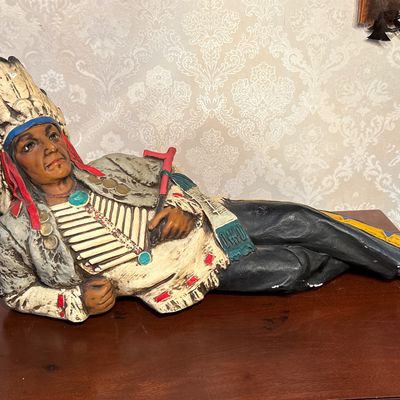
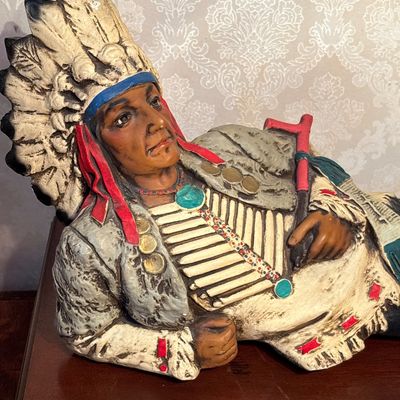
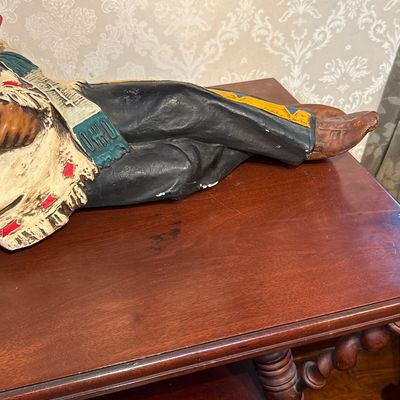
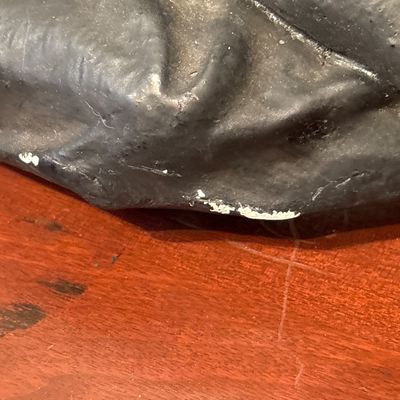
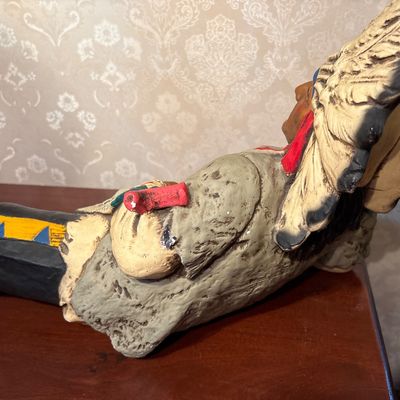
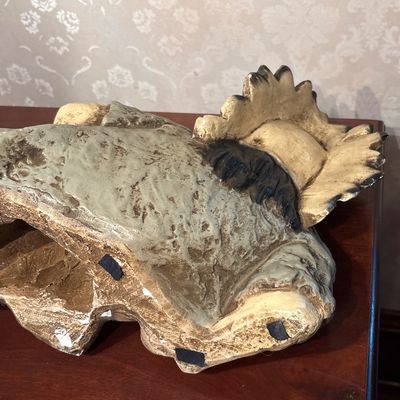
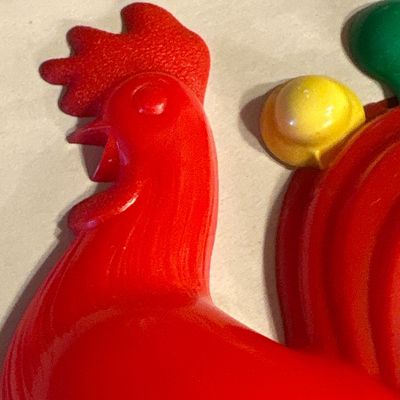
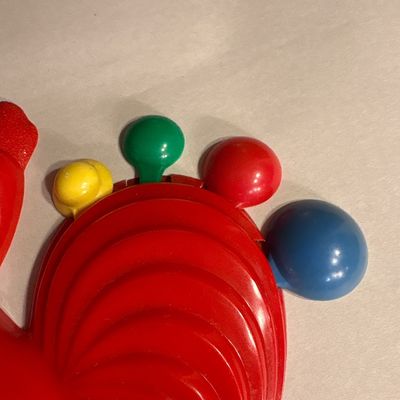
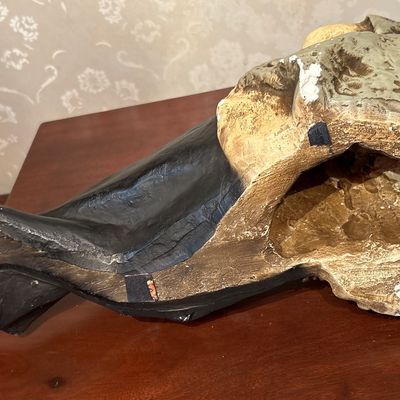
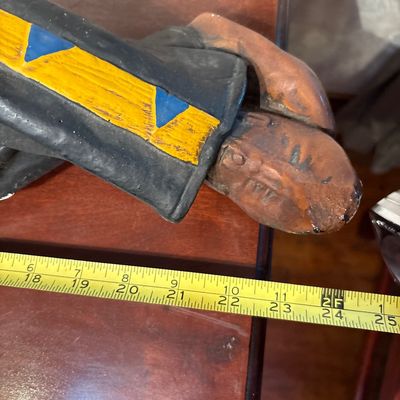
Sale Photo Thumbnail #84: This piece is possibly a vintage chalkware countertop advertising display from the Ohio Match Company, dating back to circa 1915–1920. See pics for areas where paint has come off
Sale Photo Thumbnail #85: This piece is possibly a vintage chalkware countertop advertising display from the Ohio Match Company, dating back to circa 1915–1920. See pics for areas where paint has come off
Sale Photo Thumbnail #86: This piece is possibly a vintage chalkware countertop advertising display from the Ohio Match Company, dating back to circa 1915–1920. See pics for areas where paint has come off
Sale Photo Thumbnail #87: This piece is possibly a vintage chalkware countertop advertising display from the Ohio Match Company, dating back to circa 1915–1920. See pics for areas where paint has come off
Sale Photo Thumbnail #88: This piece is possibly a vintage chalkware countertop advertising display from the Ohio Match Company, dating back to circa 1915–1920. See pics for areas where paint has come off
Sale Photo Thumbnail #89: This piece is possibly a vintage chalkware countertop advertising display from the Ohio Match Company, dating back to circa 1915–1920. See pics for areas where paint has come off
Sale Photo Thumbnail #90: This piece is possibly a vintage chalkware countertop advertising display from the Ohio Match Company, dating back to circa 1915–1920. See pics for areas where paint has come off
Sale Photo Thumbnail #91: This piece is possibly a vintage chalkware countertop advertising display from the Ohio Match Company, dating back to circa 1915–1920. See pics for areas where paint has come off
Sale Photo Thumbnail #92: This piece is possibly a vintage chalkware countertop advertising display from the Ohio Match Company, dating back to circa 1915–1920. See pics for areas where paint has come off
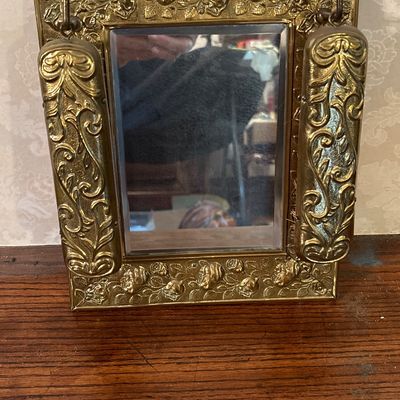
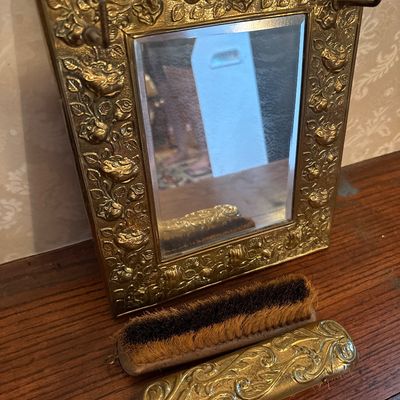
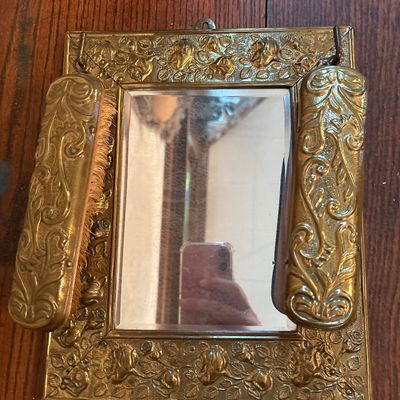
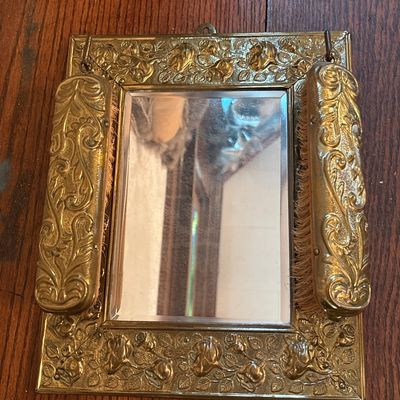
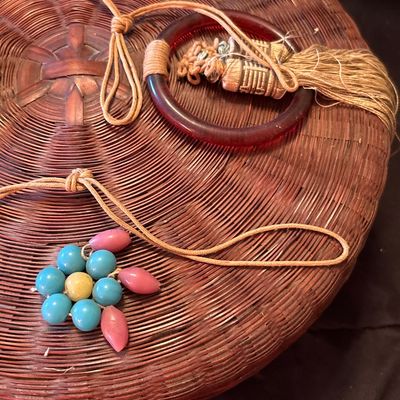
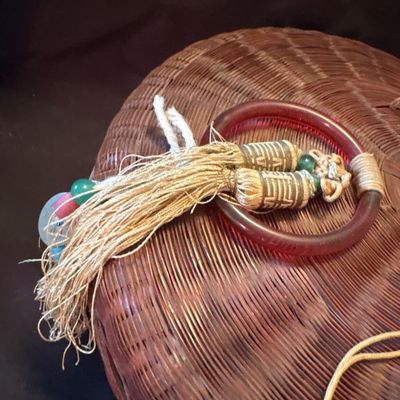
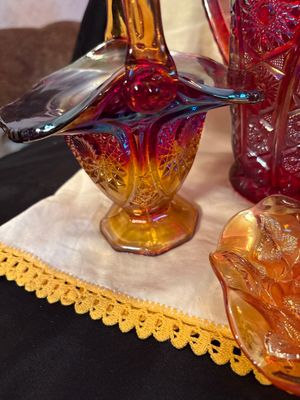
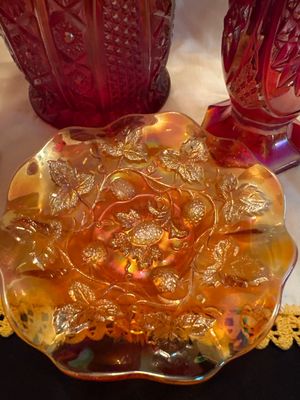
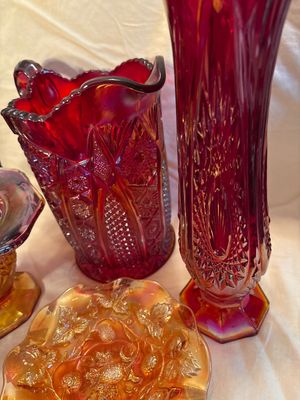
Sale Photo Thumbnail #93: Gorgeous piece! From the late 1800s to early 1900s.
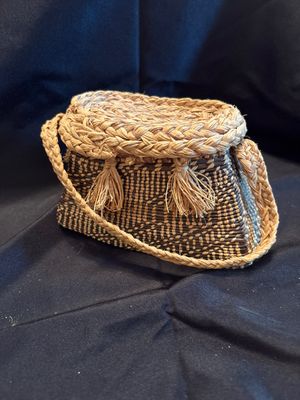
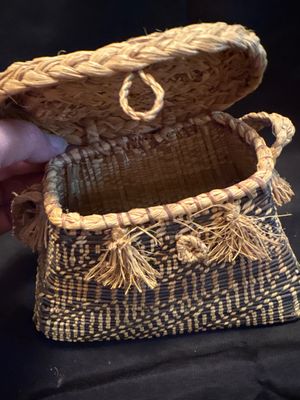
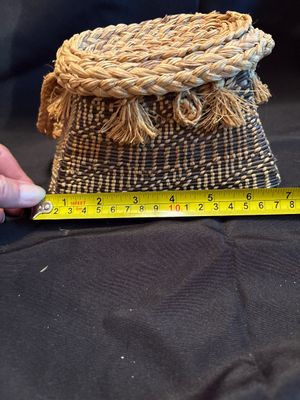
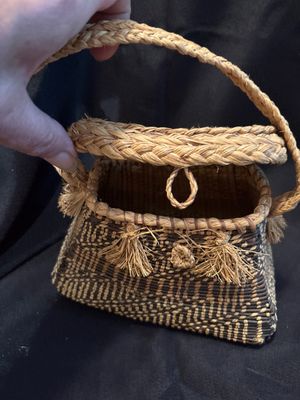
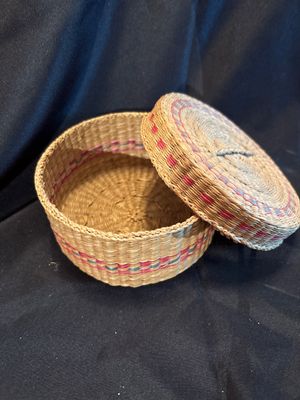
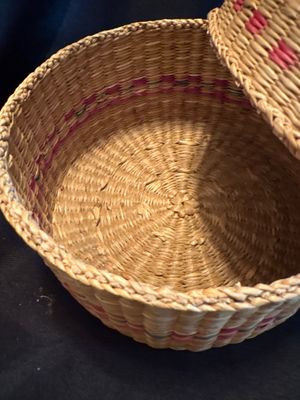
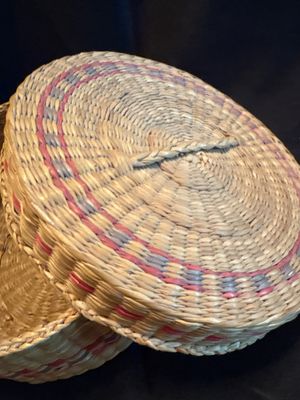
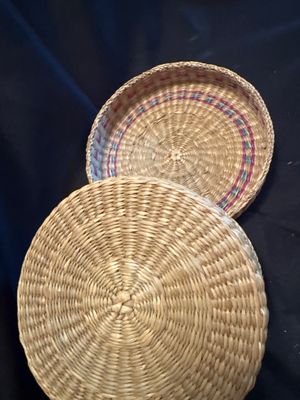
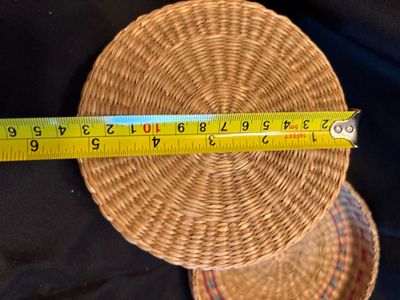
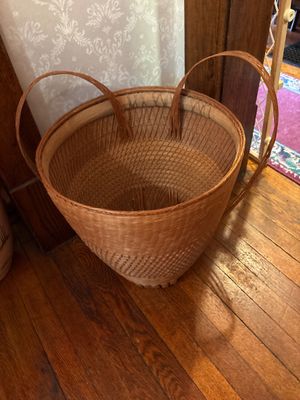
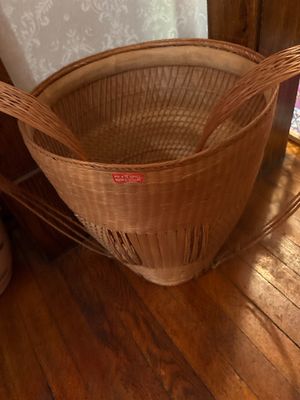
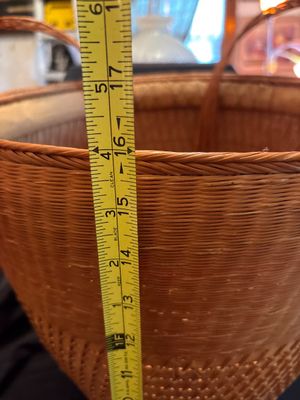
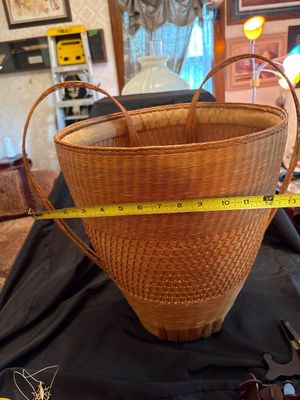
Sale Photo Thumbnail #94: Beautiful basket!
Sale Photo Thumbnail #95: Gorgeous piece! From the late 1800s to early 1900s.
Sale Photo Thumbnail #96: Beautiful basket!
Sale Photo Thumbnail #97: Gorgeous piece! From the late 1800s to early 1900s.
Sale Photo Thumbnail #98: Beautiful basket!
Sale Photo Thumbnail #99: Gorgeous piece! From the late 1800s to early 1900s.
Sale Photo Thumbnail #100: Beautiful basket!
Sale Photo Thumbnail #101: Gorgeous piece! From the late 1800s to early 1900s.
Sale Photo Thumbnail #102: Beautiful basket!
Sale Photo Thumbnail #103: Gorgeous piece! From the late 1800s to early 1900s.
Sale Photo Thumbnail #104: Beautiful basket!
Sale Photo Thumbnail #105: Gorgeous piece! From the late 1800s to early 1900s.
Sale Photo Thumbnail #106: Beautiful basket!
Sale Photo Thumbnail #107: Gorgeous piece! From the late 1800s to early 1900s.
Sale Photo Thumbnail #108: Beautiful basket!
Sale Photo Thumbnail #109: Gorgeous piece! From the late 1800s to early 1900s.
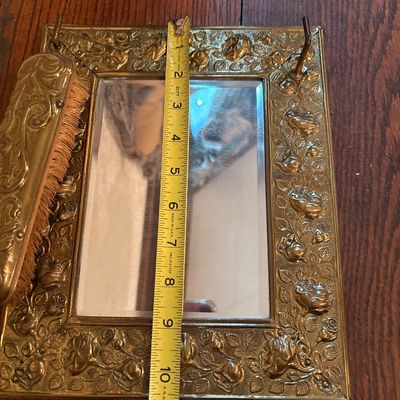
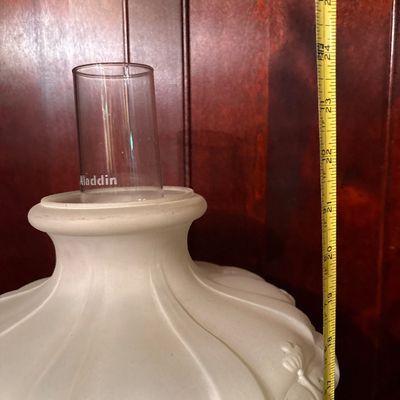
Sale Photo Thumbnail #110: Measures 24 inches tall by 11 inches wide. No visible cracks or chips.
Sale Photo Thumbnail #111: See pictures
Sale Photo Thumbnail #112: Measures 24 inches tall by 11 inches wide. No visible cracks or chips.
Sale Photo Thumbnail #113: See pictures
Sale Photo Thumbnail #114: Measures 24 inches tall by 11 inches wide. No visible cracks or chips.
Sale Photo Thumbnail #115: See pictures
Sale Photo Thumbnail #116: Measures 24 inches tall by 11 inches wide. No visible cracks or chips.
Sale Photo Thumbnail #117: Measures 24 inches tall by 11 inches wide. No visible cracks or chips.
Sale Photo Thumbnail #118: Measures 24 inches tall by 11 inches wide. No visible cracks or chips.
Sale Photo Thumbnail #119: See pictures
Sale Photo Thumbnail #120: Almost 12 inches wide, 5 inches tall Appears to be an excellent condition
Sale Photo Thumbnail #121: See pictures
Sale Photo Thumbnail #122: Almost 12 inches wide, 5 inches tall Appears to be an excellent condition
Sale Photo Thumbnail #123: See pictures
Sale Photo Thumbnail #124: Almost 12 inches wide, 5 inches tall Appears to be an excellent condition
Sale Photo Thumbnail #125: See pictures
Sale Photo Thumbnail #126: Almost 12 inches wide, 5 inches tall Appears to be an excellent condition
Sale Photo Thumbnail #127: See pictures
Sale Photo Thumbnail #128: Almost 12 inches wide, 5 inches tall Appears to be an excellent condition
Sale Photo Thumbnail #129: See pictures
Sale Photo Thumbnail #130: Almost 12 inches wide, 5 inches tall Appears to be an excellent condition
Sale Photo Thumbnail #131: See pictures
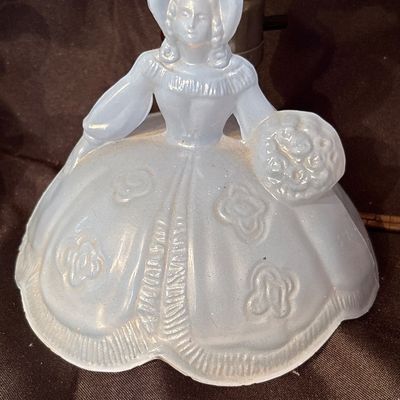
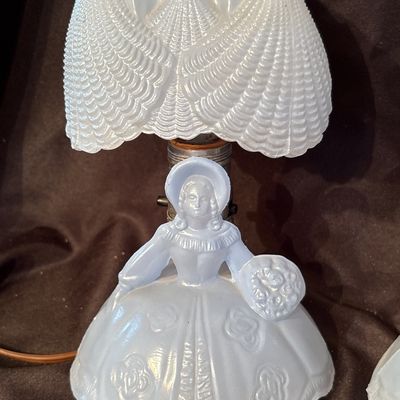
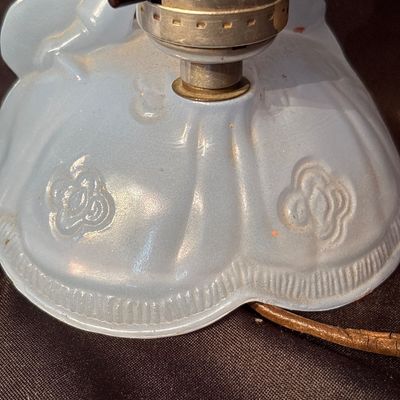
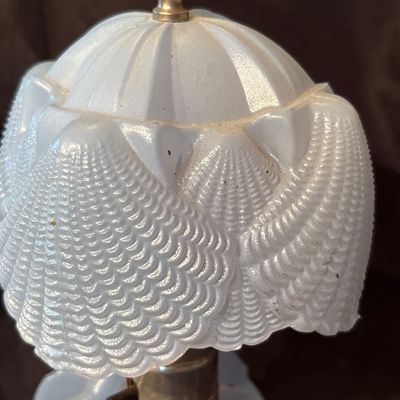
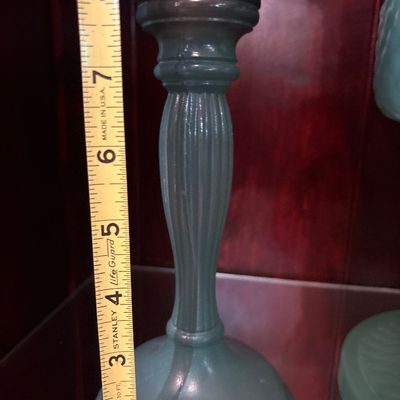
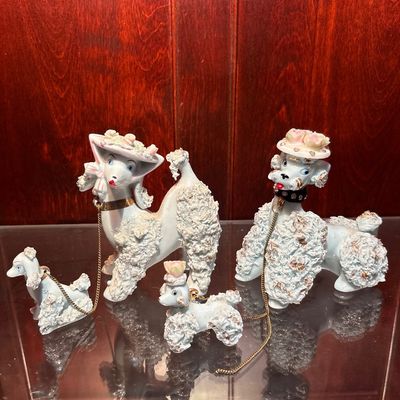
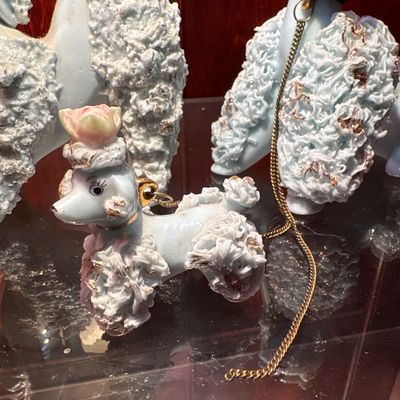
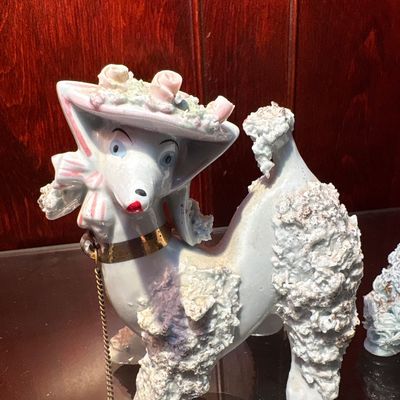
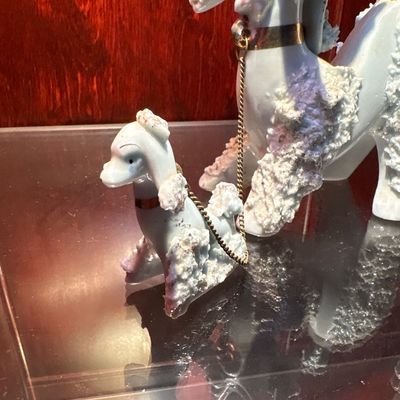
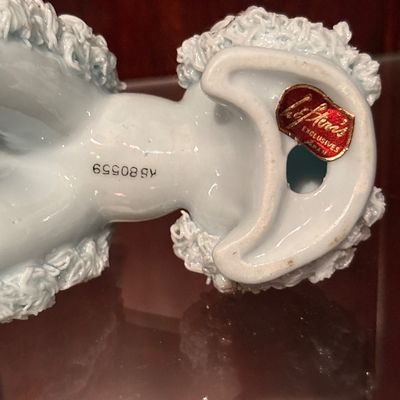
Sale Photo Thumbnail #132: 9” high x 6” at base. Pale blue color
Sale Photo Thumbnail #133: See pictures
Sale Photo Thumbnail #134: 9” high x 6” at base. Pale blue color
Sale Photo Thumbnail #135: See pictures
Sale Photo Thumbnail #136: 9” high x 6” at base. Pale blue color
Sale Photo Thumbnail #137: See pictures
Sale Photo Thumbnail #138: 9” high x 6” at base. Pale blue color
Sale Photo Thumbnail #139: See pictures
Sale Photo Thumbnail #140: 9” high x 6” at base. Pale blue color
Sale Photo Thumbnail #141: 9” high x 6” at base. Pale blue color
Sale Photo Thumbnail #142: 9” high x 6” at base. Pale blue color
Sale Photo Thumbnail #143: See pictures
Sale Photo Thumbnail #144: See pictures
Sale Photo Thumbnail #145: See pictures
Sale Photo Thumbnail #146: See pictures
Sale Photo Thumbnail #147: See pics
Sale Photo Thumbnail #148: See pictures
Sale Photo Thumbnail #149: See pics
Sale Photo Thumbnail #150: See pictures
Sale Photo Thumbnail #151: See pics
Sale Photo Thumbnail #152: See pictures
Sale Photo Thumbnail #153: See pics
Sale Photo Thumbnail #154: See pictures
Sale Photo Thumbnail #155: See pics
Sale Photo Thumbnail #156: See pictures
Sale Photo Thumbnail #157: See pics
Sale Photo Thumbnail #158: See pictures
Sale Photo Thumbnail #159: See pics
Sale Photo Thumbnail #160: See pics
Sale Photo Thumbnail #161: See pics
Sale Photo Thumbnail #162: See pictures
Sale Photo Thumbnail #163: See pics
Sale Photo Thumbnail #164: See pictures
Sale Photo Thumbnail #165: See pics
Sale Photo Thumbnail #166: See pictures
Sale Photo Thumbnail #167: See pics
Sale Photo Thumbnail #168: See pictures
Sale Photo Thumbnail #169: See pics
Sale Photo Thumbnail #170: See pictures
Sale Photo Thumbnail #171: See pics
Sale Photo Thumbnail #172: See pictures
Sale Photo Thumbnail #173: See pictures
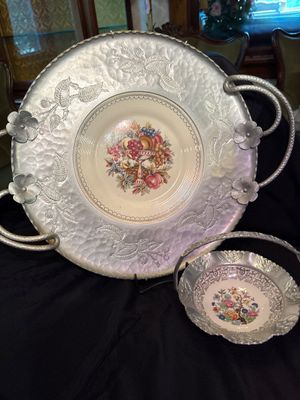
Sale Photo Thumbnail #174: See pics. Dishes are adorned with silver plate
Sale Photo Thumbnail #175: See pictures
Sale Photo Thumbnail #176: See pics. Dishes are adorned with silver plate
Sale Photo Thumbnail #177: See pictures
Sale Photo Thumbnail #178: See pics. Dishes are adorned with silver plate
Sale Photo Thumbnail #179: See pictures
Sale Photo Thumbnail #180: See pics. Dishes are adorned with silver plate
Sale Photo Thumbnail #181: See pictures
Sale Photo Thumbnail #182: See pics. Dishes are adorned with silver plate
Sale Photo Thumbnail #183: See pictures
Sale Photo Thumbnail #184: See pictures
Sale Photo Thumbnail #185: See pictures
Sale Photo Thumbnail #186: See pictures
Sale Photo Thumbnail #187: See pictures
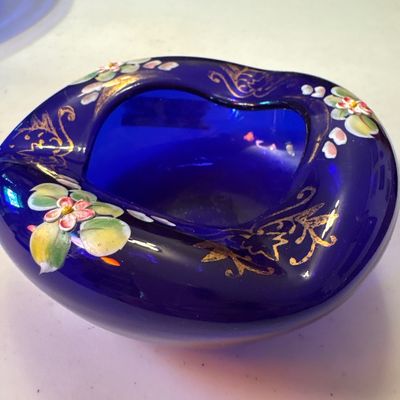
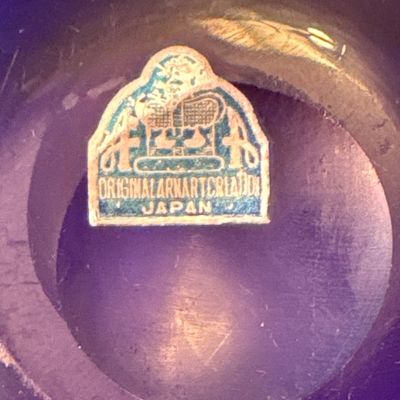
Sale Photo Thumbnail #188: An original Arnart creation made in Japan
Sale Photo Thumbnail #189: See pictures
Sale Photo Thumbnail #190: An original Arnart creation made in Japan
Sale Photo Thumbnail #191: See pictures
Sale Photo Thumbnail #192: An original Arnart creation made in Japan
Sale Photo Thumbnail #193: See pictures
Sale Photo Thumbnail #194: See pictures
Sale Photo Thumbnail #195: See pictures
Sale Photo Thumbnail #196: See pictures
Sale Photo Thumbnail #197: See pictures
Sale Photo Thumbnail #198: Gorgeous piece, approximately 3 inches high
Sale Photo Thumbnail #199: Gorgeous piece, approximately 3 inches high
Sale Photo Thumbnail #200: Gorgeous piece, approximately 3 inches high
Sale Photo Thumbnail #201: Gorgeous piece, approximately 3 inches high
Sale Photo Thumbnail #202: Antique. Late 1800 to early 1900s.
Sale Photo Thumbnail #203: See pictures
Sale Photo Thumbnail #204: Antique. Late 1800 to early 1900s.

Sale Photo Thumbnail #205: See pictures
Sale Photo Thumbnail #206: Antique. Late 1800 to early 1900s.
Sale Photo Thumbnail #207: See pictures
Sale Photo Thumbnail #208: Antique. Late 1800 to early 1900s.
Sale Photo Thumbnail #209: Antique. Late 1800 to early 1900s.
Sale Photo Thumbnail #210: Antique. Late 1800 to early 1900s.
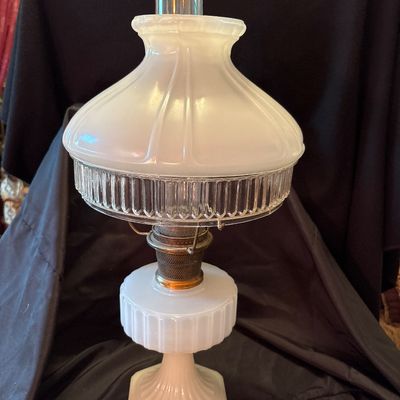
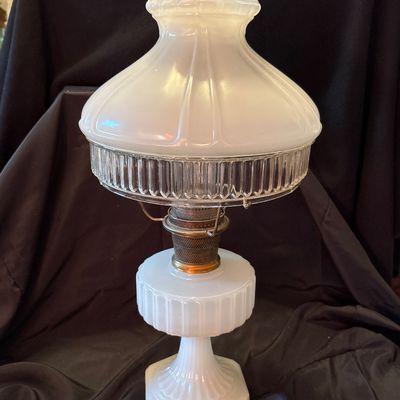
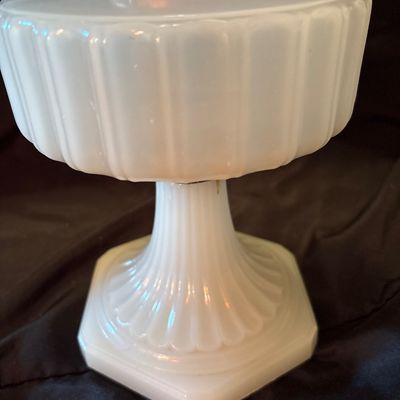
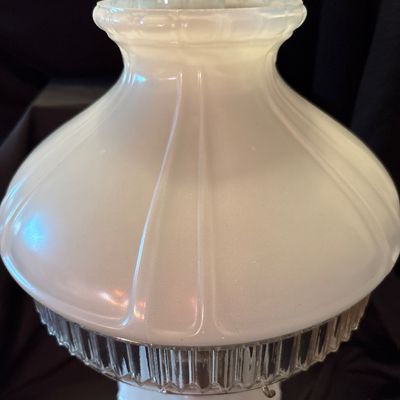
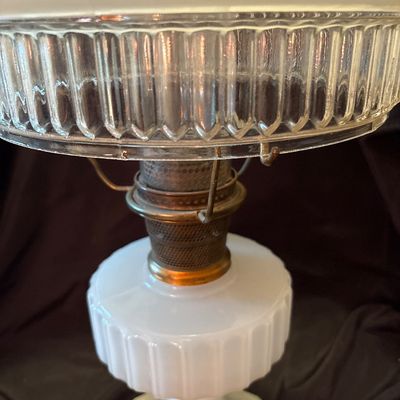
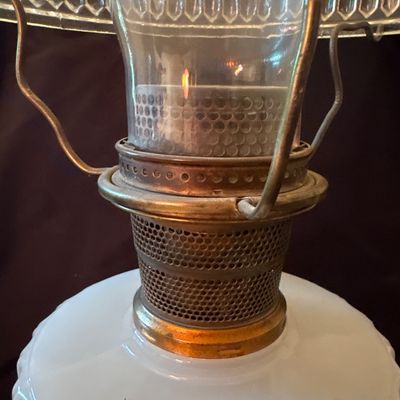
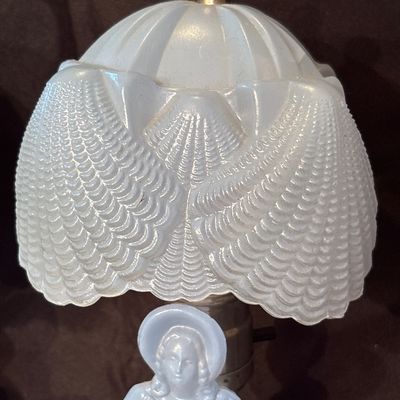
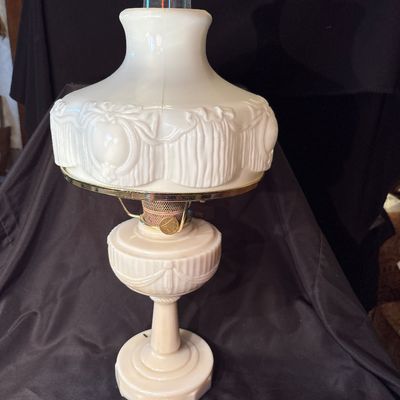
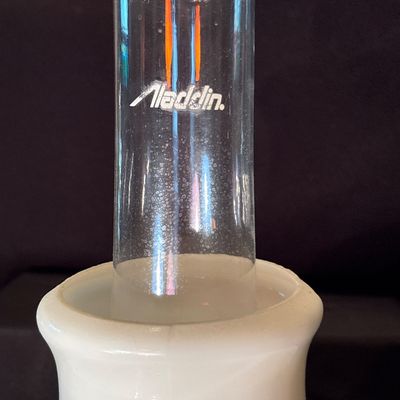
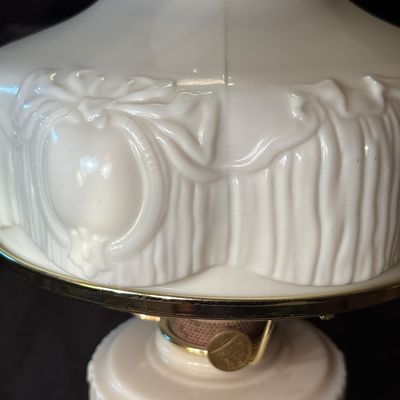
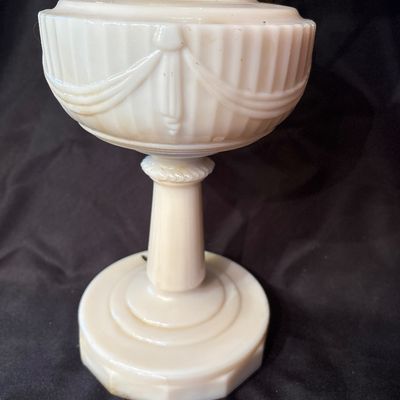
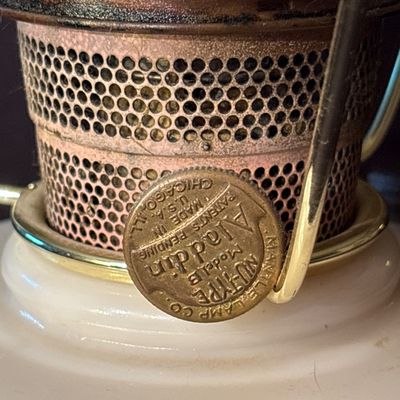
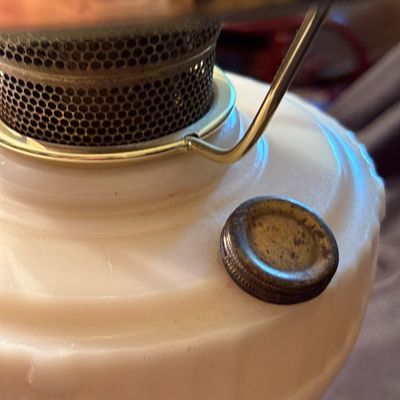
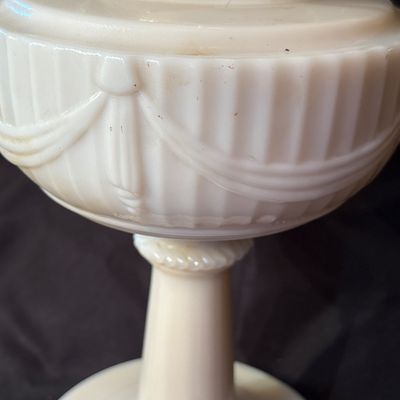
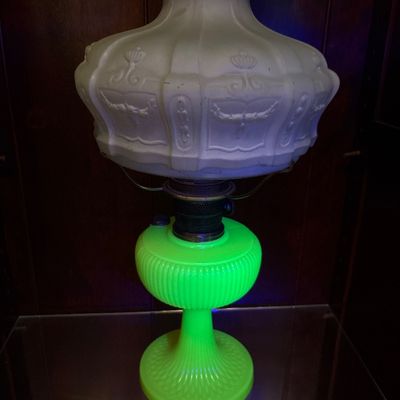
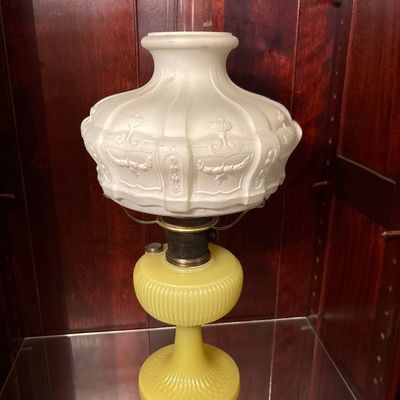
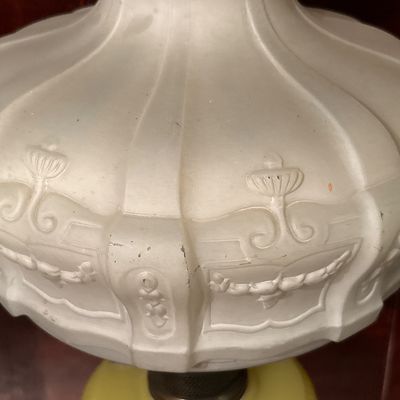
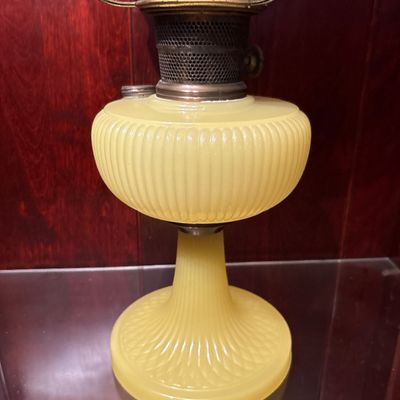
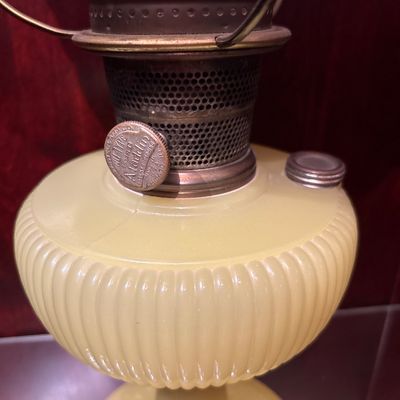
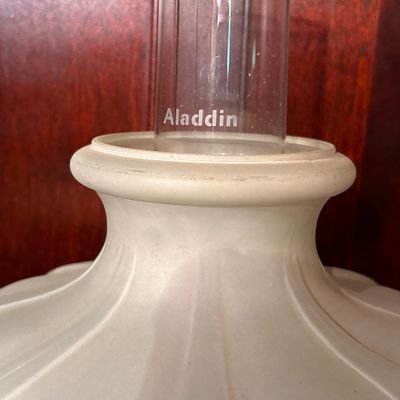
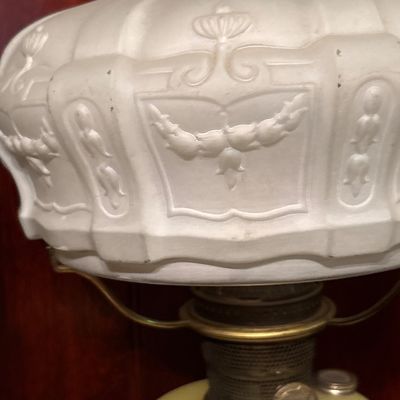
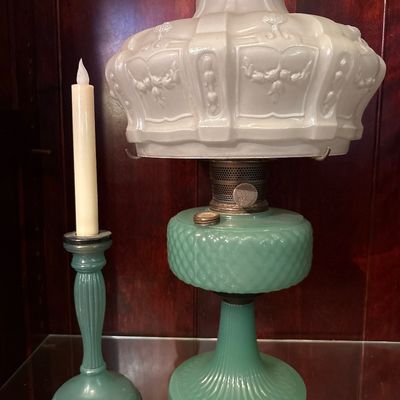
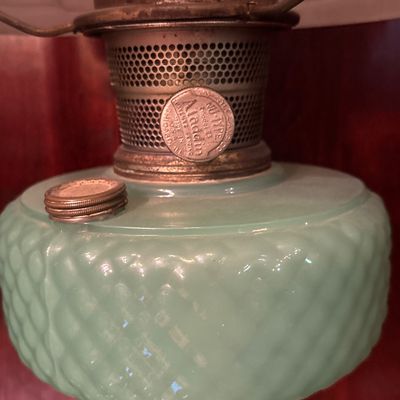
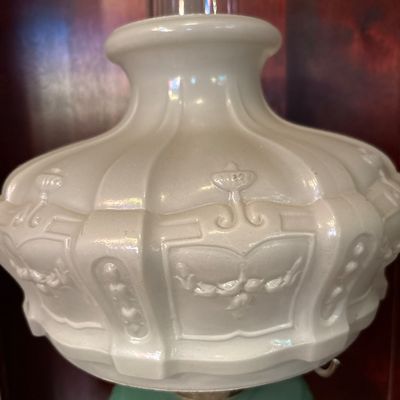
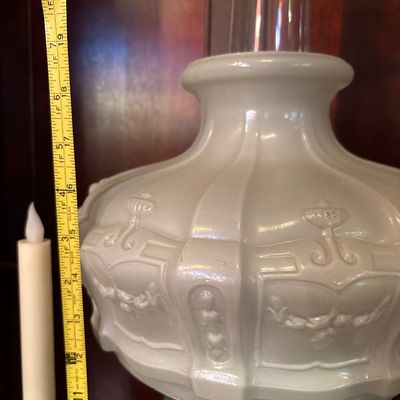
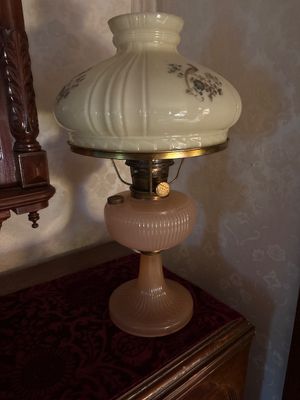
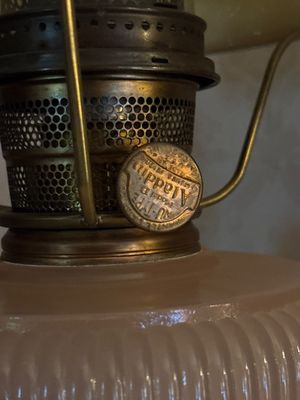
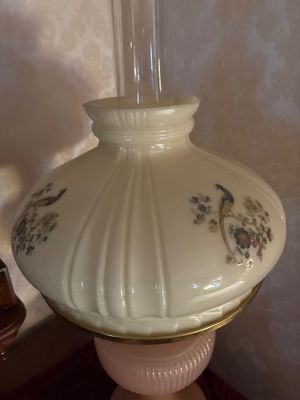
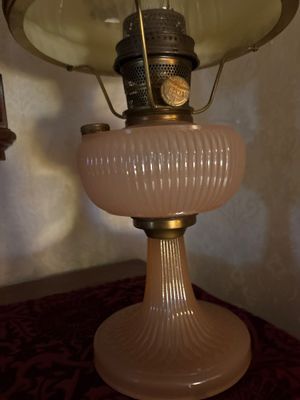
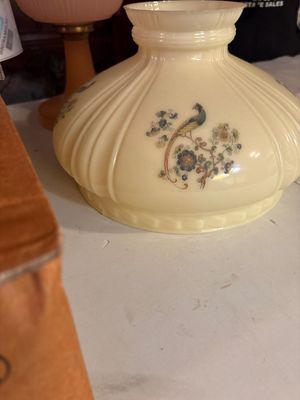
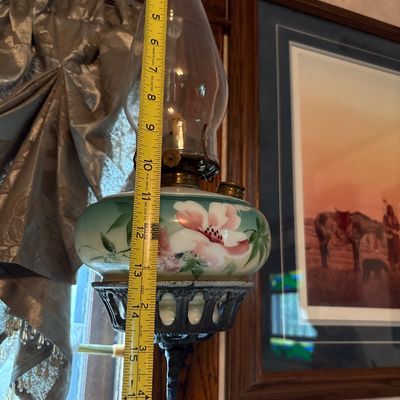
Sale Photo Thumbnail #211: This is a vintage Aladdin Tall Lincoln Drape mantle lamp in ivory Alacite glass, featuring a Nu-Type Model B burner. 26h x 11w.
Sale Photo Thumbnail #212: This is a vintage Aladdin Tall Lincoln Drape mantle lamp in ivory Alacite glass, featuring a Nu-Type Model B burner. 26h x 11w.
Sale Photo Thumbnail #213: This is a vintage Aladdin Tall Lincoln Drape mantle lamp in ivory Alacite glass, featuring a Nu-Type Model B burner. 26h x 11w.
Sale Photo Thumbnail #214: This is a vintage Aladdin Tall Lincoln Drape mantle lamp in ivory Alacite glass, featuring a Nu-Type Model B burner. 26h x 11w.
Sale Photo Thumbnail #215: This is a vintage Aladdin Tall Lincoln Drape mantle lamp in ivory Alacite glass, featuring a Nu-Type Model B burner. 26h x 11w.
Sale Photo Thumbnail #216: This is a vintage Aladdin Tall Lincoln Drape mantle lamp in ivory Alacite glass, featuring a Nu-Type Model B burner. 26h x 11w.
Sale Photo Thumbnail #217: This is a vintage Aladdin Tall Lincoln Drape mantle lamp in ivory Alacite glass, featuring a Nu-Type Model B burner. 26h x 11w.
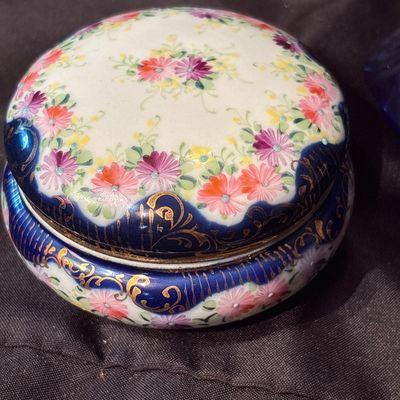
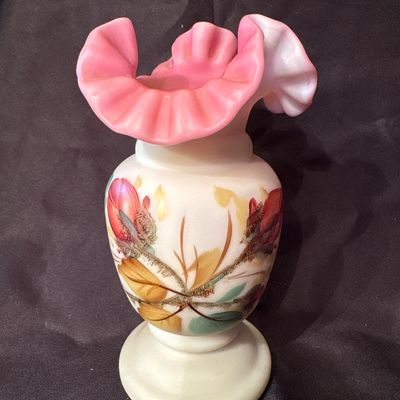
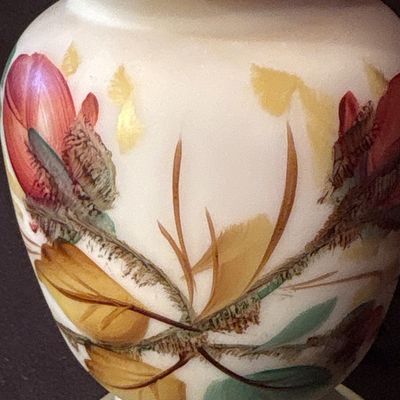
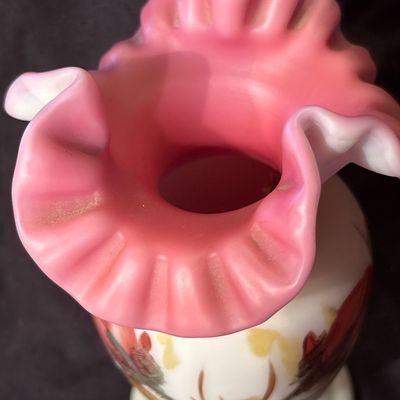
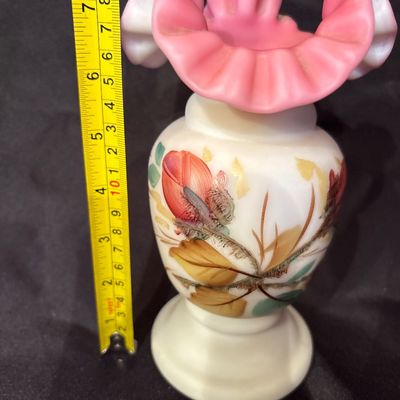
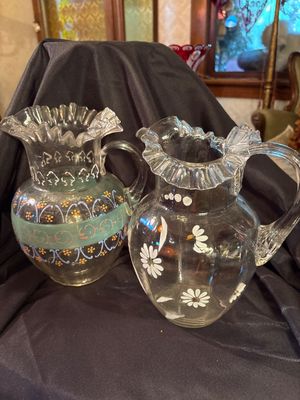
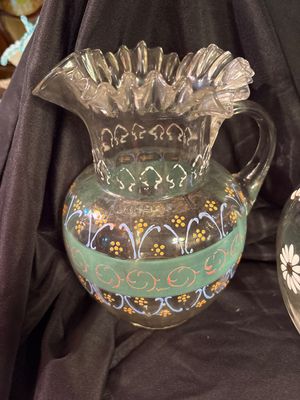
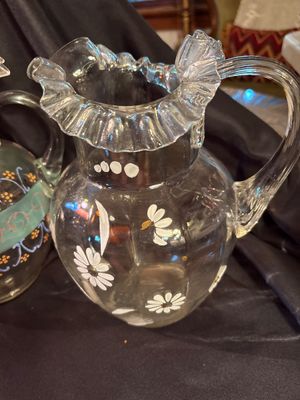
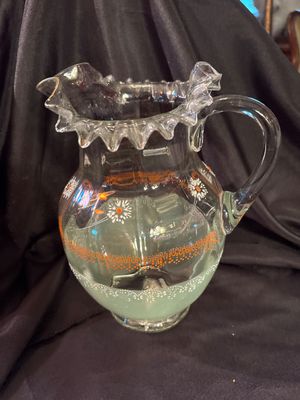
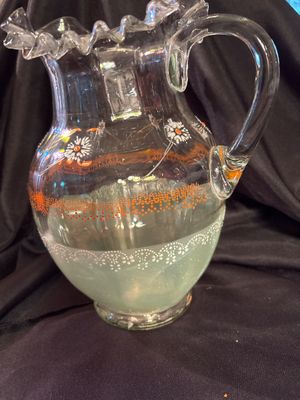
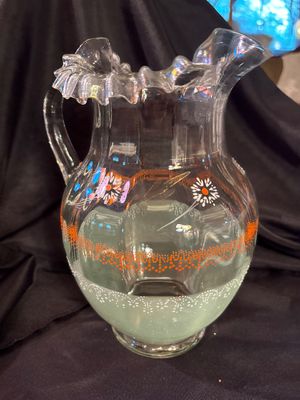
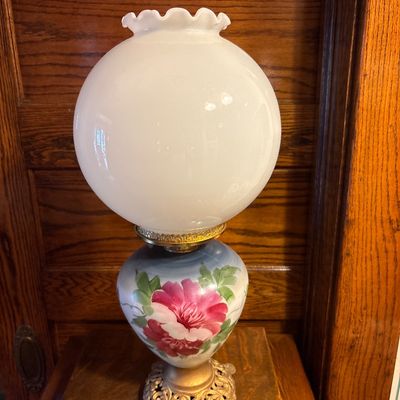
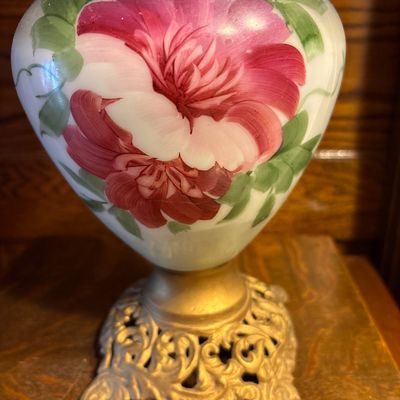
Sale Photo Thumbnail #218: Hand painted with ruffle trim.
Sale Photo Thumbnail #219: Hand painted with ruffle trim.
Sale Photo Thumbnail #220: Hand painted with ruffle trim.
Sale Photo Thumbnail #221: Hand painted with ruffle trim.
Sale Photo Thumbnail #222: Hand painted with ruffle trim.
Sale Photo Thumbnail #223: See pics. Gorgeous!
Sale Photo Thumbnail #224: See pics. Gorgeous!
Sale Photo Thumbnail #225: See pics. Gorgeous!
Sale Photo Thumbnail #226: See pics. Gorgeous!
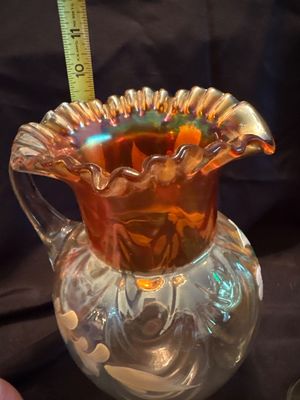
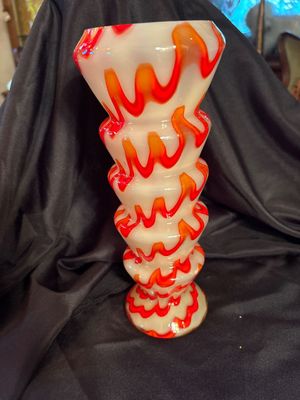
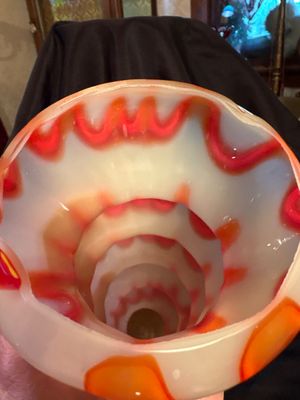
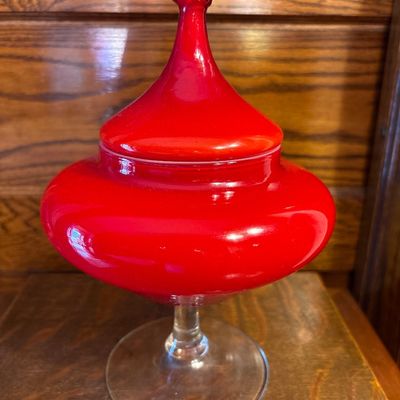
Sale Photo Thumbnail #227: Possibly Fenton or Italian.
Sale Photo Thumbnail #228: Possibly Fenton or Italian.
Sale Photo Thumbnail #229: Possibly Fenton or Italian.
Sale Photo Thumbnail #230: Possibly Fenton or Italian.
Sale Photo Thumbnail #231: Possibly Fenton or Italian.
Sale Photo Thumbnail #232: Possibly Fenton or Italian.
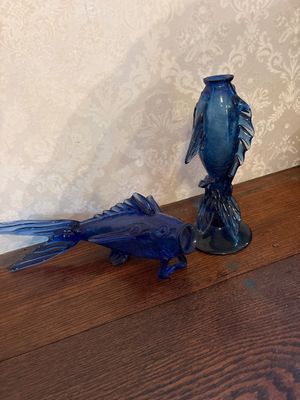
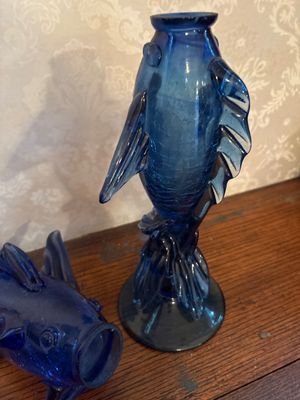
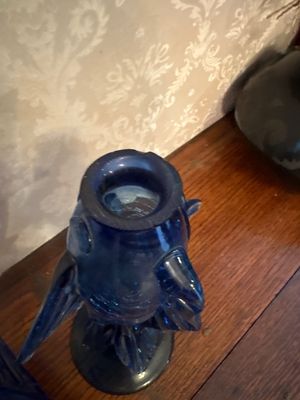
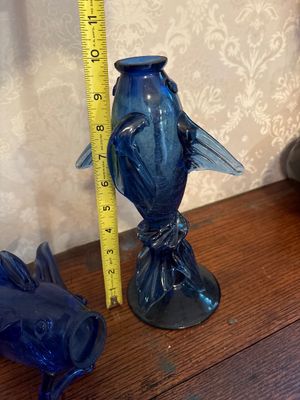
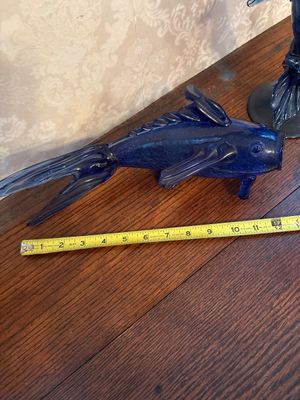
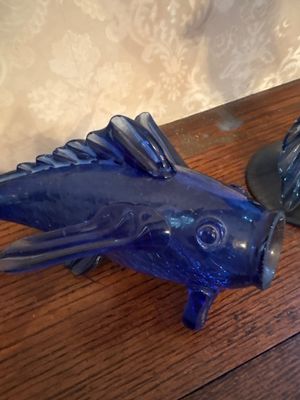
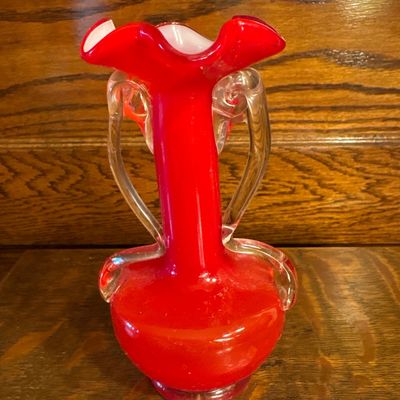
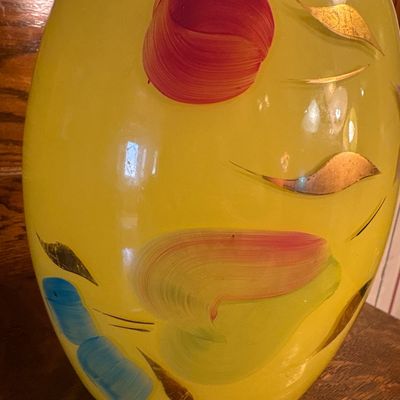
Sale Photo Thumbnail #233: Possibly Italian hand blown glass
Sale Photo Thumbnail #234: Possibly Italian hand blown glass
Sale Photo Thumbnail #235: Possibly Italian hand blown glass
Sale Photo Thumbnail #236: Possibly Italian hand blown glass
Sale Photo Thumbnail #237: See pics
Sale Photo Thumbnail #238: See pics
Sale Photo Thumbnail #239: See pics
Sale Photo Thumbnail #240: See pics
Sale Photo Thumbnail #241: See pics
Sale Photo Thumbnail #242: See pics. One small nick on tray
Sale Photo Thumbnail #243: See pics. One small nick on tray
Sale Photo Thumbnail #244: See pics. One small nick on tray
Sale Photo Thumbnail #245: See pics. One small nick on tray
Sale Photo Thumbnail #246: Beautiful peace! No chips or cracks noted
Sale Photo Thumbnail #247: Beautiful peace! No chips or cracks noted
Sale Photo Thumbnail #248: Beautiful peace! No chips or cracks noted
Sale Photo Thumbnail #249: Beautiful peace! No chips or cracks noted
Sale Photo Thumbnail #250: Beautiful peace! No chips or cracks noted
Sale Photo Thumbnail #251: Beautiful peace! No chips or cracks noted
Sale Photo Thumbnail #252: 30” to top of lamp shade
Sale Photo Thumbnail #253: Beautiful !
Sale Photo Thumbnail #254: 30” to top of lamp shade
Sale Photo Thumbnail #255: Beautiful !
Sale Photo Thumbnail #256: 30” to top of lamp shade
Sale Photo Thumbnail #257: Beautiful !
Sale Photo Thumbnail #258: Beautiful !
Sale Photo Thumbnail #259: Beautiful !
Sale Photo Thumbnail #260: Works. Cover needs “love” to stay shitSee pictures
Sale Photo Thumbnail #261: Works. Cover needs “love” to stay shitSee pictures
Sale Photo Thumbnail #262: Works. Cover needs “love” to stay shitSee pictures
Sale Photo Thumbnail #263: Works. Cover needs “love” to stay shitSee pictures
Sale Photo Thumbnail #264: Works. Cover needs “love” to stay shitSee pictures
Sale Photo Thumbnail #265: Works. Cover needs “love” to stay shitSee pictures
Sale Photo Thumbnail #266: Works. Cover needs “love” to stay shitSee pictures
Sale Photo Thumbnail #267: See pictures
Sale Photo Thumbnail #268: Beautiful pieces!!
Sale Photo Thumbnail #269: See pictures
Sale Photo Thumbnail #270: Beautiful pieces!!
Sale Photo Thumbnail #271: See pictures
Sale Photo Thumbnail #272: Beautiful pieces!!
Sale Photo Thumbnail #273: See pictures
Sale Photo Thumbnail #274: Beautiful pieces!!
Sale Photo Thumbnail #275: See pictures
Sale Photo Thumbnail #276: Beautiful pieces!!
Sale Photo Thumbnail #277: See pictures
Sale Photo Thumbnail #278: Beautiful pieces!!
Sale Photo Thumbnail #279: See pictures
Sale Photo Thumbnail #280: See pictures
Sale Photo Thumbnail #281: See pictures
Sale Photo Thumbnail #282: See pictures
Sale Photo Thumbnail #283: See pictures
Sale Photo Thumbnail #284: See pictures
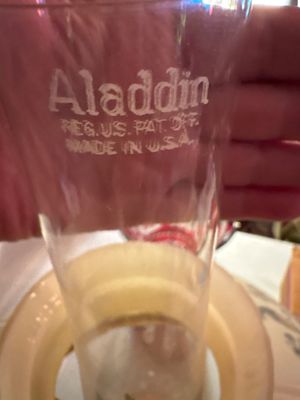
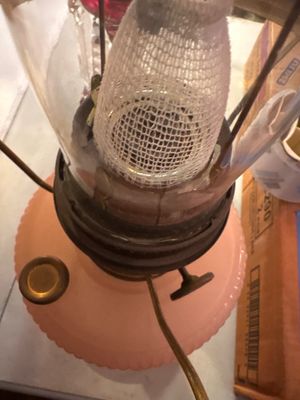
Sale Photo Thumbnail #285: See pics. Includes authentic Aladdin chimney.
Sale Photo Thumbnail #286: See pictures
Sale Photo Thumbnail #287: See pics. Includes authentic Aladdin chimney.
Sale Photo Thumbnail #288: See pictures
Sale Photo Thumbnail #289: See pics. Includes authentic Aladdin chimney.
Sale Photo Thumbnail #290: See pictures
Sale Photo Thumbnail #291: See pics. Includes authentic Aladdin chimney.
Sale Photo Thumbnail #292: See pictures
Sale Photo Thumbnail #293: See pics. Includes authentic Aladdin chimney.
Sale Photo Thumbnail #294: See pics. Includes authentic Aladdin chimney.
Sale Photo Thumbnail #295: See pics. Includes authentic Aladdin chimney.
Sale Photo Thumbnail #296: See pics. Includes authentic Aladdin chimney.
Sale Photo Thumbnail #297: See pictures
Sale Photo Thumbnail #298: Lg bowl 8.5 x 5, vase 5.5 x 5
Sale Photo Thumbnail #299: See pictures
Sale Photo Thumbnail #300: Lg bowl 8.5 x 5, vase 5.5 x 5
Sale Photo Thumbnail #301: Lg bowl 8.5 x 5, vase 5.5 x 5
Sale Photo Thumbnail #302: Lg bowl 8.5 x 5, vase 5.5 x 5
Sale Photo Thumbnail #303: Lg bowl 8.5 x 5, vase 5.5 x 5
Sale Photo Thumbnail #304: Lg bowl 8.5 x 5, vase 5.5 x 5
Sale Photo Thumbnail #305: See pictures
Sale Photo Thumbnail #306: See pictures
Sale Photo Thumbnail #307: See pictures
Sale Photo Thumbnail #308: See pictures
Sale Photo Thumbnail #309: See pictures 56
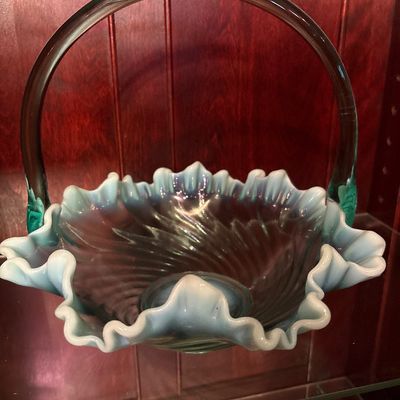
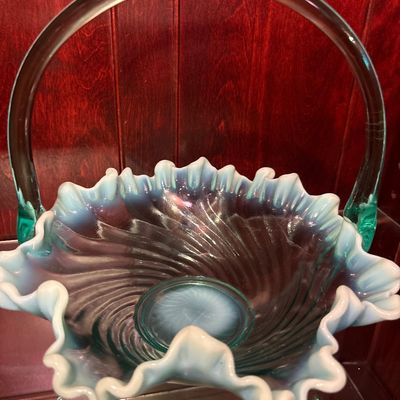
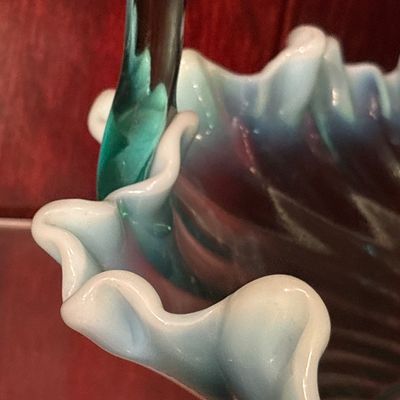
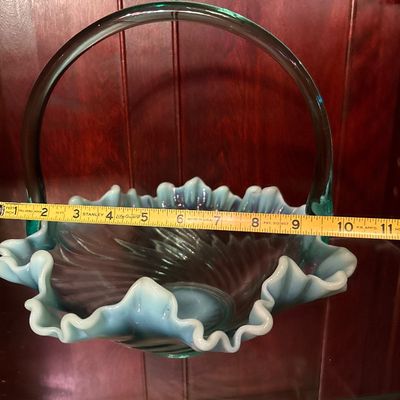
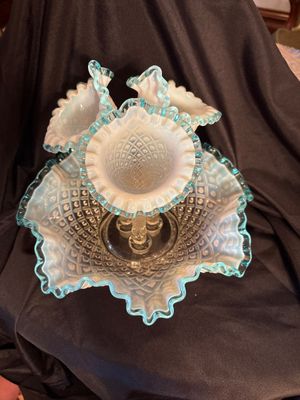
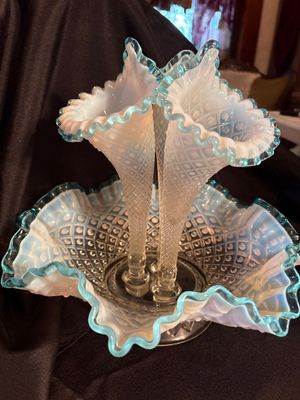
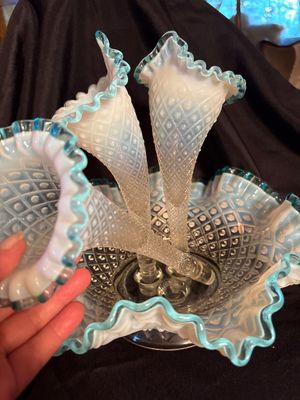
Sale Photo Thumbnail #310: Stunning blue glass basket with milky edges
Sale Photo Thumbnail #311: See pictures 56
Sale Photo Thumbnail #312: Stunning blue glass basket with milky edges
Sale Photo Thumbnail #313: See pictures 56
Sale Photo Thumbnail #314: Stunning blue glass basket with milky edges
Sale Photo Thumbnail #315: Stunning blue glass basket with milky edges
Sale Photo Thumbnail #316: See pictures
Sale Photo Thumbnail #317: See pictures
Sale Photo Thumbnail #318: See pictures
Sale Photo Thumbnail #319: Handle the vase and small buddies
Sale Photo Thumbnail #320: See pictures
Sale Photo Thumbnail #321: Handle the vase and small buddies
Sale Photo Thumbnail #322: See pictures
Sale Photo Thumbnail #323: Handle the vase and small buddies
Sale Photo Thumbnail #324: See pictures
Sale Photo Thumbnail #325: Handle the vase and small buddies
Sale Photo Thumbnail #326: Handle the vase and small buddies
Sale Photo Thumbnail #327: Handle the vase and small buddies
Sale Photo Thumbnail #328: Handle the vase and small buddies
Sale Photo Thumbnail #329: See pictures
Sale Photo Thumbnail #330: See pictures
Sale Photo Thumbnail #331: See pictures
Sale Photo Thumbnail #332: See pictures
Sale Photo Thumbnail #333: See pics
Sale Photo Thumbnail #334: See pics
Sale Photo Thumbnail #335: See pics
Sale Photo Thumbnail #336: See pics
Sale Photo Thumbnail #337: See pics
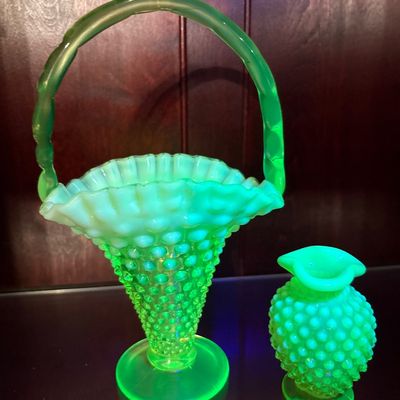
Sale Photo Thumbnail #338: Fabulous item! See Pictures
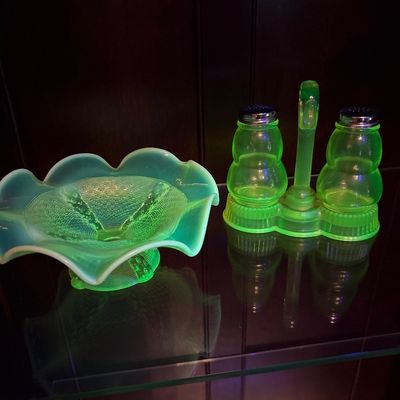
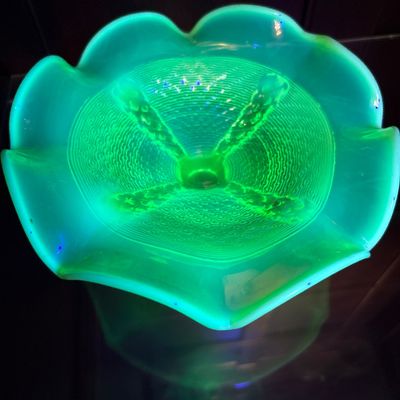
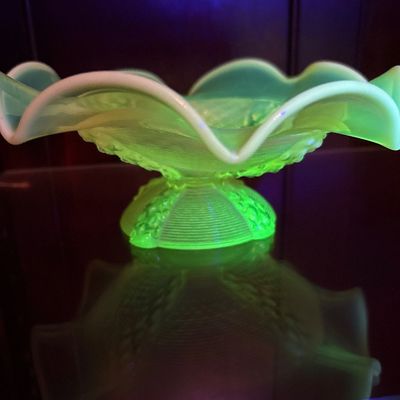
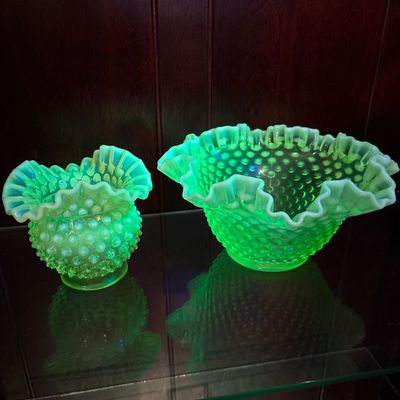
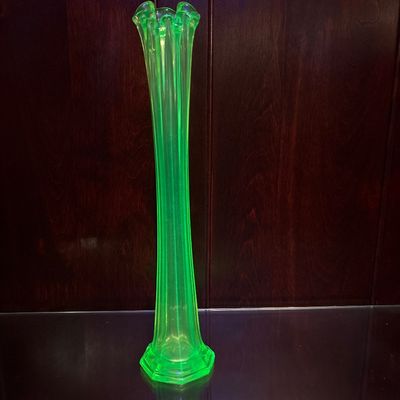
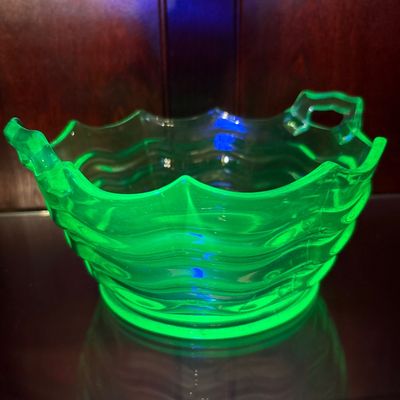
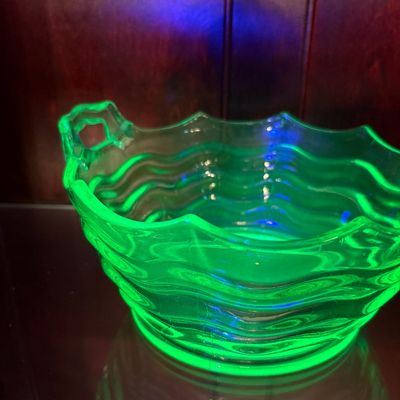
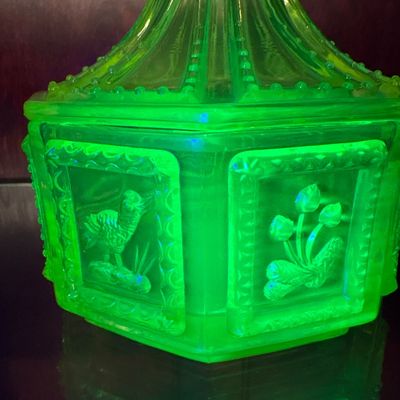
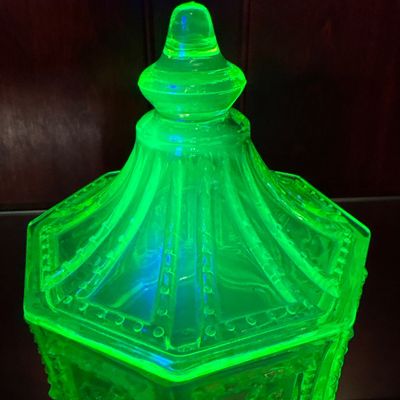
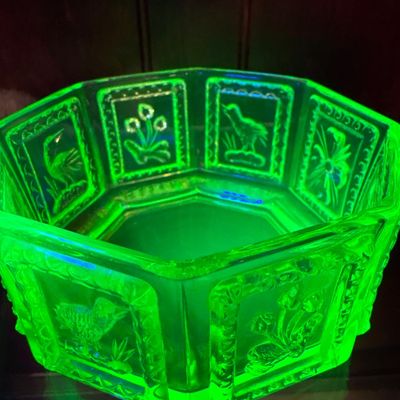
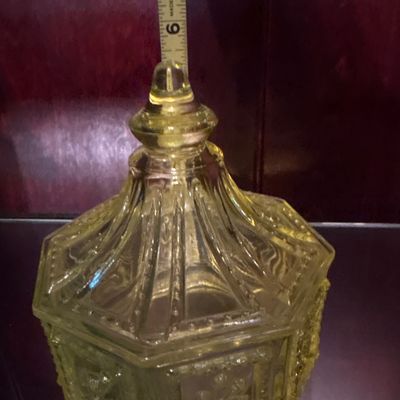
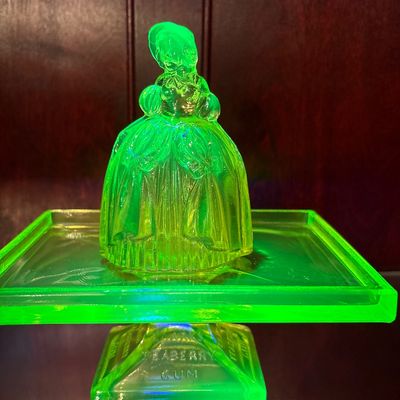
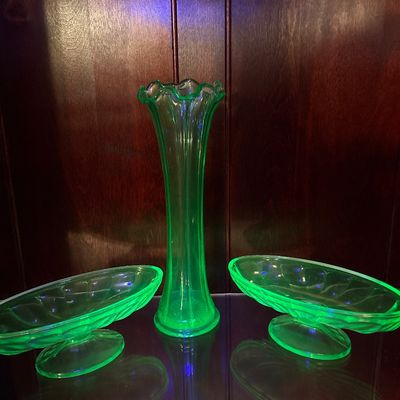
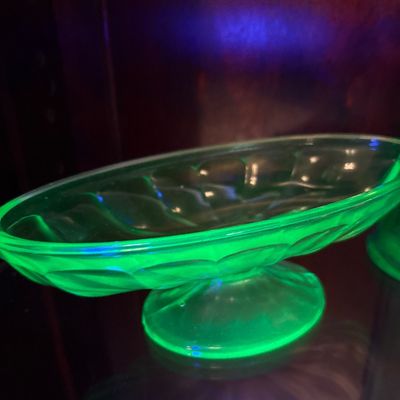
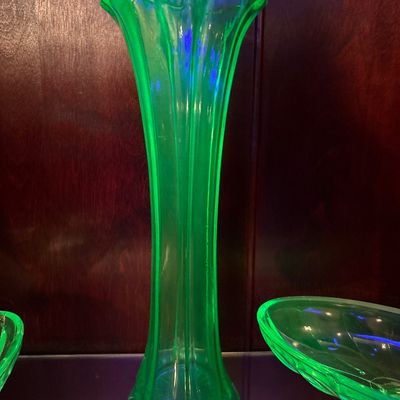
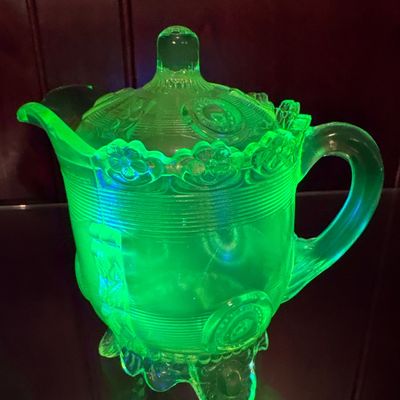
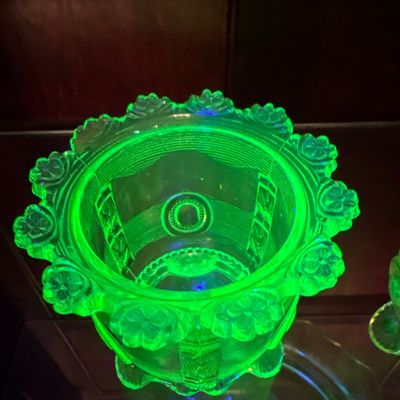
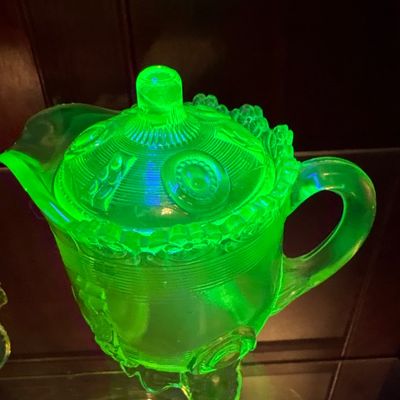
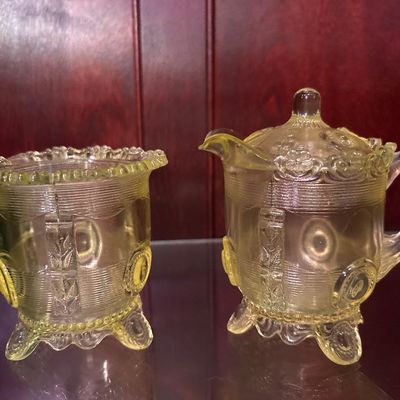
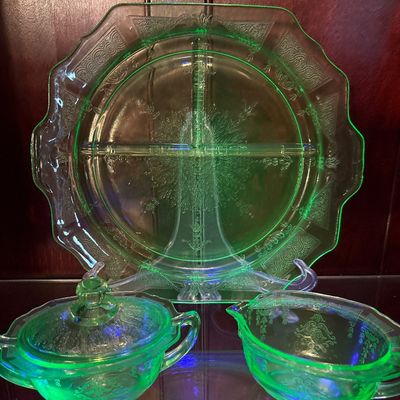
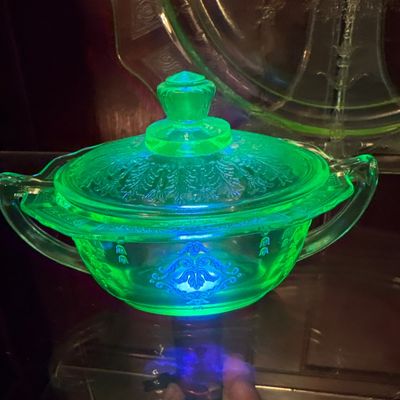
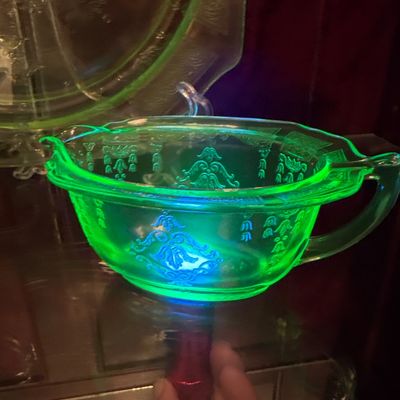
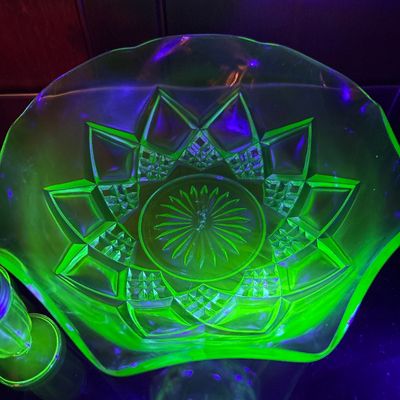
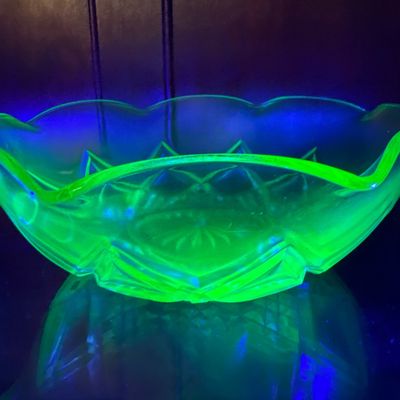
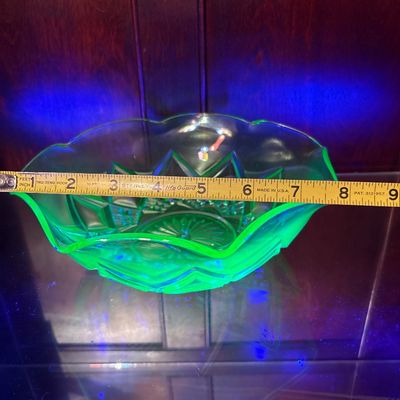
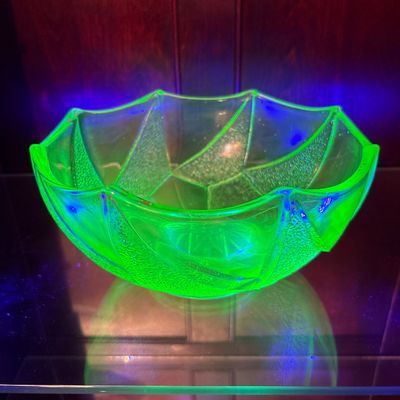
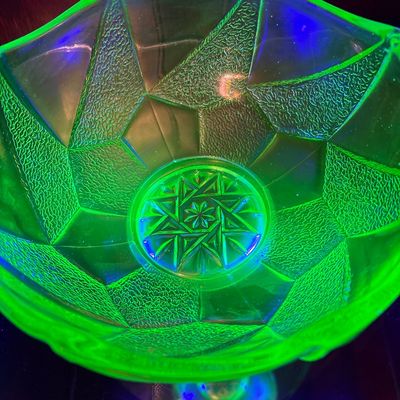
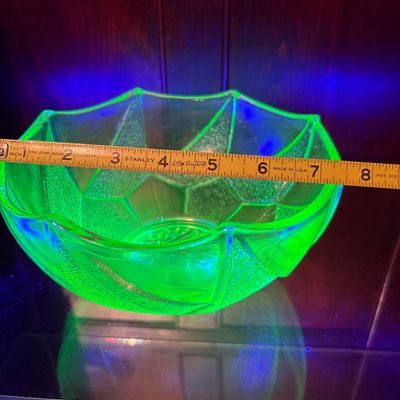
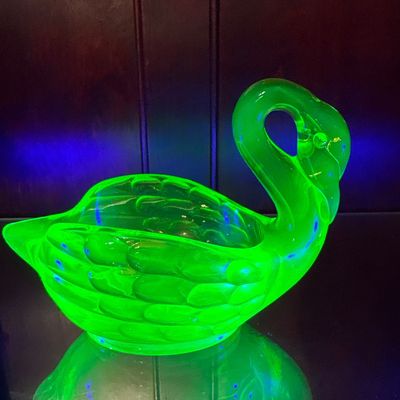
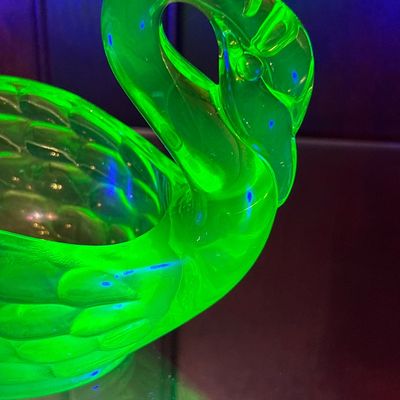
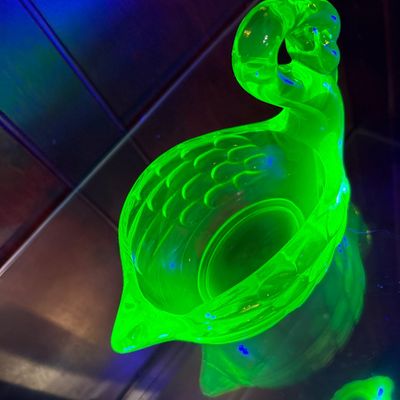
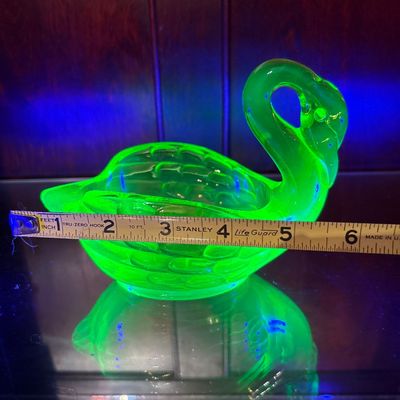
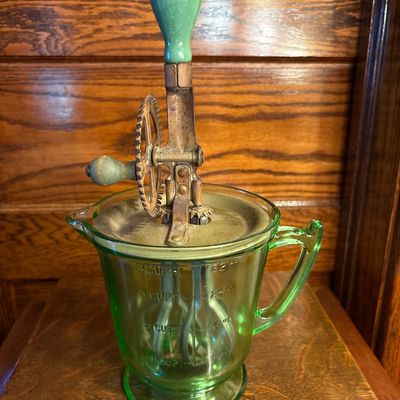
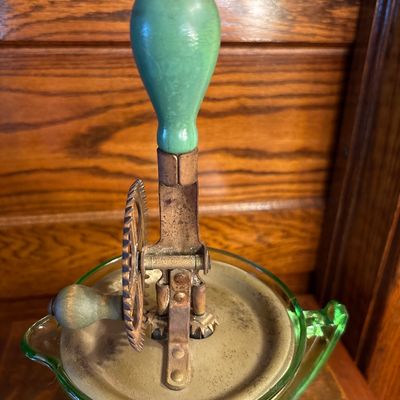
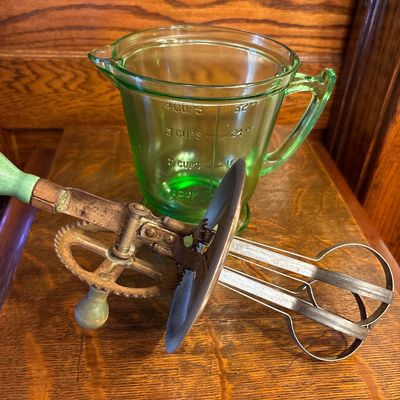
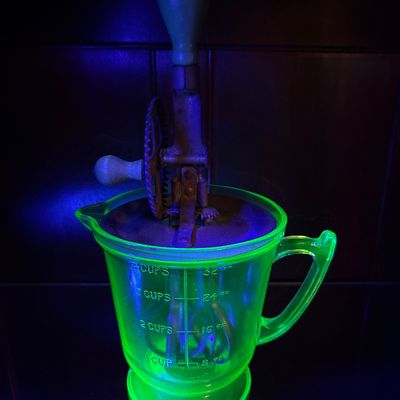
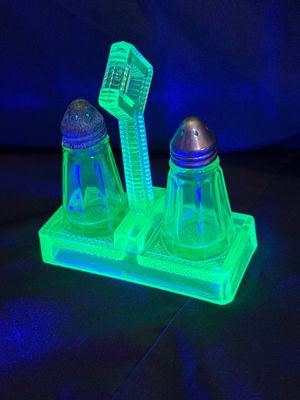
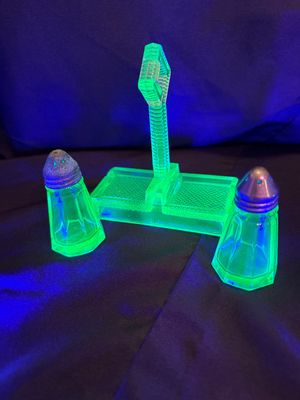
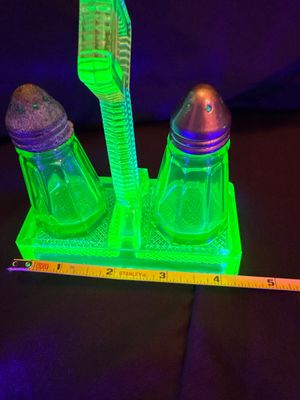
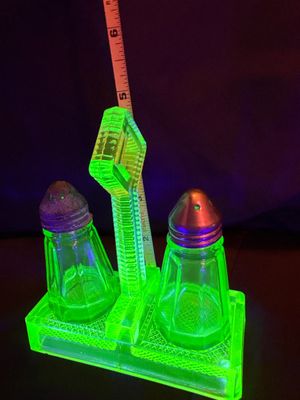
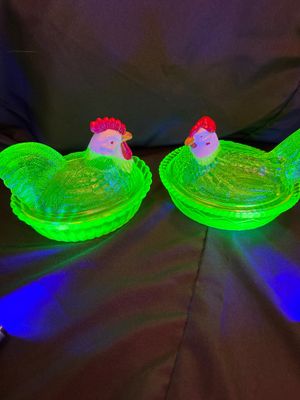
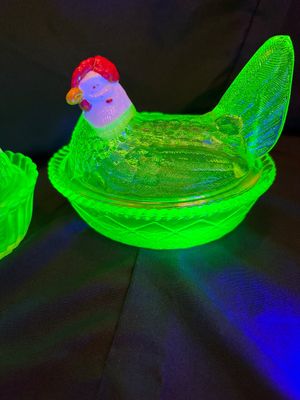
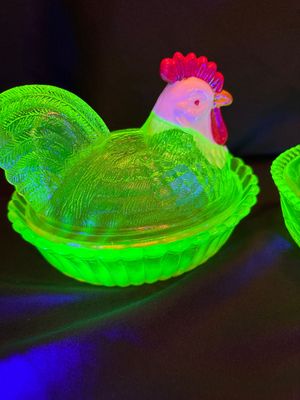
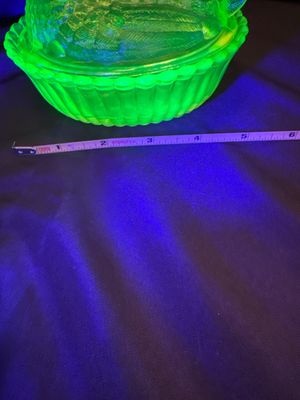
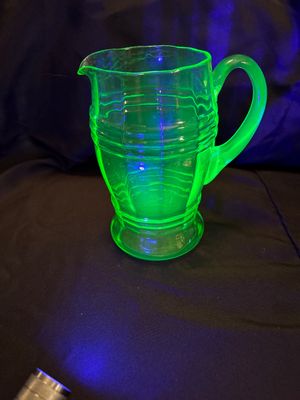
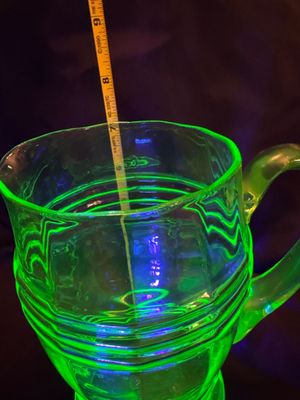
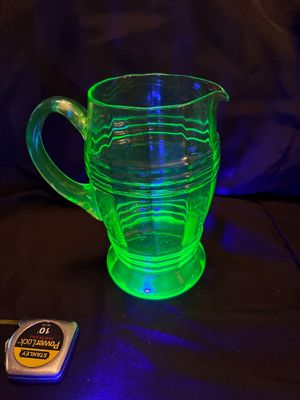
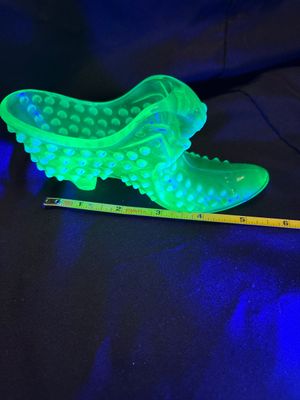
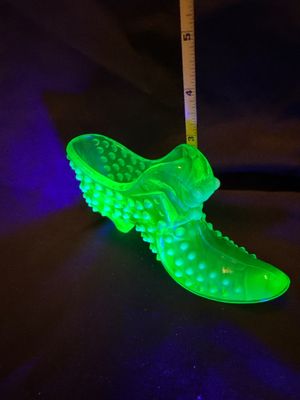
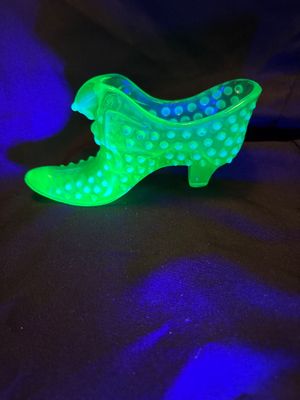
Sale Photo Thumbnail #339: Uranium!
Sale Photo Thumbnail #340: Fabulous item! See Pictures
Sale Photo Thumbnail #341: Uranium!
Sale Photo Thumbnail #342: Fabulous item! See Pictures
Sale Photo Thumbnail #343: Uranium!
Sale Photo Thumbnail #344: Fabulous item! See Pictures
Sale Photo Thumbnail #345: Uranium!
Sale Photo Thumbnail #346: Fabulous item! See Pictures
Sale Photo Thumbnail #347: Uranium!
Sale Photo Thumbnail #348: See pics
Sale Photo Thumbnail #349: See pics
Sale Photo Thumbnail #350: See pics
Sale Photo Thumbnail #351: See pics
Sale Photo Thumbnail #352: See pics
Sale Photo Thumbnail #353: See pics
Sale Photo Thumbnail #354: See pics
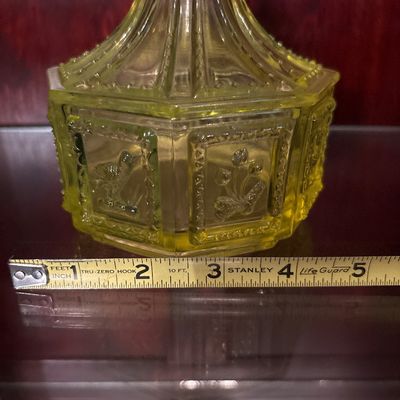
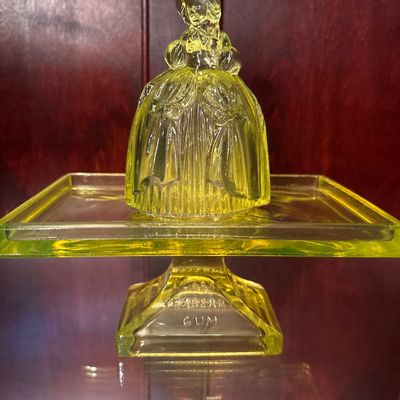
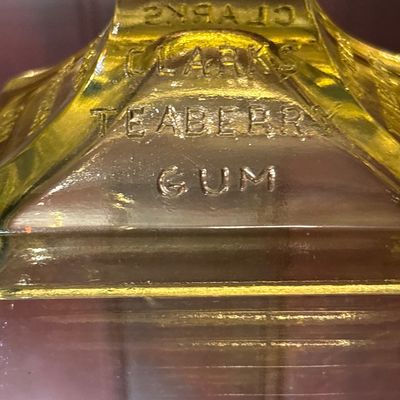
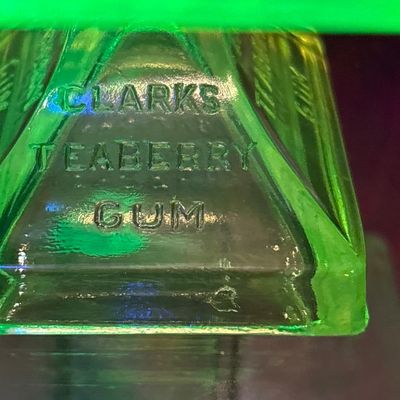
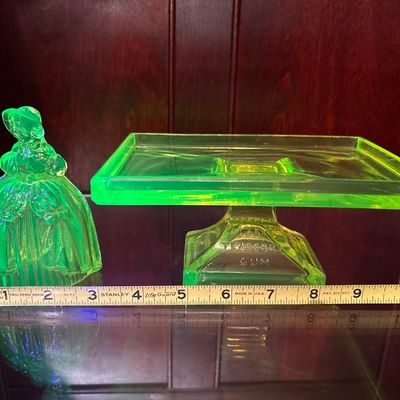
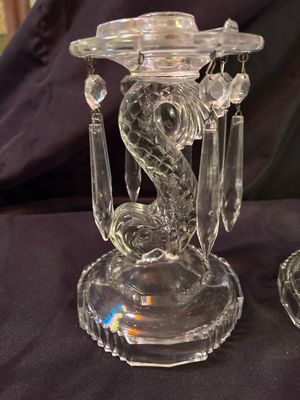
Sale Photo Thumbnail #355: See pics. Pedestal has the gum insignia on all four sides
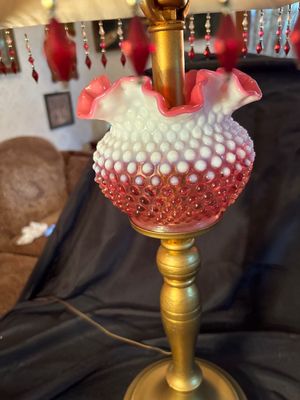
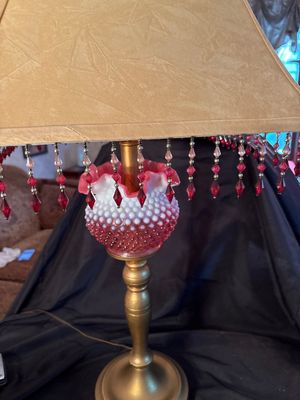
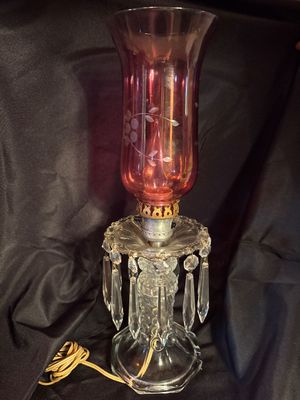
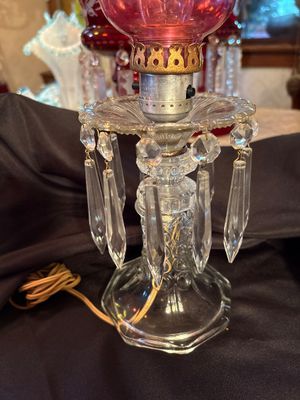
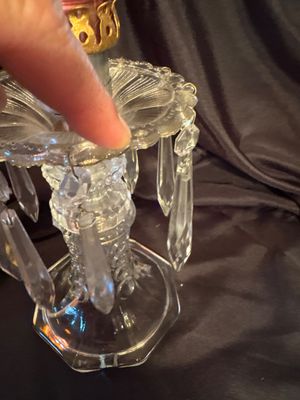
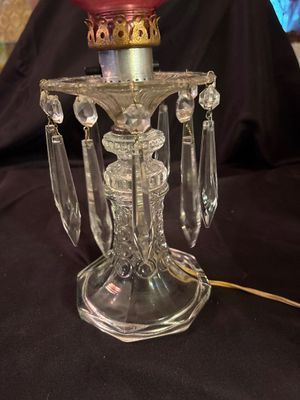
Sale Photo Thumbnail #356: One dangle is missing. Also has a chip where shown. See pictures.
Sale Photo Thumbnail #357: See pics. Pedestal has the gum insignia on all four sides
Sale Photo Thumbnail #358: One dangle is missing. Also has a chip where shown. See pictures.
Sale Photo Thumbnail #359: See pics. Pedestal has the gum insignia on all four sides
Sale Photo Thumbnail #360: One dangle is missing. Also has a chip where shown. See pictures.
Sale Photo Thumbnail #361: See pics. Pedestal has the gum insignia on all four sides
Sale Photo Thumbnail #362: One dangle is missing. Also has a chip where shown. See pictures.
Sale Photo Thumbnail #363: See pics. Pedestal has the gum insignia on all four sides
Sale Photo Thumbnail #364: One dangle is missing. Also has a chip where shown. See pictures.
Sale Photo Thumbnail #365: See pics. Pedestal has the gum insignia on all four sides
Sale Photo Thumbnail #366: One dangle is missing. Also has a chip where shown. See pictures.
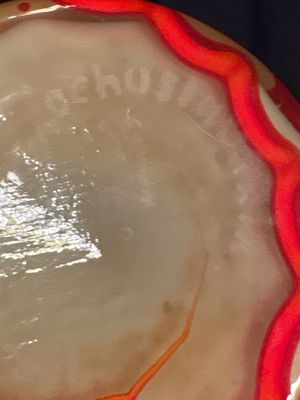
Sale Photo Thumbnail #367: See picture of marking on bottom. Believe to be Czechoslovakian.
Sale Photo Thumbnail #368: See pics
Sale Photo Thumbnail #369: See picture of marking on bottom. Believe to be Czechoslovakian.
Sale Photo Thumbnail #370: See pics
Sale Photo Thumbnail #371: See picture of marking on bottom. Believe to be Czechoslovakian.
Sale Photo Thumbnail #372: See pics
Sale Photo Thumbnail #373: See picture of marking on bottom. Believe to be Czechoslovakian.
Sale Photo Thumbnail #374: See pics
Sale Photo Thumbnail #375: See picture of marking on bottom. Believe to be Czechoslovakian.
Sale Photo Thumbnail #376: See pics
Sale Photo Thumbnail #377: See pics
Sale Photo Thumbnail #378: See pics
Sale Photo Thumbnail #379: See pics
Sale Photo Thumbnail #380: See pics
Sale Photo Thumbnail #381: See pics
Sale Photo Thumbnail #382: See pictures
Sale Photo Thumbnail #383: See pictures
Sale Photo Thumbnail #384: See pictures
Sale Photo Thumbnail #385: See pictures
Sale Photo Thumbnail #386: See pictures
Sale Photo Thumbnail #387: See pictures
Sale Photo Thumbnail #388: See pics
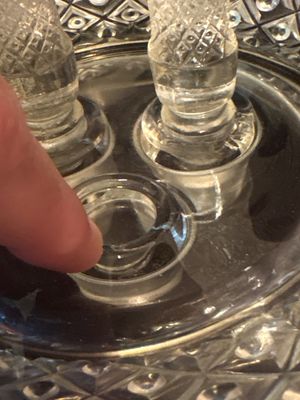
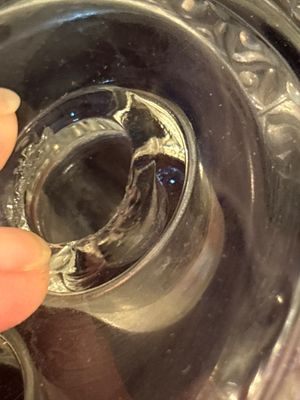
Sale Photo Thumbnail #389: Small chips in base as shown in pictures. Does not affect the vases being held in the bowl.
Sale Photo Thumbnail #390: See pics
Sale Photo Thumbnail #391: Small chips in base as shown in pictures. Does not affect the vases being held in the bowl.
Sale Photo Thumbnail #392: See pics
Sale Photo Thumbnail #393: Small chips in base as shown in pictures. Does not affect the vases being held in the bowl.
Sale Photo Thumbnail #394: See pics
Sale Photo Thumbnail #395: Small chips in base as shown in pictures. Does not affect the vases being held in the bowl.
Sale Photo Thumbnail #396: Small chips in base as shown in pictures. Does not affect the vases being held in the bowl.
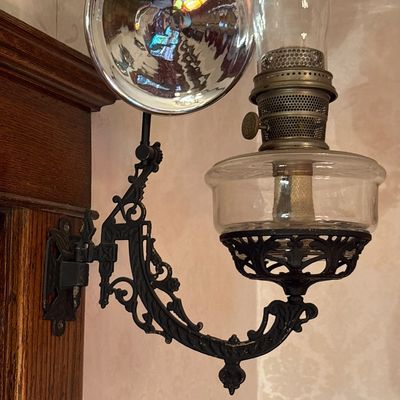
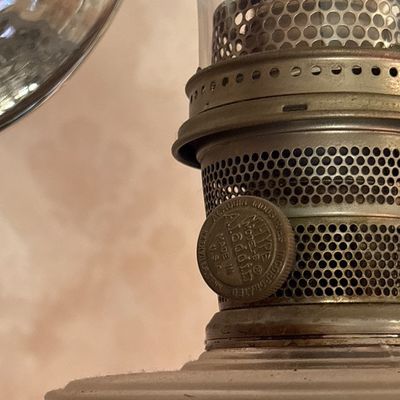
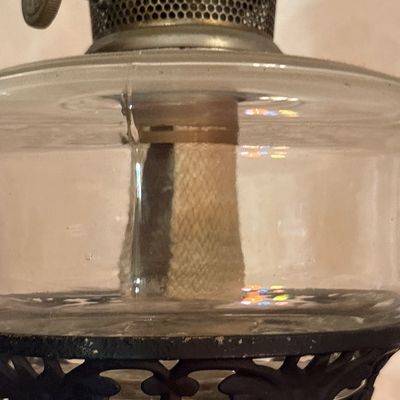
Sale Photo Thumbnail #397: Aladdin Model B lamp. Stunning!
Sale Photo Thumbnail #398: See pictures
Sale Photo Thumbnail #399: Aladdin Model B lamp. Stunning!
Sale Photo Thumbnail #400: See pictures
Sale Photo Thumbnail #401: Aladdin Model B lamp. Stunning!
Sale Photo Thumbnail #402: See pictures
Sale Photo Thumbnail #403: Aladdin Model B lamp. Stunning!
Sale Photo Thumbnail #404: See pictures
Sale Photo Thumbnail #405: Aladdin Model B lamp. Stunning!
Sale Photo Thumbnail #406: See pictures
Sale Photo Thumbnail #407: Aladdin Model B lamp. Stunning!
Sale Photo Thumbnail #408: Aladdin Model B lamp. Stunning!
Sale Photo Thumbnail #409: See pics
Sale Photo Thumbnail #410: See pictures
Sale Photo Thumbnail #411: See pics
Sale Photo Thumbnail #412: See pictures
Sale Photo Thumbnail #413: See pics
Sale Photo Thumbnail #414: See pictures
Sale Photo Thumbnail #415: See pics
Sale Photo Thumbnail #416: See pictures
Sale Photo Thumbnail #417: See pics
Sale Photo Thumbnail #418: See pictures
Sale Photo Thumbnail #419: See pics
Sale Photo Thumbnail #420: Two beautiful pieces!
Sale Photo Thumbnail #421: Two beautiful pieces!
Sale Photo Thumbnail #422: Two beautiful pieces!
Sale Photo Thumbnail #423: Two beautiful pieces!
Sale Photo Thumbnail #424: Two beautiful pieces!
Sale Photo Thumbnail #425: Two beautiful pieces!
Sale Photo Thumbnail #426: See pics. No chips or cracks
Sale Photo Thumbnail #427: See pics. No chips or cracks
Sale Photo Thumbnail #428: See pics. No chips or cracks
Sale Photo Thumbnail #429: Has a few small chips in the Top. Other than that is in great shape!
Sale Photo Thumbnail #430: See pics
Sale Photo Thumbnail #431: Has a few small chips in the Top. Other than that is in great shape!
Sale Photo Thumbnail #432: See pics
Sale Photo Thumbnail #433: Has a few small chips in the Top. Other than that is in great shape!
Sale Photo Thumbnail #434: See pics
Sale Photo Thumbnail #435: Has a few small chips in the Top. Other than that is in great shape!
Sale Photo Thumbnail #436: See pics
Sale Photo Thumbnail #437: Has a few small chips in the Top. Other than that is in great shape!
Sale Photo Thumbnail #438: See pics
Sale Photo Thumbnail #439: Has a few small chips in the Top. Other than that is in great shape!
Sale Photo Thumbnail #440: Has a few small chips in the Top. Other than that is in great shape!
Sale Photo Thumbnail #441: Has a few small chips in the Top. Other than that is in great shape!
Sale Photo Thumbnail #442: See pics
Sale Photo Thumbnail #443: Crazy cool!!
Sale Photo Thumbnail #444: See pics
Sale Photo Thumbnail #445: Crazy cool!!
Sale Photo Thumbnail #446: See pics
Sale Photo Thumbnail #447: Crazy cool!!
Sale Photo Thumbnail #448: Crazy cool!!
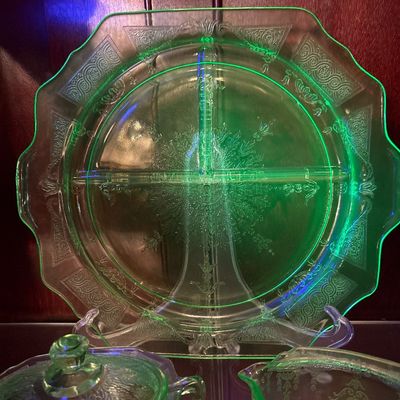
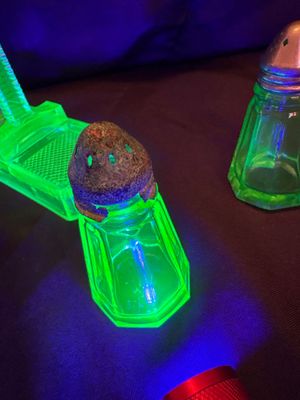
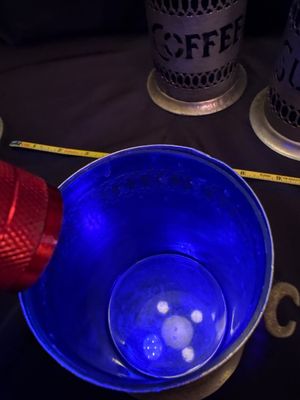
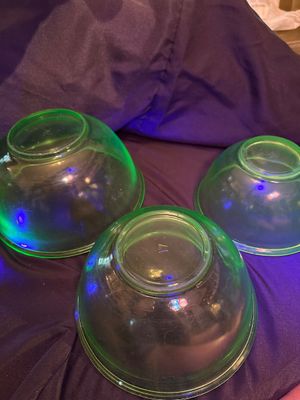
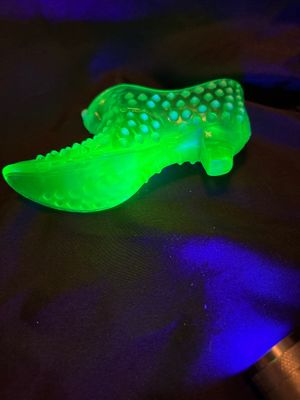
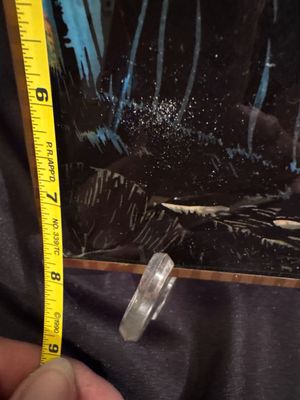
Sale Photo Thumbnail #449: See pics. Blue specs are actually reflections from flashlight
Sale Photo Thumbnail #450: See pics. Blue specs are actually reflections from flashlight
Sale Photo Thumbnail #451: See pics. Blue specs are actually reflections from flashlight
Sale Photo Thumbnail #452: See pics. Blue specs are actually reflections from flashlight
Sale Photo Thumbnail #453: See pictures
Sale Photo Thumbnail #454: See pictures
Sale Photo Thumbnail #455: See pictures
Sale Photo Thumbnail #456: See pictures
Sale Photo Thumbnail #457: See pictures
Sale Photo Thumbnail #458: See pictures
Sale Photo Thumbnail #459: See pics
Sale Photo Thumbnail #460: See pictures
Sale Photo Thumbnail #461: See pics
Sale Photo Thumbnail #462: See pictures
Sale Photo Thumbnail #463: See pics
Sale Photo Thumbnail #464: See pictures
Sale Photo Thumbnail #465: See pics
Sale Photo Thumbnail #466: See pictures
Sale Photo Thumbnail #467: See pics
Sale Photo Thumbnail #468: See pics
Sale Photo Thumbnail #469: See pics
Sale Photo Thumbnail #470: See pics
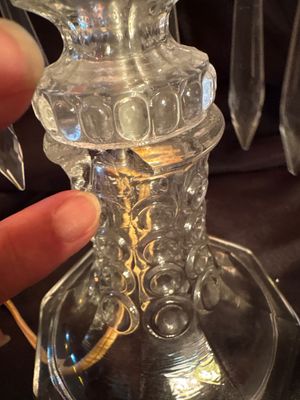
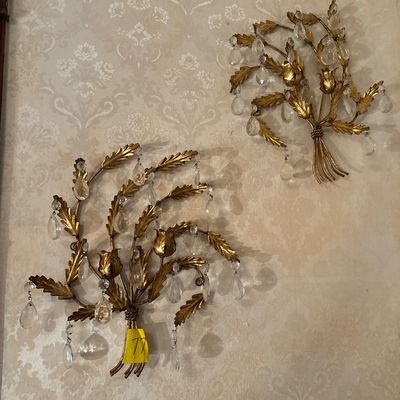
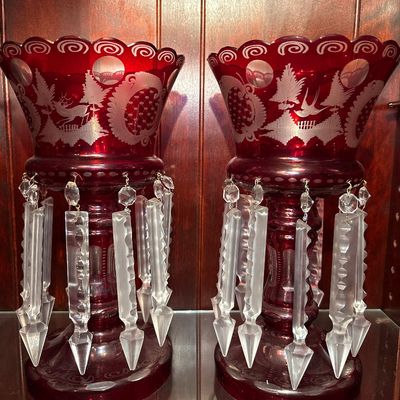
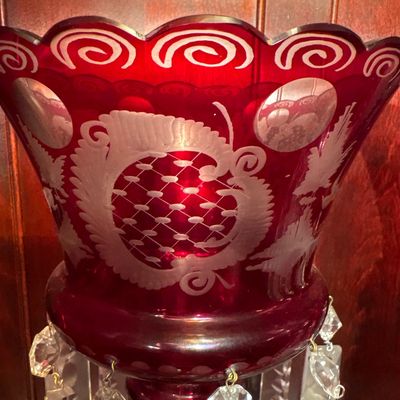
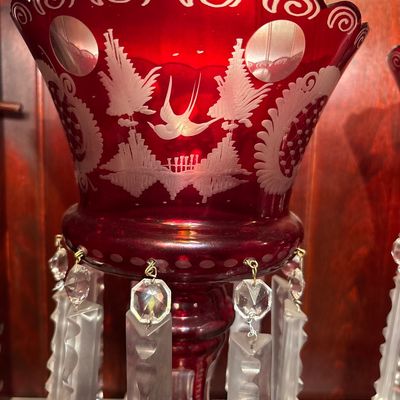
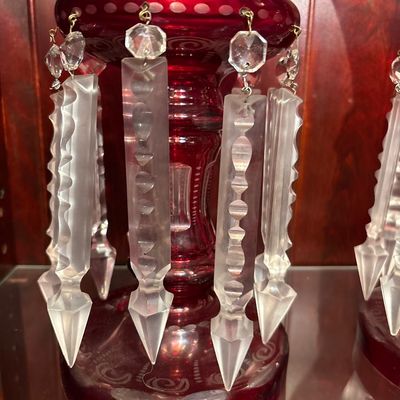
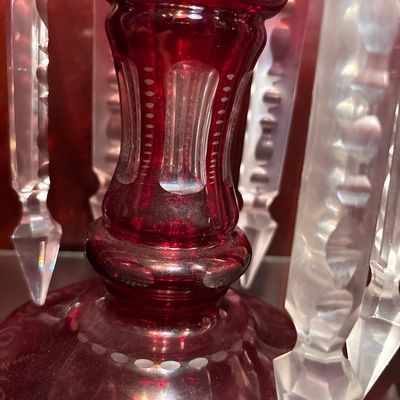
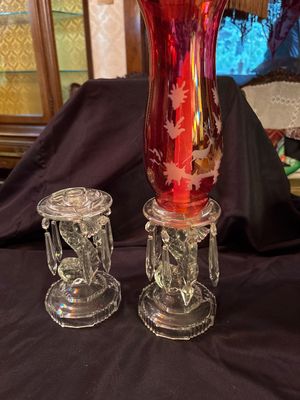
Sale Photo Thumbnail #471: Missing two dangling crystals. Also crystals do not match. One Red topper included.
Sale Photo Thumbnail #472: See pics
Sale Photo Thumbnail #473: Missing two dangling crystals. Also crystals do not match. One Red topper included.
Sale Photo Thumbnail #474: See pics
Sale Photo Thumbnail #475: Missing two dangling crystals. Also crystals do not match. One Red topper included.
Sale Photo Thumbnail #476: See pics
Sale Photo Thumbnail #477: Missing two dangling crystals. Also crystals do not match. One Red topper included.
Sale Photo Thumbnail #478: See pics
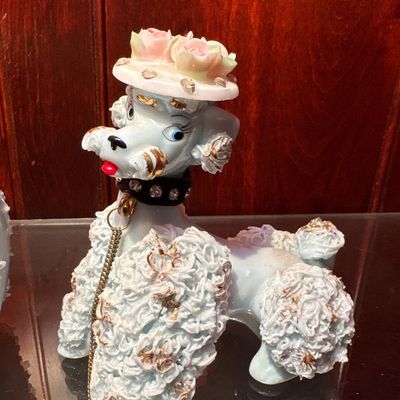
Sale Photo Thumbnail #479: Talk with rhinestone collar has two chains, but only one dog.
Sale Photo Thumbnail #480: See pictures
Sale Photo Thumbnail #481: Talk with rhinestone collar has two chains, but only one dog.
Sale Photo Thumbnail #482: See pictures
Sale Photo Thumbnail #483: Talk with rhinestone collar has two chains, but only one dog.
Sale Photo Thumbnail #484: See pictures
Sale Photo Thumbnail #485: Talk with rhinestone collar has two chains, but only one dog.
Sale Photo Thumbnail #486: See pictures
Sale Photo Thumbnail #487: Talk with rhinestone collar has two chains, but only one dog.
Sale Photo Thumbnail #488: See pictures
Sale Photo Thumbnail #489: Talk with rhinestone collar has two chains, but only one dog.
Sale Photo Thumbnail #490: See pictures
Sale Photo Thumbnail #491: See pictures
Sale Photo Thumbnail #492: In Blonde leather
Sale Photo Thumbnail #493: See pictures
Sale Photo Thumbnail #494: In Blonde leather
Sale Photo Thumbnail #495: See pictures
Sale Photo Thumbnail #496: In Blonde leather
Sale Photo Thumbnail #497: See pictures
Sale Photo Thumbnail #498: In Blonde leather
Sale Photo Thumbnail #499: See pictures
Sale Photo Thumbnail #500: In Blonde leather
Sale Photo Thumbnail #501: See pictures
Sale Photo Thumbnail #502: See pics
Sale Photo Thumbnail #503: See pictures
Sale Photo Thumbnail #504: See pics
Sale Photo Thumbnail #505: See pictures
Sale Photo Thumbnail #506: See pics
Sale Photo Thumbnail #507: See pictures
Sale Photo Thumbnail #508: See pics
Sale Photo Thumbnail #509: See pictures
Sale Photo Thumbnail #510: See pics
Sale Photo Thumbnail #511: See pics
Sale Photo Thumbnail #512: See pics
Sale Photo Thumbnail #513: See pics
Sale Photo Thumbnail #514: See pics
Sale Photo Thumbnail #515: See pictures
Sale Photo Thumbnail #516: See pics
Sale Photo Thumbnail #517: See pictures
Sale Photo Thumbnail #518: See pics
Sale Photo Thumbnail #519: See pictures
Sale Photo Thumbnail #520: See pics
Sale Photo Thumbnail #521: See pictures
Sale Photo Thumbnail #522: See pics
Sale Photo Thumbnail #523: See pictures
Sale Photo Thumbnail #524: See pics
Sale Photo Thumbnail #525: See pictures
Sale Photo Thumbnail #526: See pics
Sale Photo Thumbnail #527: See pictures
Sale Photo Thumbnail #528: See pics
Sale Photo Thumbnail #529: Each approximately 9”x7”
Sale Photo Thumbnail #530: Each approximately 9”x7”
Sale Photo Thumbnail #531: Each approximately 9”x7”
Sale Photo Thumbnail #532: Each approximately 9”x7”
Sale Photo Thumbnail #533: Each approximately 9”x7”
Sale Photo Thumbnail #534: See pics
Sale Photo Thumbnail #535: See pics
Sale Photo Thumbnail #536: See pics
Sale Photo Thumbnail #537: See pics
Sale Photo Thumbnail #538: See pics
Sale Photo Thumbnail #539: See pictures
Sale Photo Thumbnail #540: See pictures
Sale Photo Thumbnail #541: See pictures
Sale Photo Thumbnail #542: See pictures
Sale Photo Thumbnail #543: See pictures
Sale Photo Thumbnail #544: See pictures
Sale Photo Thumbnail #545: See pictures
Sale Photo Thumbnail #546: See pictures
Sale Photo Thumbnail #547: See pictures
Sale Photo Thumbnail #548: See pictures
Sale Photo Thumbnail #549: See pictures
Sale Photo Thumbnail #550: Awesome! See pictures
Sale Photo Thumbnail #551: Awesome! See pictures
Sale Photo Thumbnail #552: Awesome! See pictures
Sale Photo Thumbnail #553: Awesome! See pictures
Sale Photo Thumbnail #554: Awesome! See pictures
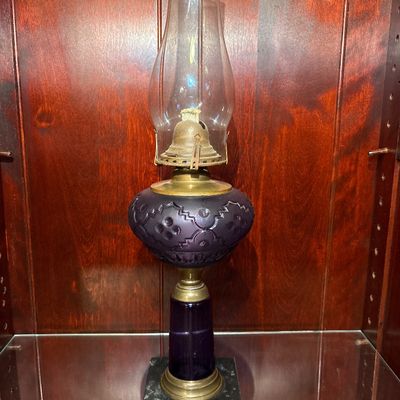
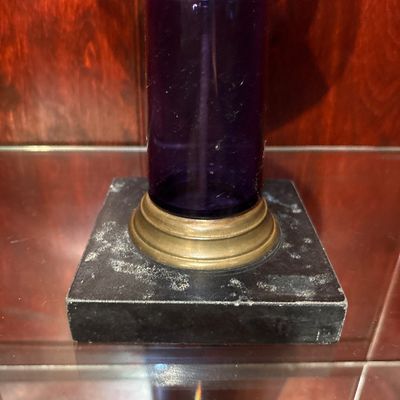
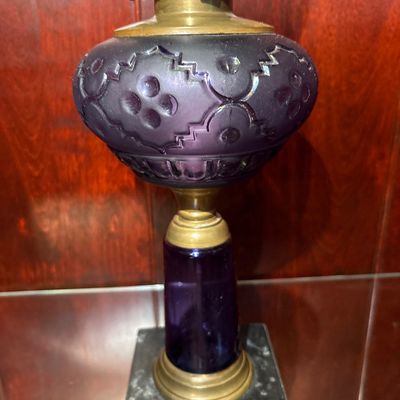
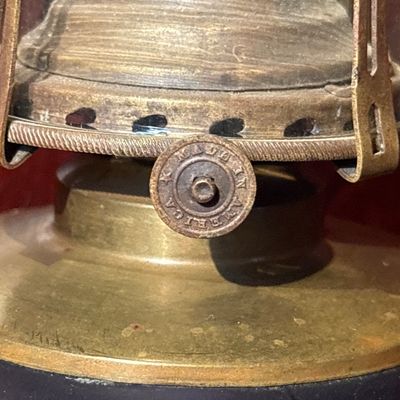
Sale Photo Thumbnail #555: antique Victorian amethyst glass and brass kerosene/oil lamp, likely dating to the late 19th century (circa 1860–1880s), featuring a patterned purple glass font, a brass connector, and a square marble base
Sale Photo Thumbnail #556: antique Victorian amethyst glass and brass kerosene/oil lamp, likely dating to the late 19th century (circa 1860–1880s), featuring a patterned purple glass font, a brass connector, and a square marble base
Sale Photo Thumbnail #557: antique Victorian amethyst glass and brass kerosene/oil lamp, likely dating to the late 19th century (circa 1860–1880s), featuring a patterned purple glass font, a brass connector, and a square marble base
Sale Photo Thumbnail #558: antique Victorian amethyst glass and brass kerosene/oil lamp, likely dating to the late 19th century (circa 1860–1880s), featuring a patterned purple glass font, a brass connector, and a square marble base
Sale Photo Thumbnail #559: See pics
Sale Photo Thumbnail #560: See pics
Sale Photo Thumbnail #561: See pics
Sale Photo Thumbnail #562: See pics
Sale Photo Thumbnail #563: See pics
Sale Photo Thumbnail #564: See pics
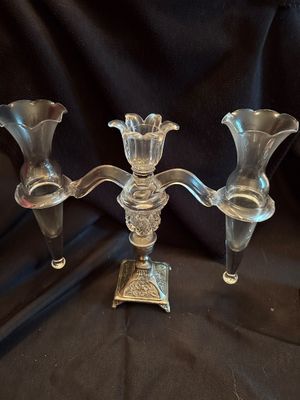
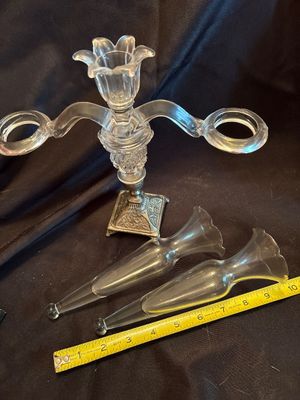
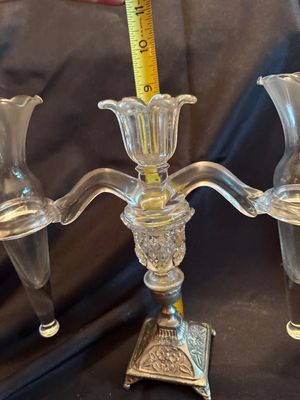
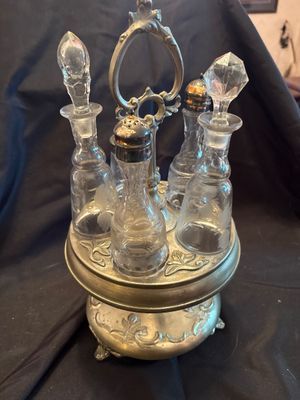
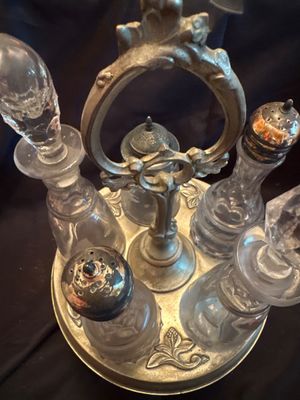
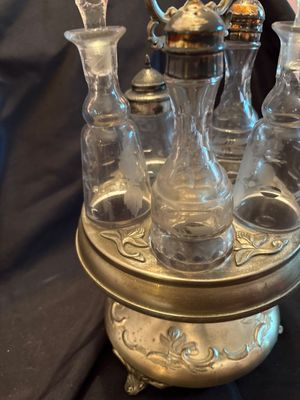
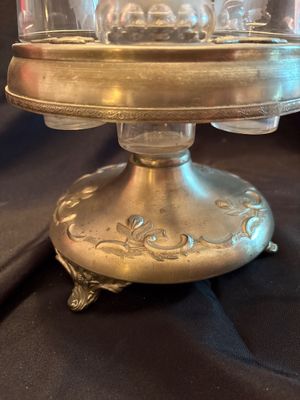
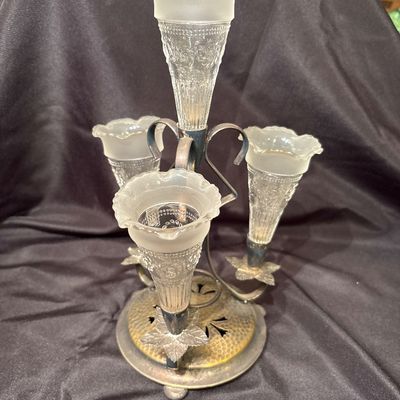
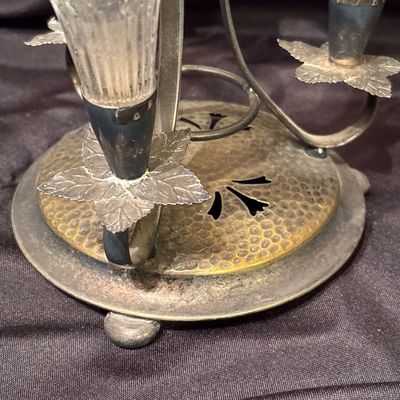
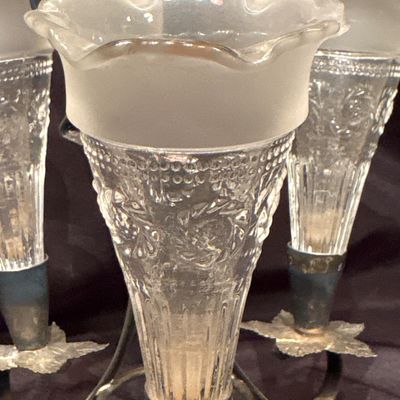
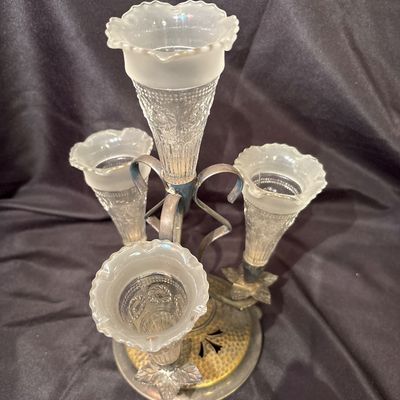
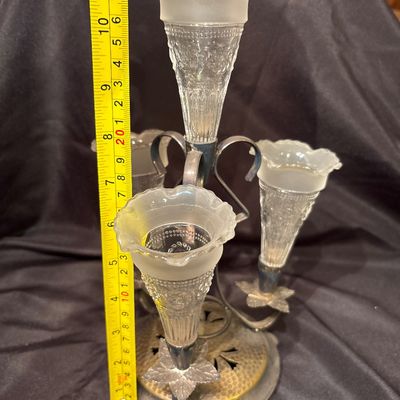
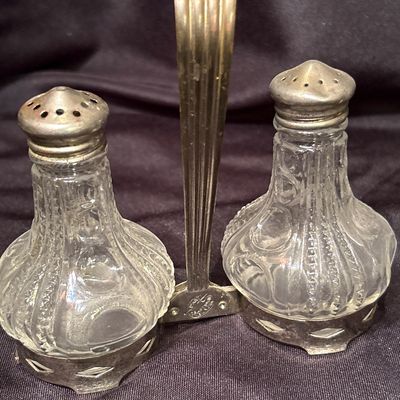
Sale Photo Thumbnail #565: antique Edwardian/Art Nouveau silver-plated epergne (table centerpiece) dating to around 1900, featuring a hammered metal base with scroll arms and four frosted, fluted glass trumpets or bud vases
Sale Photo Thumbnail #566: antique Edwardian/Art Nouveau silver-plated epergne (table centerpiece) dating to around 1900, featuring a hammered metal base with scroll arms and four frosted, fluted glass trumpets or bud vases
Sale Photo Thumbnail #567: antique Edwardian/Art Nouveau silver-plated epergne (table centerpiece) dating to around 1900, featuring a hammered metal base with scroll arms and four frosted, fluted glass trumpets or bud vases
Sale Photo Thumbnail #568: antique Edwardian/Art Nouveau silver-plated epergne (table centerpiece) dating to around 1900, featuring a hammered metal base with scroll arms and four frosted, fluted glass trumpets or bud vases
Sale Photo Thumbnail #569: antique Edwardian/Art Nouveau silver-plated epergne (table centerpiece) dating to around 1900, featuring a hammered metal base with scroll arms and four frosted, fluted glass trumpets or bud vases
Sale Photo Thumbnail #570: See pics. Last picture shows a flaw, it does not a crack that goes through a piece.
Sale Photo Thumbnail #571: See pics. Last picture shows a flaw, it does not a crack that goes through a piece.
Sale Photo Thumbnail #572: See pics. Last picture shows a flaw, it does not a crack that goes through a piece.
Sale Photo Thumbnail #573: See pics. Last picture shows a flaw, it does not a crack that goes through a piece.
Sale Photo Thumbnail #574: See pics. Last picture shows a flaw, it does not a crack that goes through a piece.
Sale Photo Thumbnail #575: See pics
Sale Photo Thumbnail #576: See pics
Sale Photo Thumbnail #577: See pics
Sale Photo Thumbnail #578: See pics
Sale Photo Thumbnail #579: See pics
Sale Photo Thumbnail #580: See pics
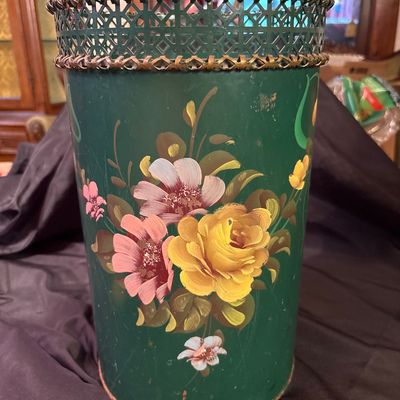
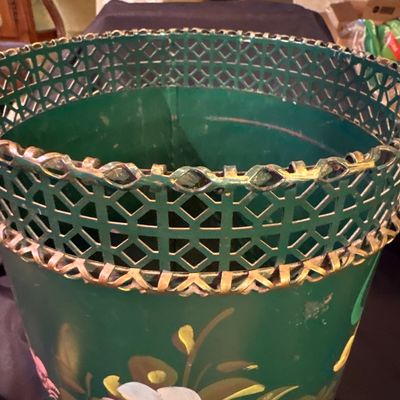
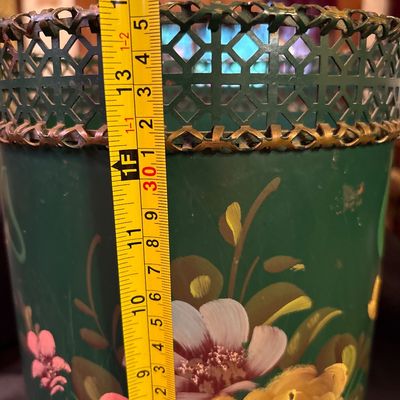
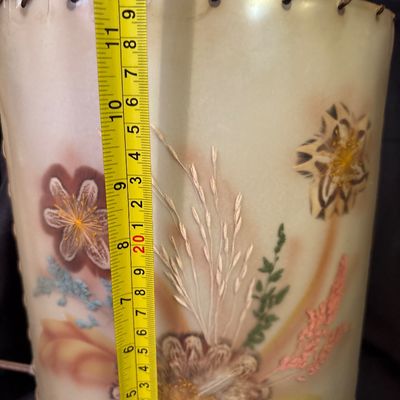
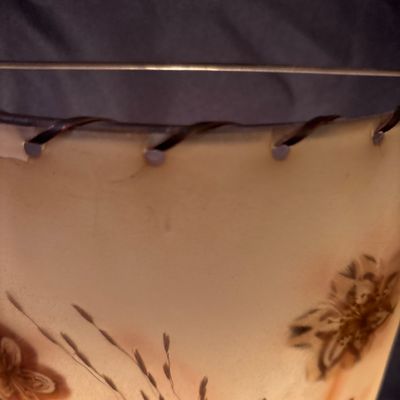
Sale Photo Thumbnail #581: Vintage Beautiful Tole Cut Out Metal Edging Design Hand Painted Floral Wastebasket
Sale Photo Thumbnail #582: Vintage Beautiful Tole Cut Out Metal Edging Design Hand Painted Floral Wastebasket
Sale Photo Thumbnail #583: Vintage Beautiful Tole Cut Out Metal Edging Design Hand Painted Floral Wastebasket
Sale Photo Thumbnail #584: Vintage Beautiful Tole Cut Out Metal Edging Design Hand Painted Floral Wastebasket
Sale Photo Thumbnail #585: 14x12x15
Sale Photo Thumbnail #586: 14x12x15
Sale Photo Thumbnail #587: 14x12x15
Sale Photo Thumbnail #588: 14x12x15
Sale Photo Thumbnail #589: 14x12x15
Sale Photo Thumbnail #590: 14x12x15
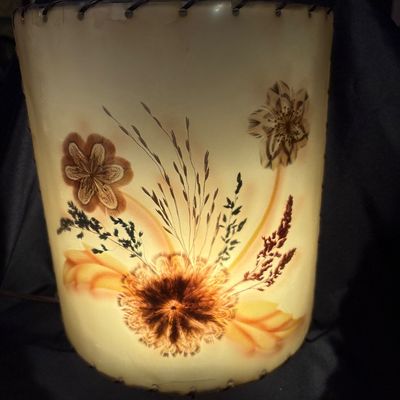
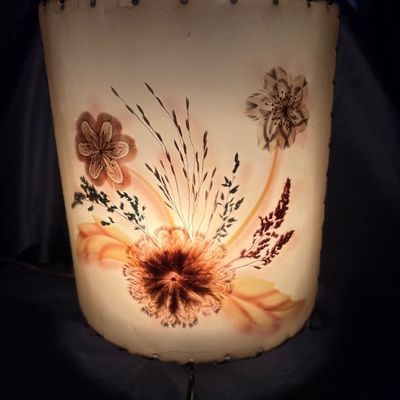
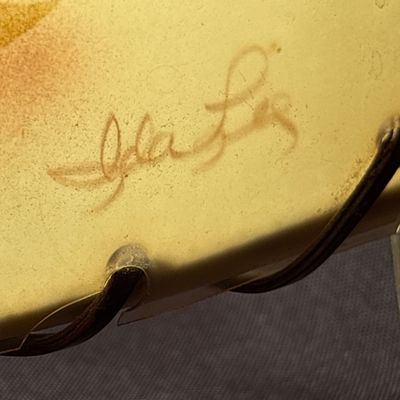
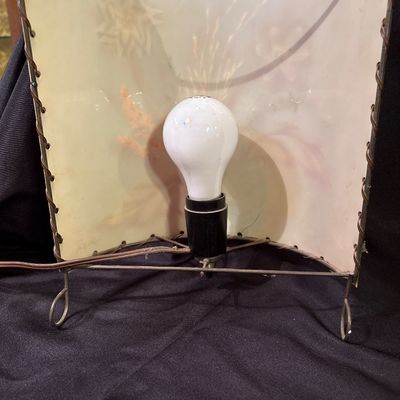
Sale Photo Thumbnail #591: North Dakota artist Ida Lee created this electric wall Lamp sconce using Dakota native grasses and native bird feathers. She is also known for her wall pictures under her name of Ida Prokop Bisek, Ida Lee Prokop or Ida Lee Prokop Bisek. This sconce is app
Sale Photo Thumbnail #592: North Dakota artist Ida Lee created this electric wall Lamp sconce using Dakota native grasses and native bird feathers. She is also known for her wall pictures under her name of Ida Prokop Bisek, Ida Lee Prokop or Ida Lee Prokop Bisek. This sconce is app
Sale Photo Thumbnail #593: North Dakota artist Ida Lee created this electric wall Lamp sconce using Dakota native grasses and native bird feathers. She is also known for her wall pictures under her name of Ida Prokop Bisek, Ida Lee Prokop or Ida Lee Prokop Bisek. This sconce is app
Sale Photo Thumbnail #594: North Dakota artist Ida Lee created this electric wall Lamp sconce using Dakota native grasses and native bird feathers. She is also known for her wall pictures under her name of Ida Prokop Bisek, Ida Lee Prokop or Ida Lee Prokop Bisek. This sconce is app
Sale Photo Thumbnail #595: North Dakota artist Ida Lee created this electric wall Lamp sconce using Dakota native grasses and native bird feathers. She is also known for her wall pictures under her name of Ida Prokop Bisek, Ida Lee Prokop or Ida Lee Prokop Bisek. This sconce is app
Sale Photo Thumbnail #596: North Dakota artist Ida Lee created this electric wall Lamp sconce using Dakota native grasses and native bird feathers. She is also known for her wall pictures under her name of Ida Prokop Bisek, Ida Lee Prokop or Ida Lee Prokop Bisek. This sconce is app
Sale Photo Thumbnail #597: North Dakota artist Ida Lee created this electric wall Lamp sconce using Dakota native grasses and native bird feathers. She is also known for her wall pictures under her name of Ida Prokop Bisek, Ida Lee Prokop or Ida Lee Prokop Bisek. This sconce is app
Sale Photo Thumbnail #598: See pics
Sale Photo Thumbnail #599: See pics
Sale Photo Thumbnail #600: See pics
Sale Photo Thumbnail #601: See pics
Sale Photo Thumbnail #602: See pics
Sale Photo Thumbnail #603: See pics
Sale Photo Thumbnail #604: See pics. Approx 15” high
Sale Photo Thumbnail #605: See pics. Approx 15” high
Sale Photo Thumbnail #606: See pics. Approx 15” high
Sale Photo Thumbnail #607: See pics. Approx 15” high
Sale Photo Thumbnail #608: See pics. Approx 15” high
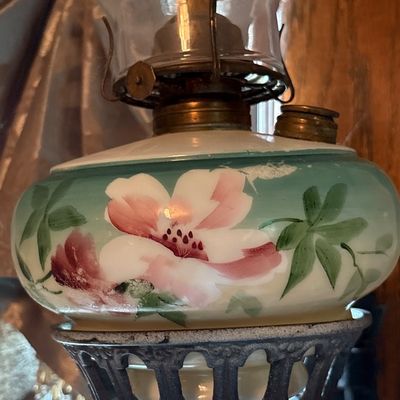
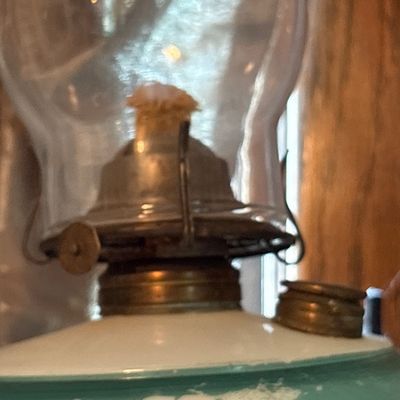
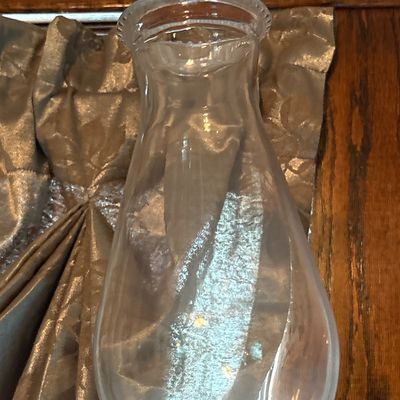
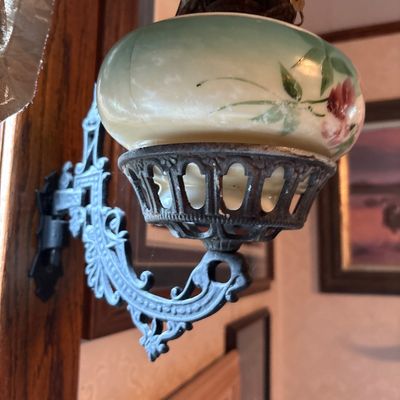
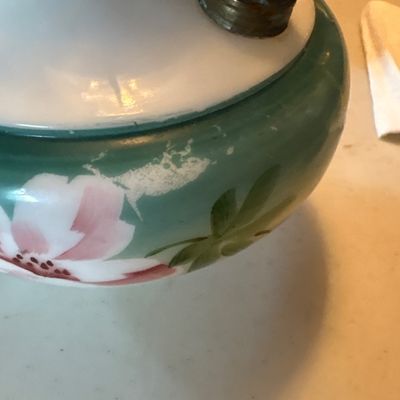
Sale Photo Thumbnail #609: Gorgeous original oil lamp with hand painted
Sale Photo Thumbnail #610: Gorgeous original oil lamp with hand painted
Sale Photo Thumbnail #611: Gorgeous original oil lamp with hand painted
Sale Photo Thumbnail #612: Gorgeous original oil lamp with hand painted
Sale Photo Thumbnail #613: See pics. A few areas that are damaged, shown in pics
Sale Photo Thumbnail #614: See pics. A few areas that are damaged, shown in pics
Sale Photo Thumbnail #615: See pics. A few areas that are damaged, shown in pics
Sale Photo Thumbnail #616: See pics. A few areas that are damaged, shown in pics
Sale Photo Thumbnail #617: See pics. A few areas that are damaged, shown in pics
Sale Photo Thumbnail #618: See pics. A few areas that are damaged, shown in pics
Sale Photo Thumbnail #619: See pics. A few areas that are damaged, shown in pics
Sale Photo Thumbnail #620: See pics. A few areas that are damaged, shown in pics
Sale Photo Thumbnail #621: See pics. A few areas that are damaged, shown in pics
Sale Photo Thumbnail #622: See pics. A few areas that are damaged, shown in pics
Sale Photo Thumbnail #623: See pics
Sale Photo Thumbnail #624: See pics
Sale Photo Thumbnail #625: See pics
Sale Photo Thumbnail #626: See pics
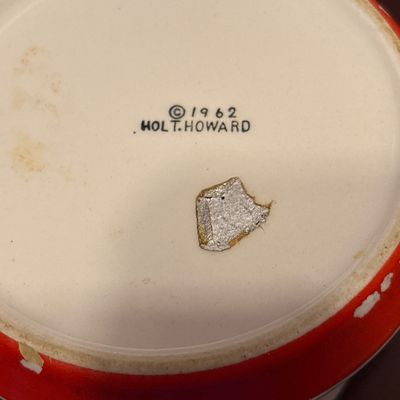
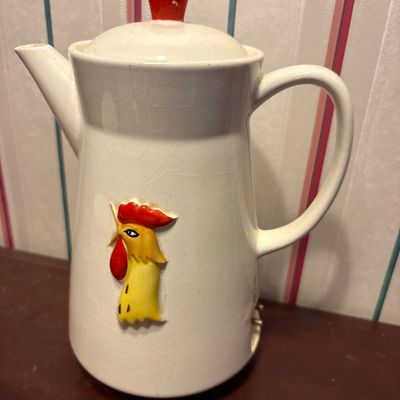
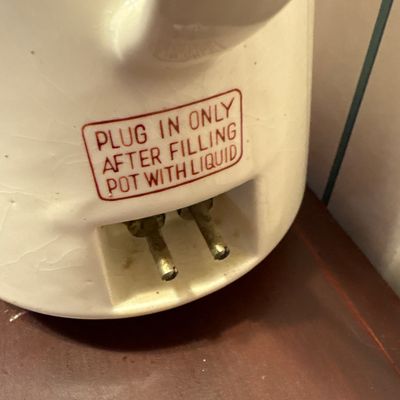
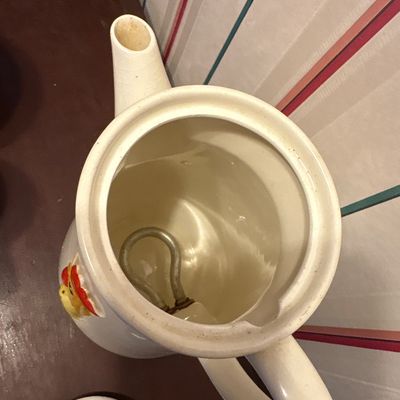
Sale Photo Thumbnail #627: Coffee pot does not have electrical cord
Sale Photo Thumbnail #628: Coffee pot does not have electrical cord
Sale Photo Thumbnail #629: Coffee pot does not have electrical cord
Sale Photo Thumbnail #630: Coffee pot does not have electrical cord
Sale Photo Thumbnail #631: Coffee pot does not have electrical cord
Sale Photo Thumbnail #632: Coffee pot does not have electrical cord
Sale Photo Thumbnail #633: Coffee pot does not have electrical cord
Sale Photo Thumbnail #634: See pics. 30” high
Sale Photo Thumbnail #635: See pics. 30” high
Sale Photo Thumbnail #636: See pics. 30” high
Sale Photo Thumbnail #637: See pics. 30” high
Sale Photo Thumbnail #638: See pics. 30” high
Sale Photo Thumbnail #639: See pics. 30” high
Sale Photo Thumbnail #640: See pics
Sale Photo Thumbnail #641: See pics
Sale Photo Thumbnail #642: See pics
Sale Photo Thumbnail #643: See pics
Sale Photo Thumbnail #644: See pics
Sale Photo Thumbnail #645: See pics
Sale Photo Thumbnail #646: See pics
Sale Photo Thumbnail #647: See pics
Sale Photo Thumbnail #648: See pics
Sale Photo Thumbnail #649: See pics
Sale Photo Thumbnail #650: See pics
Sale Photo Thumbnail #651: See pics
Sale Photo Thumbnail #652: See pics
Sale Photo Thumbnail #653: See pics
Sale Photo Thumbnail #654: See pics
Sale Photo Thumbnail #655: See pics
Sale Photo Thumbnail #656: See pics
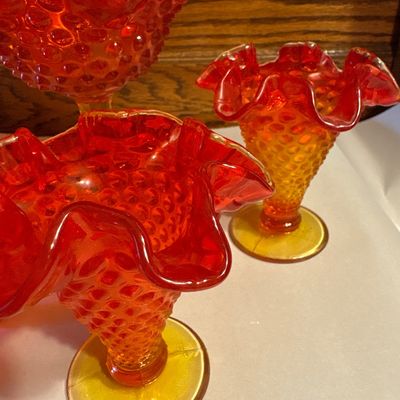
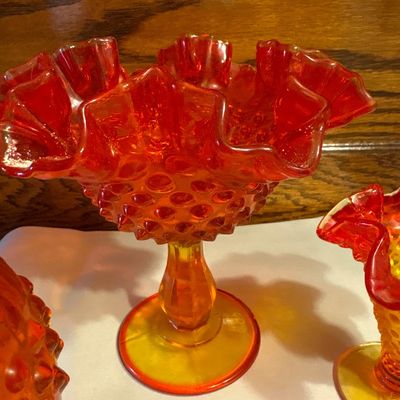
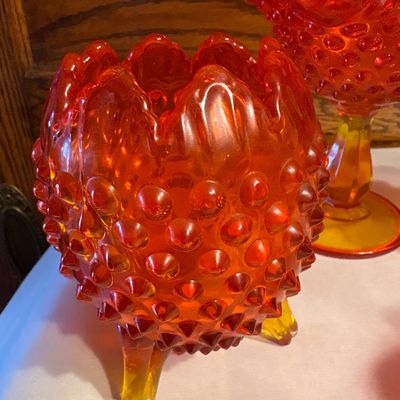
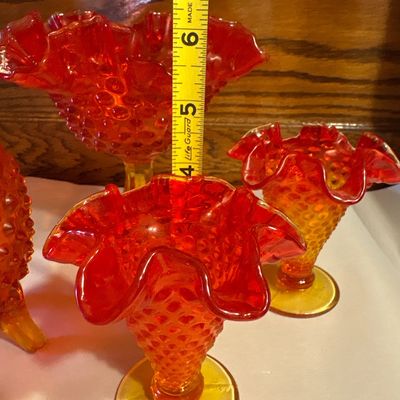
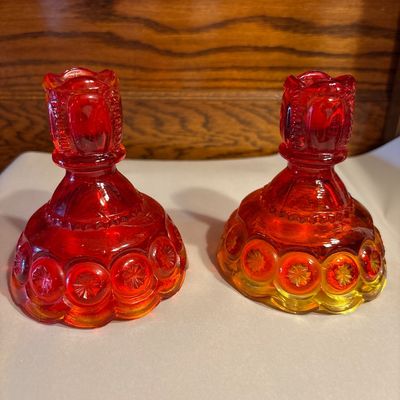
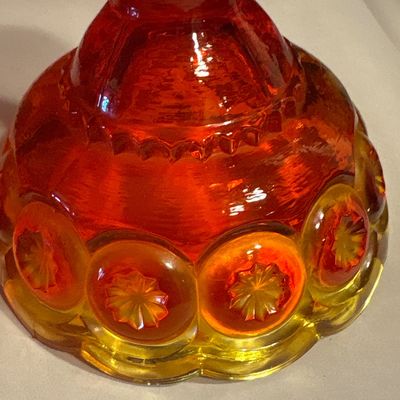
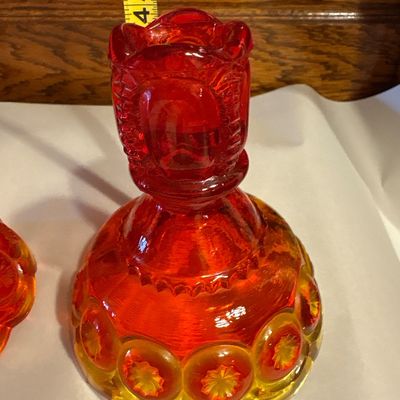
Sale Photo Thumbnail #657: vintage L.E. Smith Glass Co. Amberina "Moon and Stars" pattern candlestick holders, measuring approximately 4.5 inches tall.
Sale Photo Thumbnail #658: vintage L.E. Smith Glass Co. Amberina "Moon and Stars" pattern candlestick holders, measuring approximately 4.5 inches tall.
Sale Photo Thumbnail #659: vintage L.E. Smith Glass Co. Amberina "Moon and Stars" pattern candlestick holders, measuring approximately 4.5 inches tall.
Sale Photo Thumbnail #660: See pics
Sale Photo Thumbnail #661: See pics
Sale Photo Thumbnail #662: See pics
Sale Photo Thumbnail #663: See pics
Sale Photo Thumbnail #664: See pics
Sale Photo Thumbnail #665: See pics
Sale Photo Thumbnail #666: See pics
Sale Photo Thumbnail #667: See pics
Sale Photo Thumbnail #668: See pics
Sale Photo Thumbnail #669: See pics
Sale Photo Thumbnail #670: See pics
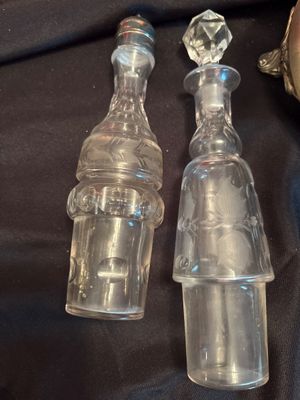
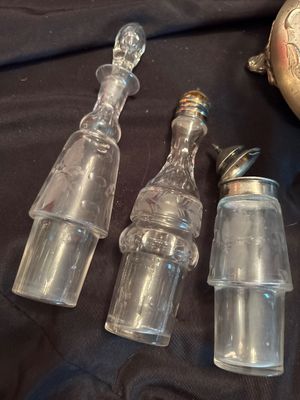
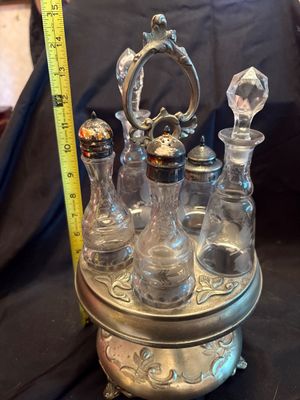
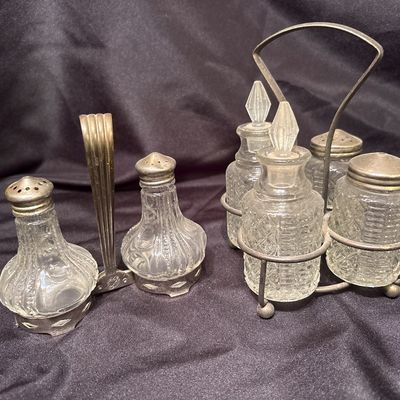
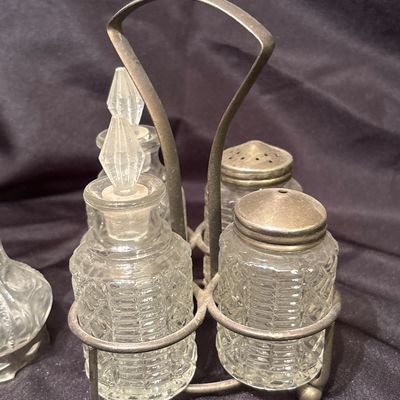
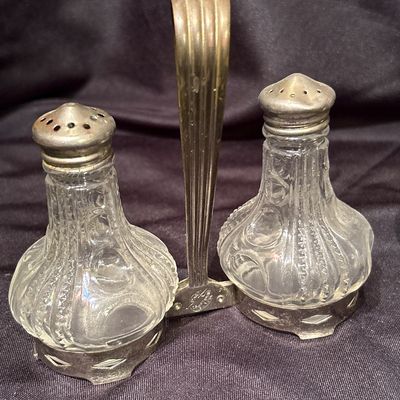
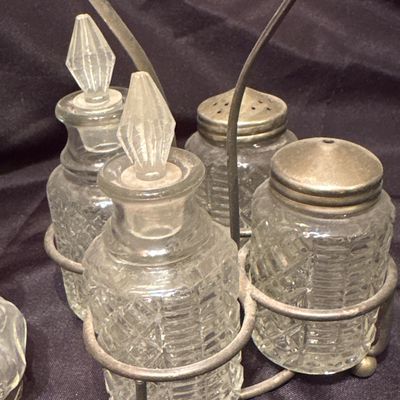
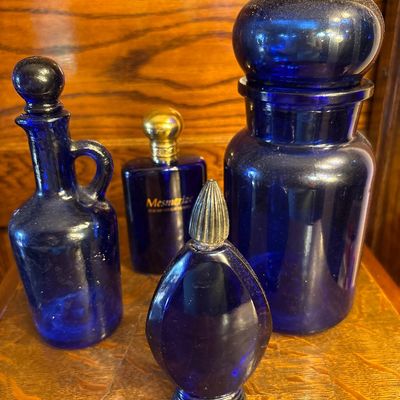
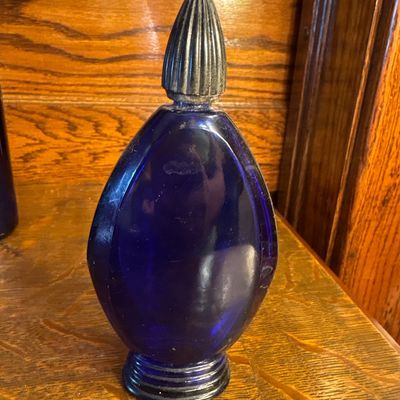
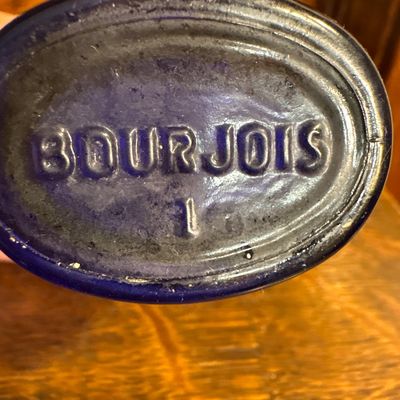
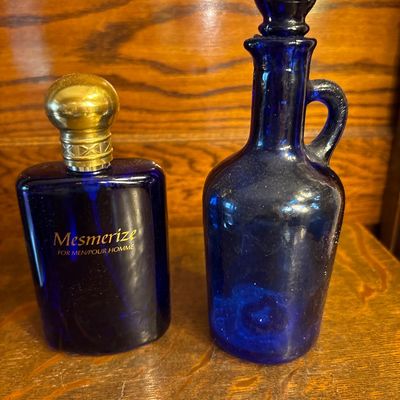
Sale Photo Thumbnail #671: Includes cruet, perfume bottles, and more
Sale Photo Thumbnail #672: Includes cruet, perfume bottles, and more
Sale Photo Thumbnail #673: Includes cruet, perfume bottles, and more
Sale Photo Thumbnail #674: Includes cruet, perfume bottles, and more
Sale Photo Thumbnail #675: Includes cruet, perfume bottles, and more
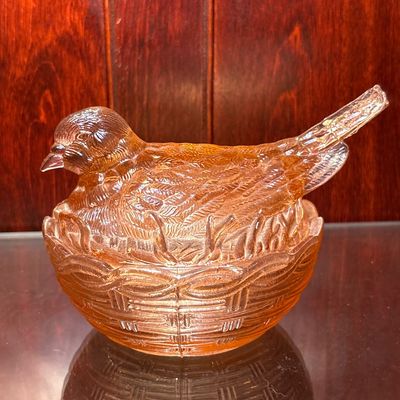
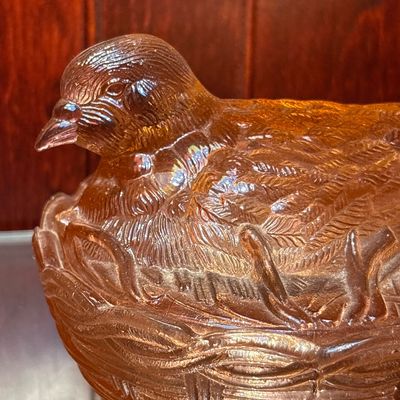
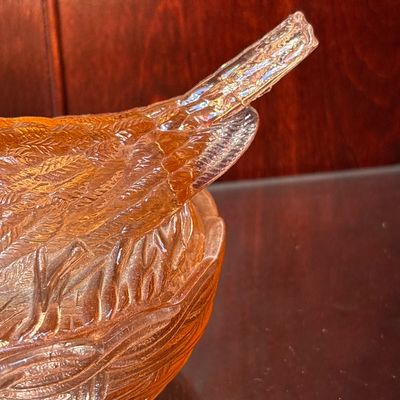
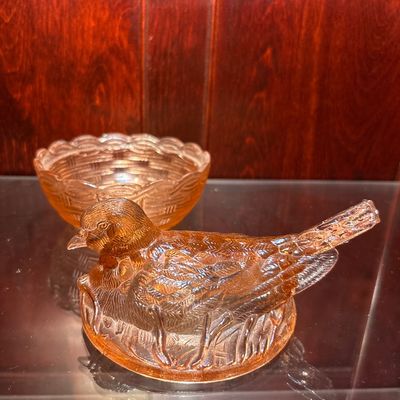
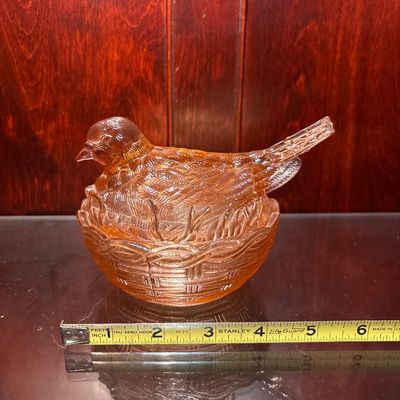
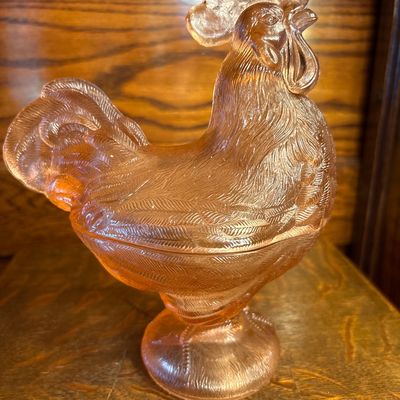
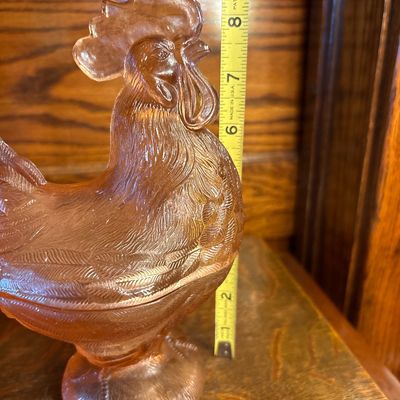
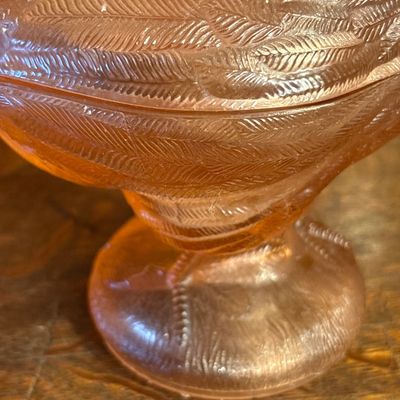
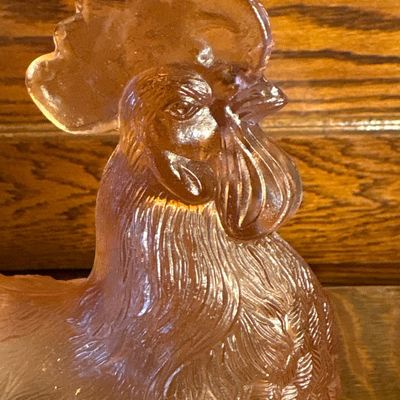
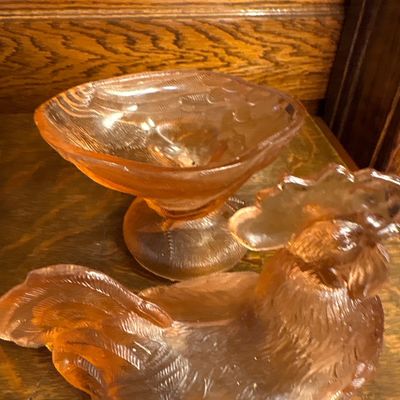
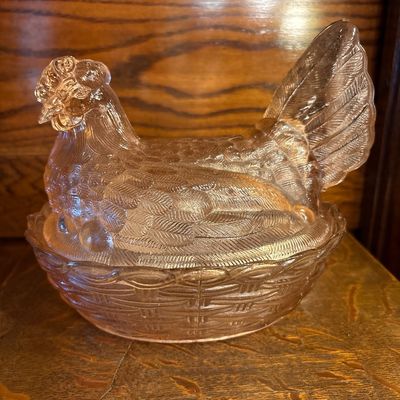
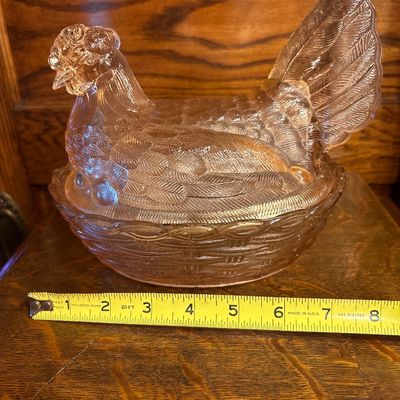
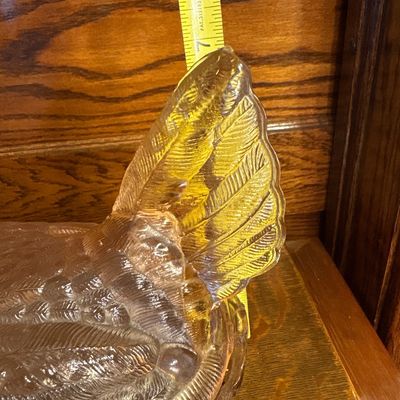
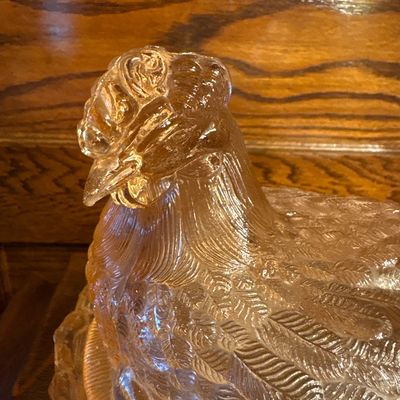
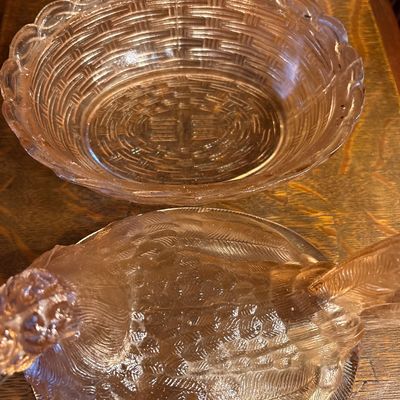
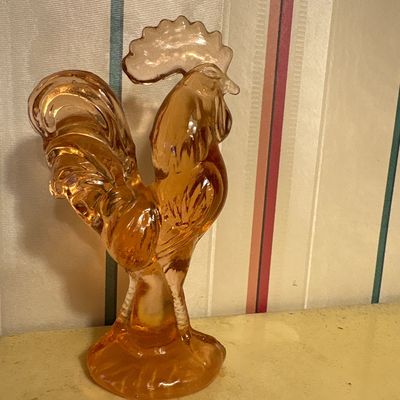
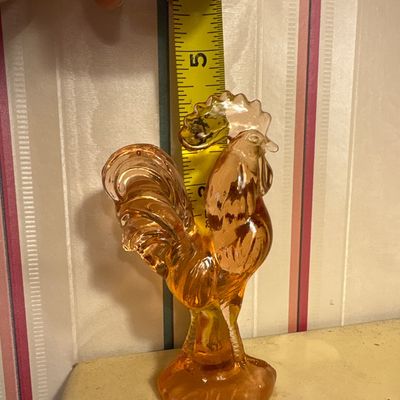
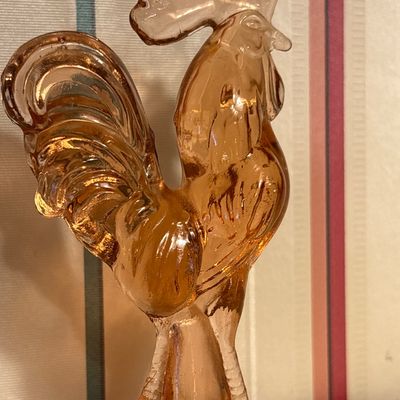
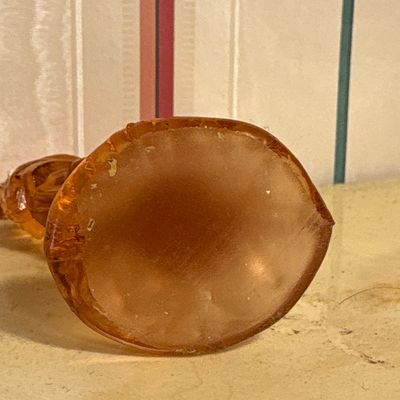
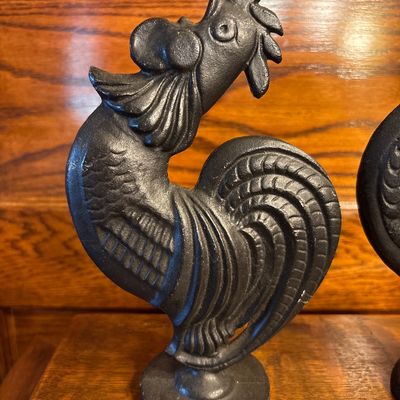
Sale Photo Thumbnail #676: vintage Westmoreland Pink Glass Rooster Covered Dish featuring a translucent peach-pink hue and a pedestal base, popular from the mid-century 1960s era.
Sale Photo Thumbnail #677: vintage Westmoreland Pink Glass Rooster Covered Dish featuring a translucent peach-pink hue and a pedestal base, popular from the mid-century 1960s era.
Sale Photo Thumbnail #678: vintage Westmoreland Pink Glass Rooster Covered Dish featuring a translucent peach-pink hue and a pedestal base, popular from the mid-century 1960s era.
Sale Photo Thumbnail #679: vintage Westmoreland Pink Glass Rooster Covered Dish featuring a translucent peach-pink hue and a pedestal base, popular from the mid-century 1960s era.
Sale Photo Thumbnail #680: vintage Westmoreland Pink Glass Rooster Covered Dish featuring a translucent peach-pink hue and a pedestal base, popular from the mid-century 1960s era.
Sale Photo Thumbnail #681: See pics
Sale Photo Thumbnail #682: See pics
Sale Photo Thumbnail #683: See pics
Sale Photo Thumbnail #684: See pics
Sale Photo Thumbnail #685: See pics
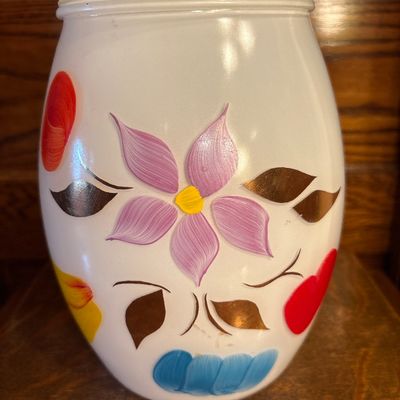
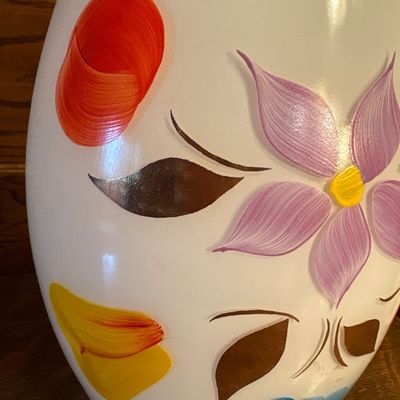
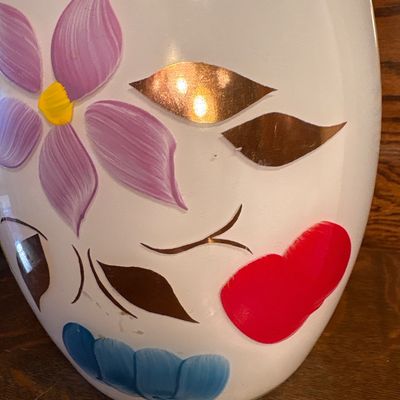
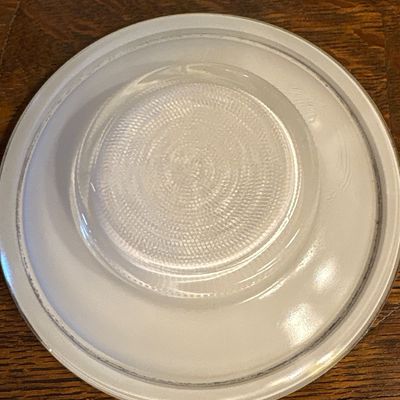
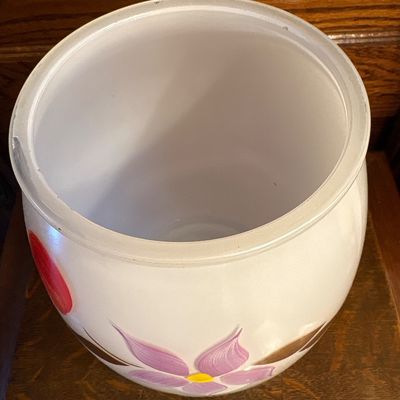
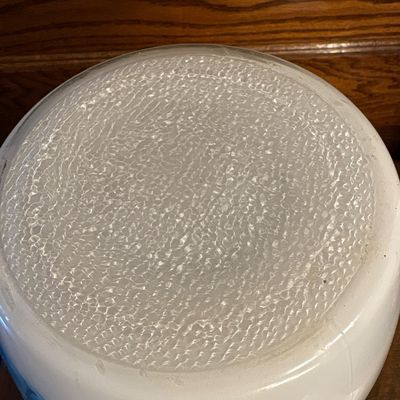
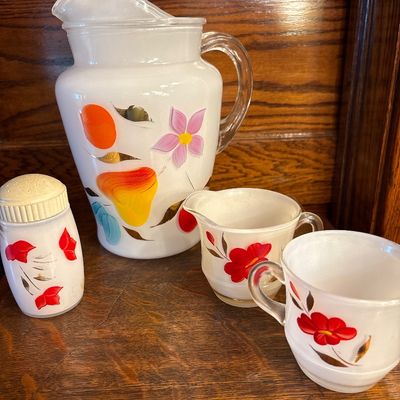
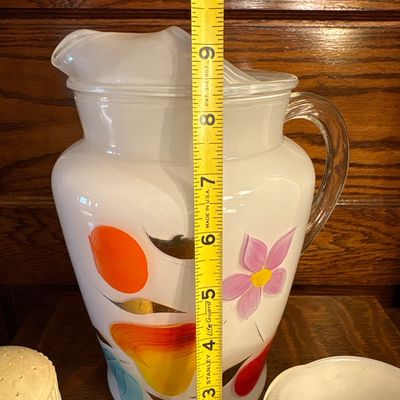
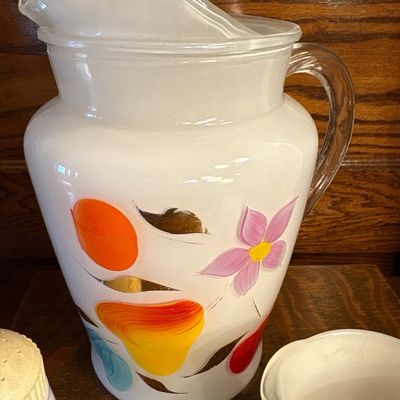
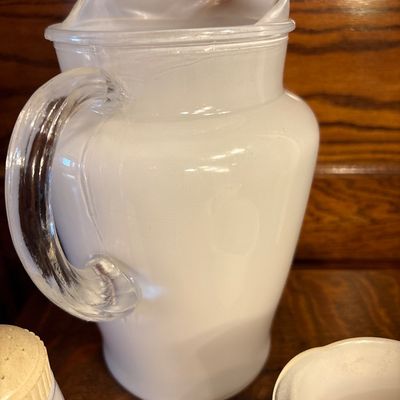
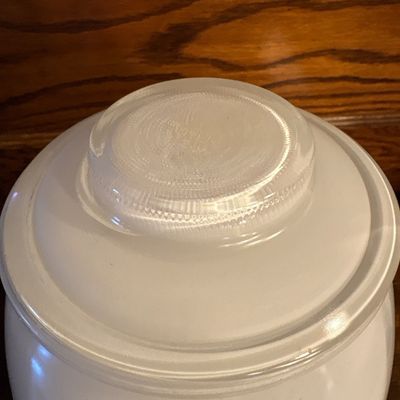
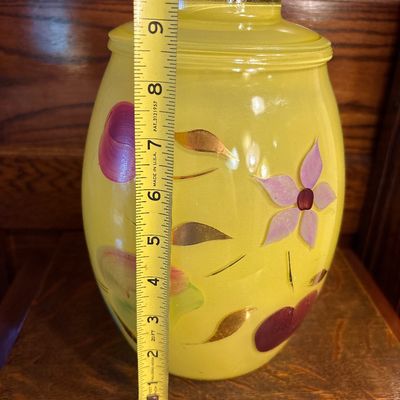
Sale Photo Thumbnail #686: This is a vintage mid-20th-century Bartlett-Collins milk glass cookie jar featuring hand-painted floral and fruit motifs, 1950s. Approx 10” high
Sale Photo Thumbnail #687: This is a vintage mid-20th-century Bartlett-Collins milk glass cookie jar featuring hand-painted floral and fruit motifs, 1950s. Approx 10” high
Sale Photo Thumbnail #688: This is a vintage mid-20th-century Bartlett-Collins milk glass cookie jar featuring hand-painted floral and fruit motifs, 1950s. Approx 10” high
Sale Photo Thumbnail #689: This is a vintage mid-20th-century Bartlett-Collins milk glass cookie jar featuring hand-painted floral and fruit motifs, 1950s. Approx 10” high
Sale Photo Thumbnail #690: This is a vintage mid-20th-century Bartlett-Collins milk glass cookie jar featuring hand-painted floral and fruit motifs, 1950s. Approx 10” high
Sale Photo Thumbnail #691: This is a vintage mid-20th-century Bartlett-Collins milk glass cookie jar featuring hand-painted floral and fruit motifs, 1950s. Approx 10” high
Sale Photo Thumbnail #692: See pics
Sale Photo Thumbnail #693: See pics
Sale Photo Thumbnail #694: See pics
Sale Photo Thumbnail #695: See pics
Sale Photo Thumbnail #696: See pics
Sale Photo Thumbnail #697: See pics
Sale Photo Thumbnail #698: See pics
Sale Photo Thumbnail #699: See pics
Sale Photo Thumbnail #700: See pics
Sale Photo Thumbnail #701: See pics
Sale Photo Thumbnail #702: See pics
Sale Photo Thumbnail #703: See pics
Sale Photo Thumbnail #704: See pics
Sale Photo Thumbnail #705: See pics
Sale Photo Thumbnail #706: See pics
Sale Photo Thumbnail #707: See pics
Sale Photo Thumbnail #708: Awesome & works! 8” tall
Sale Photo Thumbnail #709: Awesome & works! 8” tall
Sale Photo Thumbnail #710: Awesome & works! 8” tall
Sale Photo Thumbnail #711: Awesome & works! 8” tall
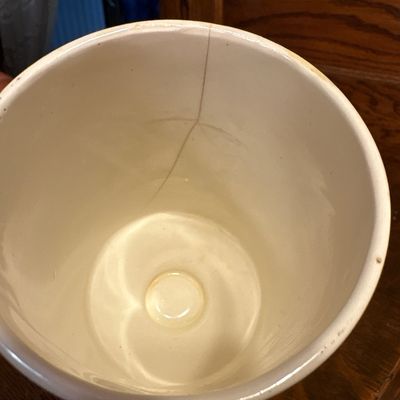
Sale Photo Thumbnail #712: See pics. One has a hairline crack inside that does not go all the way through
Sale Photo Thumbnail #713: See pics. One has a hairline crack inside that does not go all the way through
Sale Photo Thumbnail #714: See pics. One has a hairline crack inside that does not go all the way through
Sale Photo Thumbnail #715: See pics. One has a hairline crack inside that does not go all the way through
Sale Photo Thumbnail #716: See pics. One has a hairline crack inside that does not go all the way through
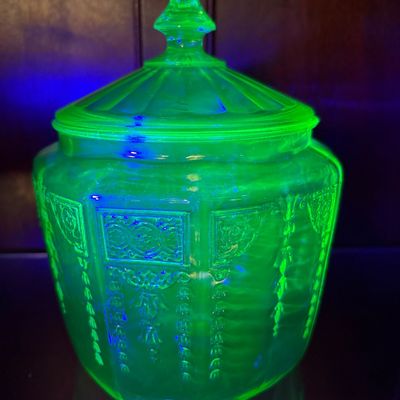
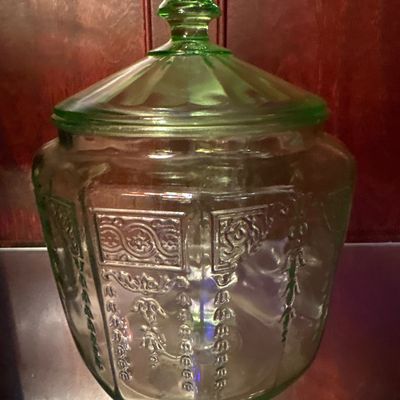
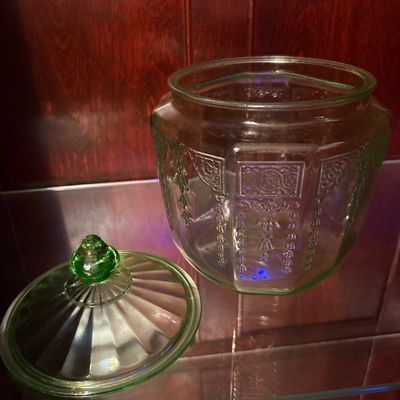
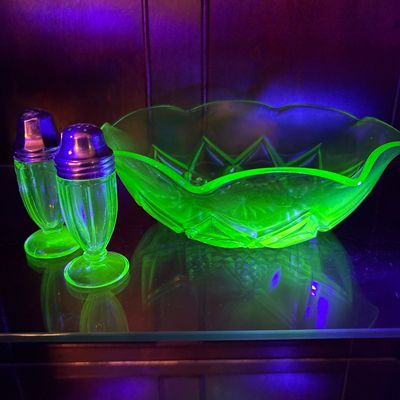
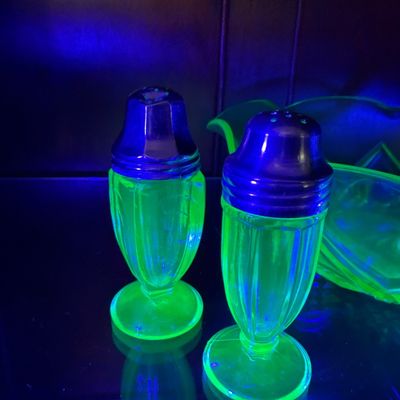
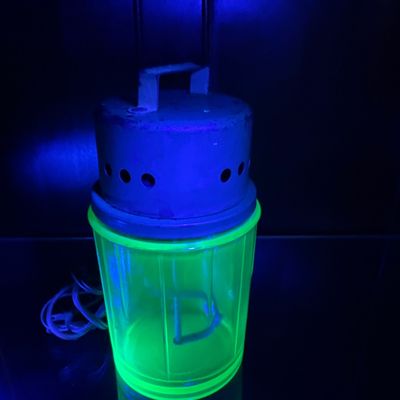
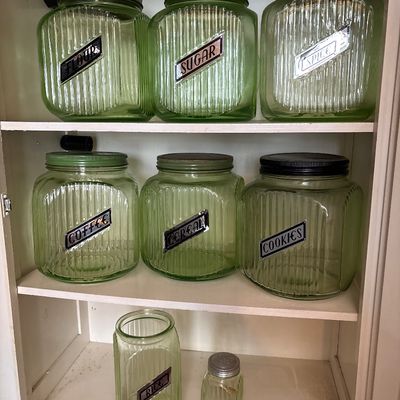
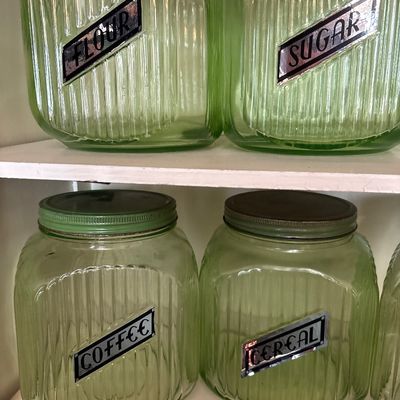
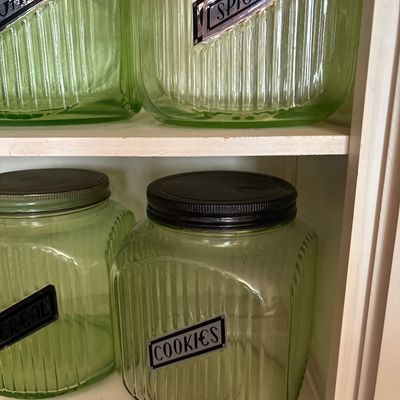
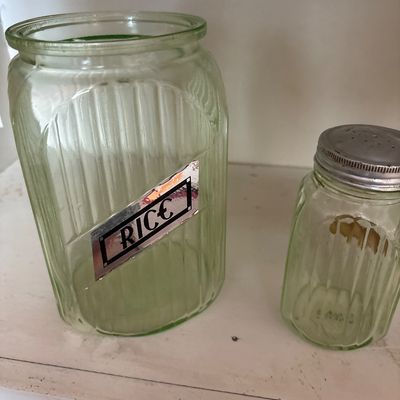
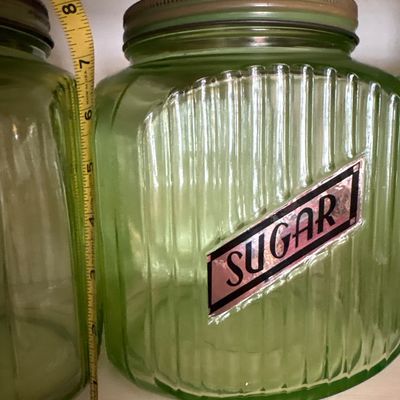
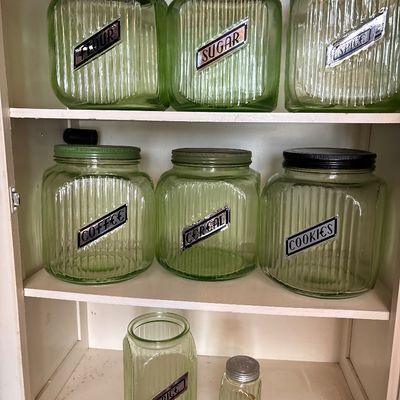
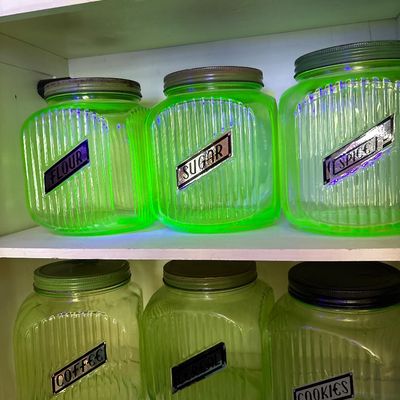
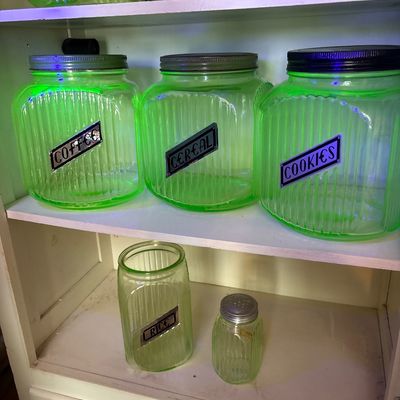
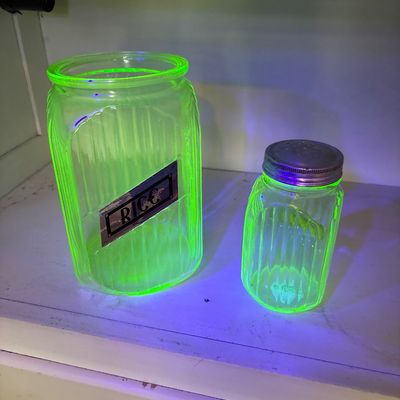
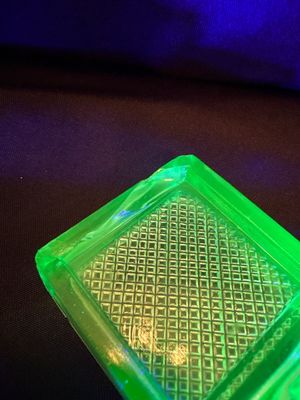
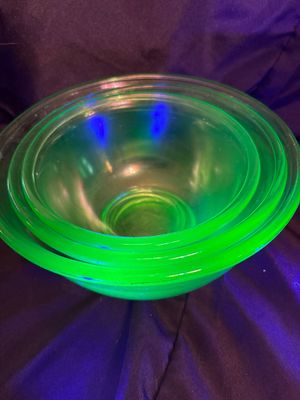
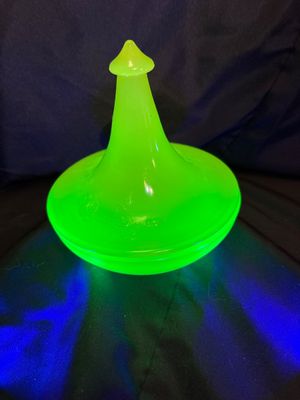
Sale Photo Thumbnail #717: This collection features vintage 1930s Anchor Hocking "Hoosier" ribbed green depression glass jars, made with uranium glass that glows brightly under a UV blacklight.
Sale Photo Thumbnail #718: This collection features vintage 1930s Anchor Hocking "Hoosier" ribbed green depression glass jars, made with uranium glass that glows brightly under a UV blacklight.
Sale Photo Thumbnail #719: This collection features vintage 1930s Anchor Hocking "Hoosier" ribbed green depression glass jars, made with uranium glass that glows brightly under a UV blacklight.
Sale Photo Thumbnail #720: This collection features vintage 1930s Anchor Hocking "Hoosier" ribbed green depression glass jars, made with uranium glass that glows brightly under a UV blacklight.
Sale Photo Thumbnail #721: This collection features vintage 1930s Anchor Hocking "Hoosier" ribbed green depression glass jars, made with uranium glass that glows brightly under a UV blacklight.
Sale Photo Thumbnail #722: This collection features vintage 1930s Anchor Hocking "Hoosier" ribbed green depression glass jars, made with uranium glass that glows brightly under a UV blacklight.
Sale Photo Thumbnail #723: This collection features vintage 1930s Anchor Hocking "Hoosier" ribbed green depression glass jars, made with uranium glass that glows brightly under a UV blacklight.
Sale Photo Thumbnail #724: This collection features vintage 1930s Anchor Hocking "Hoosier" ribbed green depression glass jars, made with uranium glass that glows brightly under a UV blacklight.
Sale Photo Thumbnail #725: This collection features vintage 1930s Anchor Hocking "Hoosier" ribbed green depression glass jars, made with uranium glass that glows brightly under a UV blacklight.
Sale Photo Thumbnail #726: See pics
Sale Photo Thumbnail #727: See pics
Sale Photo Thumbnail #728: See pics
Sale Photo Thumbnail #729: See pics
Sale Photo Thumbnail #730: See pics
Sale Photo Thumbnail #731: This piece is an amazing shape
Sale Photo Thumbnail #732: This piece is an amazing shape
Sale Photo Thumbnail #733: This piece is an amazing shape
Sale Photo Thumbnail #734: This piece is an amazing shape
Sale Photo Thumbnail #735: This piece is an amazing shape
Sale Photo Thumbnail #736: This piece is an amazing shape
Sale Photo Thumbnail #737: See pics. Paint on handle in tact
Sale Photo Thumbnail #738: See pics. Paint on handle in tact
Sale Photo Thumbnail #739: See pics. Paint on handle in tact
Sale Photo Thumbnail #740: See pics. Paint on handle in tact
Sale Photo Thumbnail #741: Gorgeous set!  One small chip on base and on cover where shown in pictures.
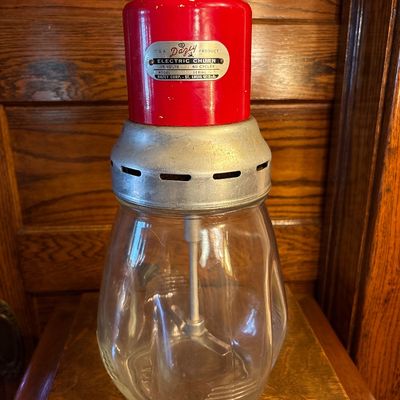
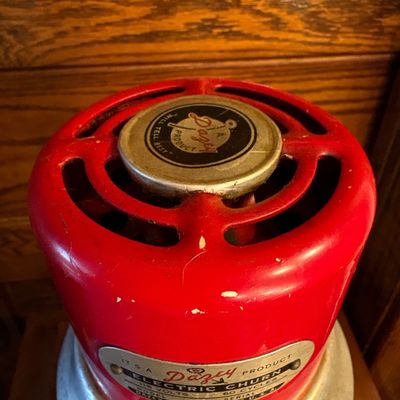
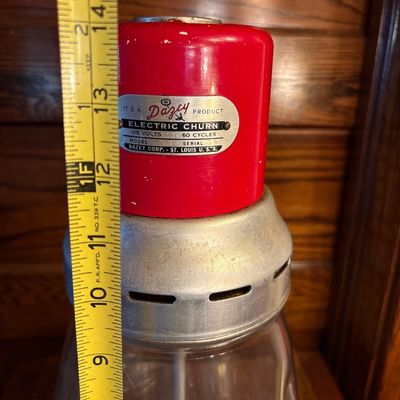
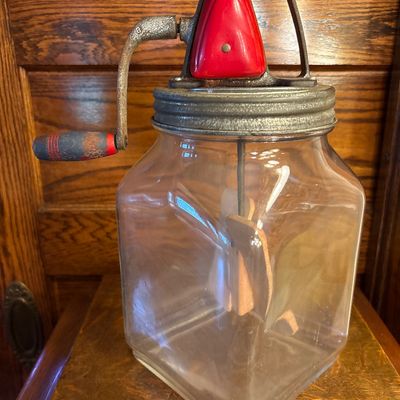
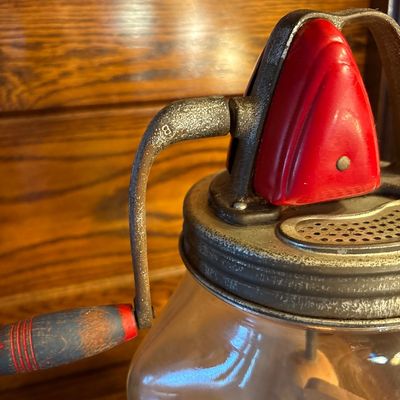
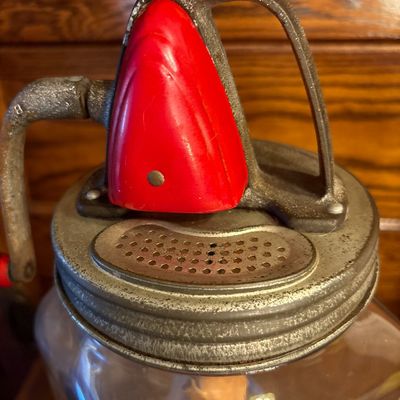
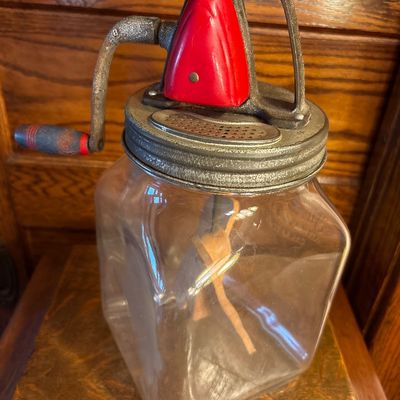
Sale Photo Thumbnail #742: This is a vintage Standard Churn Company (SCC) "Farm Master" 8-quart glass hand-crank butter churn, featuring a square jar, red-painted gear cover, and wooden paddles inside.
Sale Photo Thumbnail #743: Gorgeous set!  One small chip on base and on cover where shown in pictures.
Sale Photo Thumbnail #744: This is a vintage Standard Churn Company (SCC) "Farm Master" 8-quart glass hand-crank butter churn, featuring a square jar, red-painted gear cover, and wooden paddles inside.
Sale Photo Thumbnail #745: Gorgeous set!  One small chip on base and on cover where shown in pictures.
Sale Photo Thumbnail #746: This is a vintage Standard Churn Company (SCC) "Farm Master" 8-quart glass hand-crank butter churn, featuring a square jar, red-painted gear cover, and wooden paddles inside.
Sale Photo Thumbnail #747: Gorgeous set!  One small chip on base and on cover where shown in pictures.
Sale Photo Thumbnail #748: This is a vintage Standard Churn Company (SCC) "Farm Master" 8-quart glass hand-crank butter churn, featuring a square jar, red-painted gear cover, and wooden paddles inside.
Sale Photo Thumbnail #749: Gorgeous set!  One small chip on base and on cover where shown in pictures.
Sale Photo Thumbnail #750: Gorgeous set!  One small chip on base and on cover where shown in pictures.
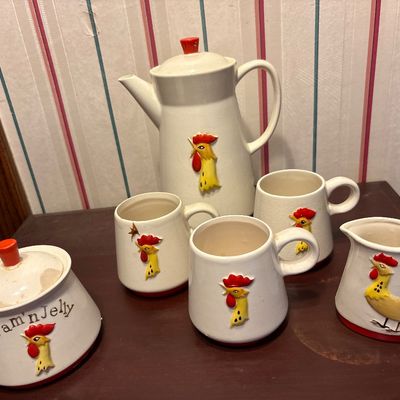
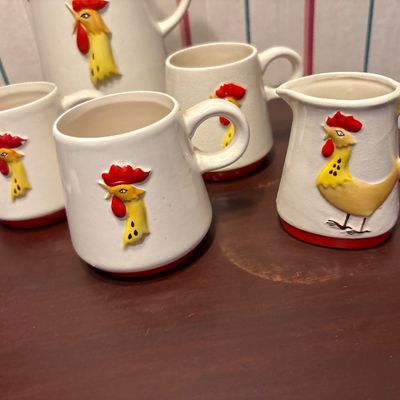
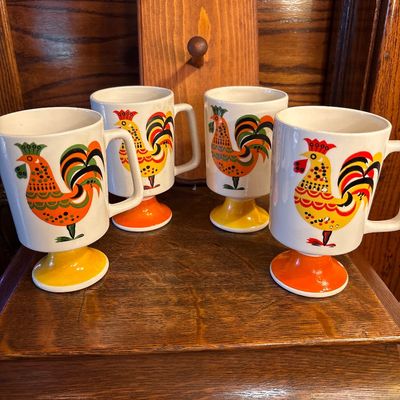
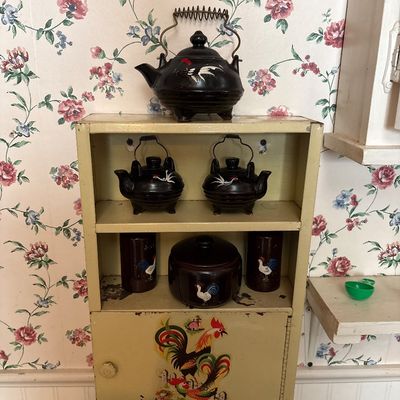
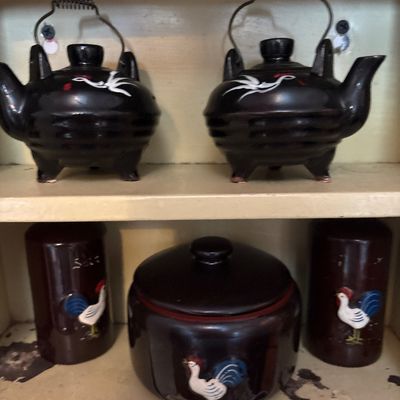
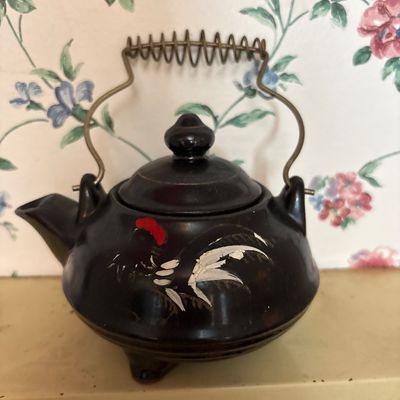
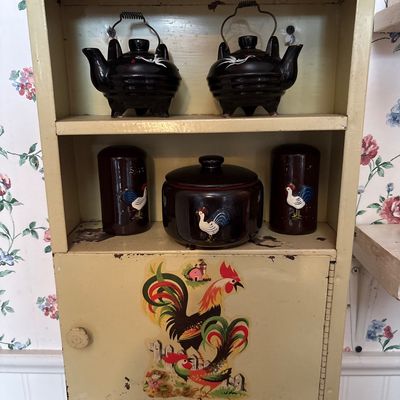
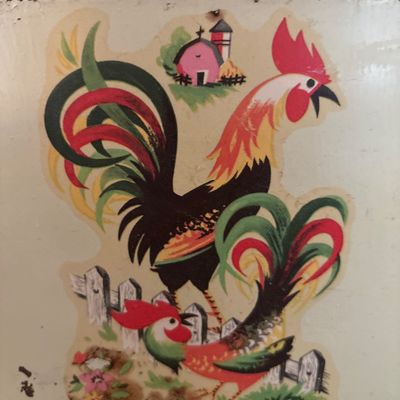
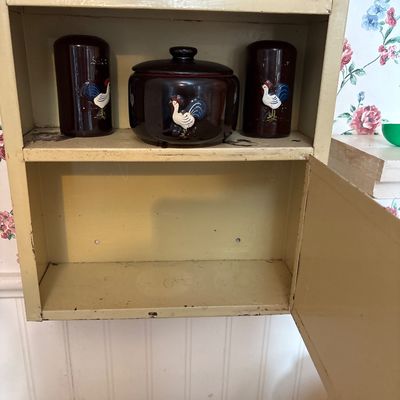
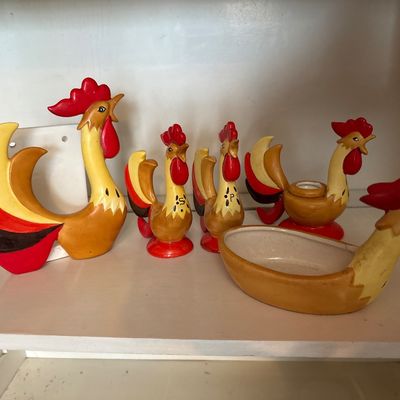
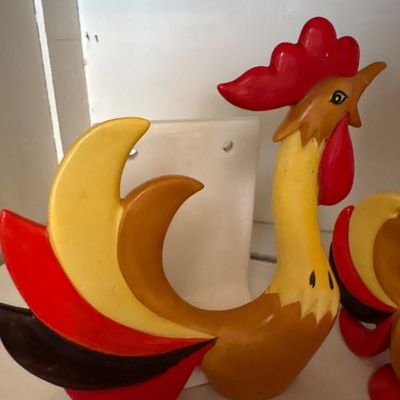
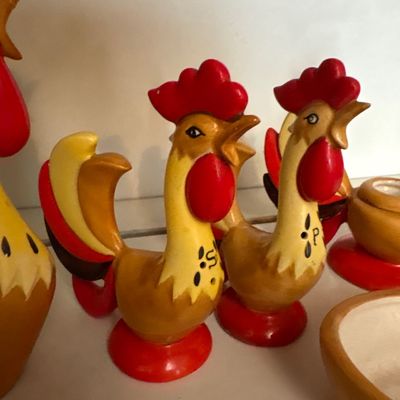
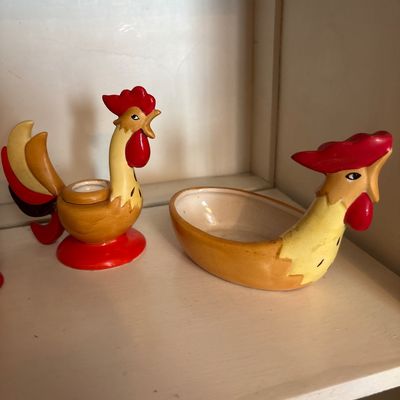
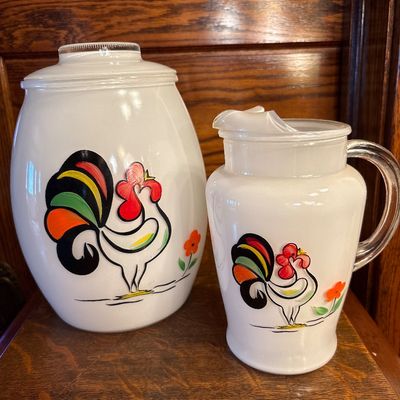
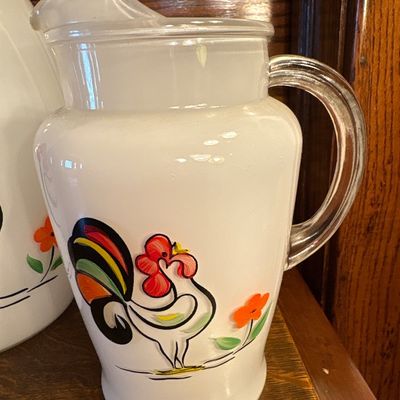
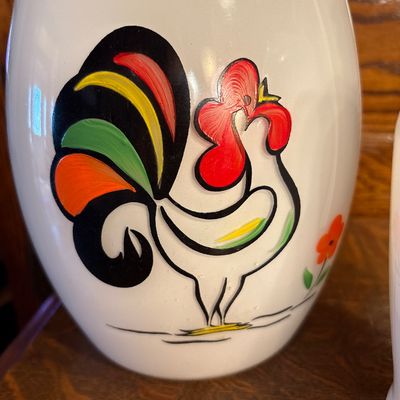
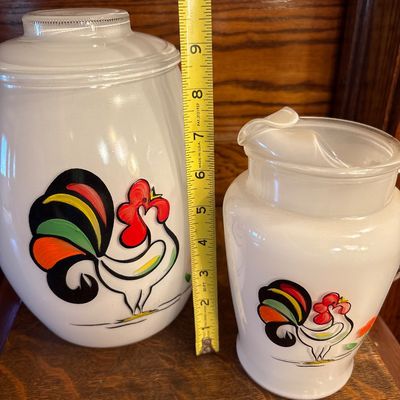
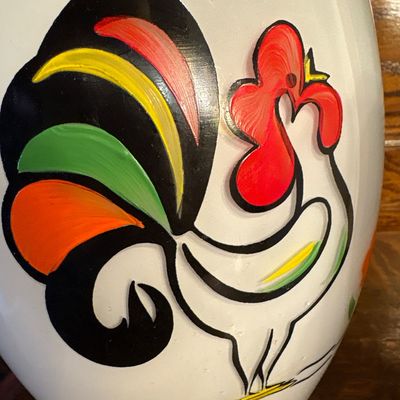
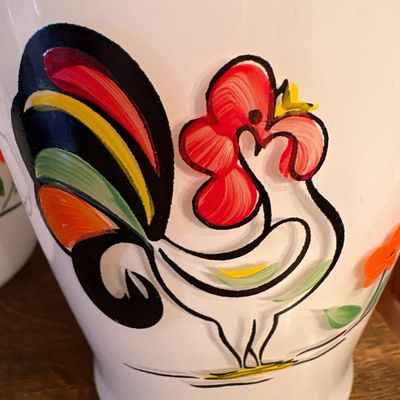
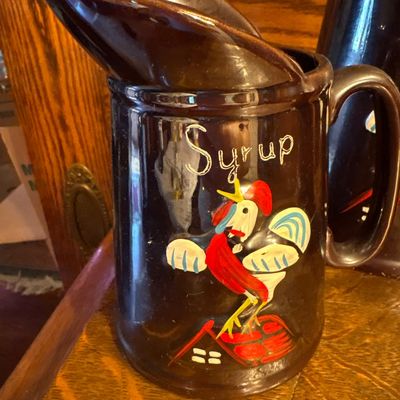
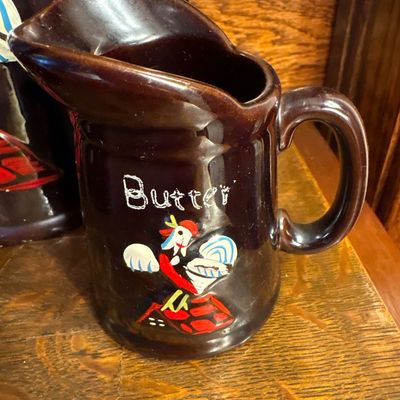
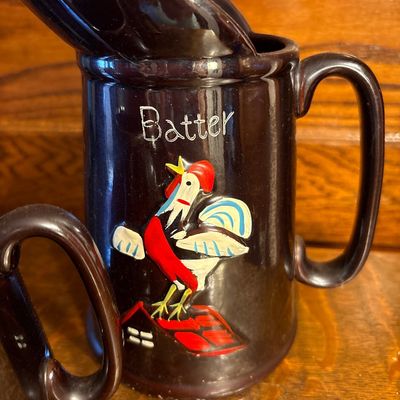
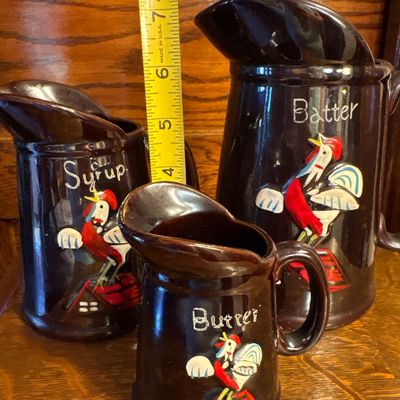
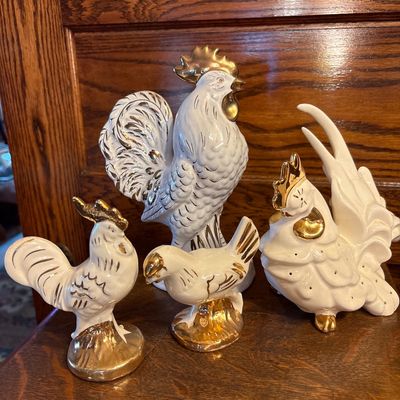
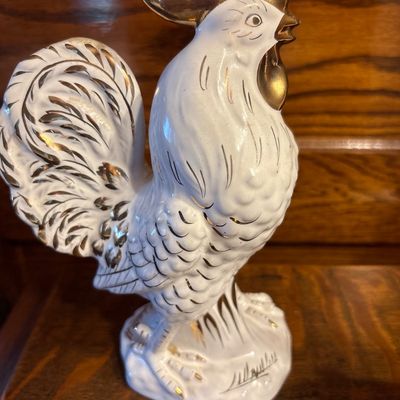
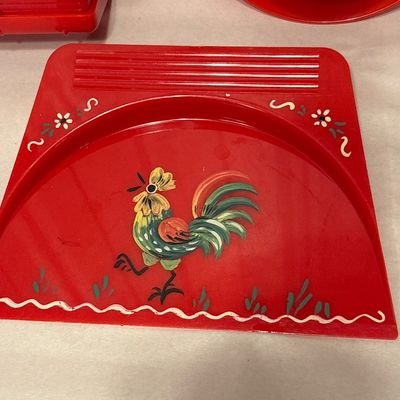
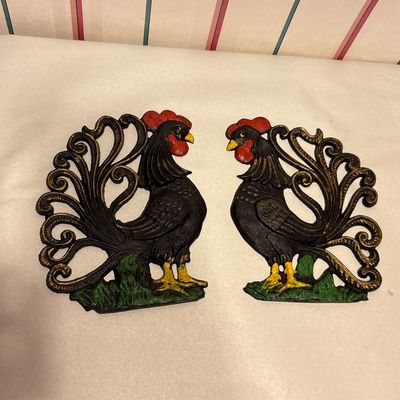
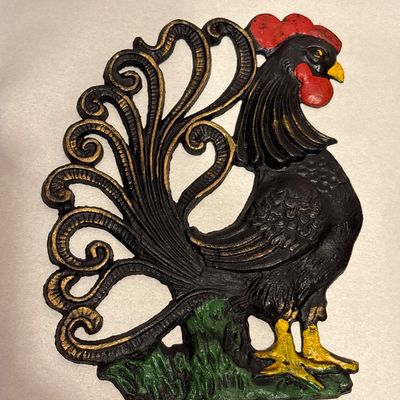
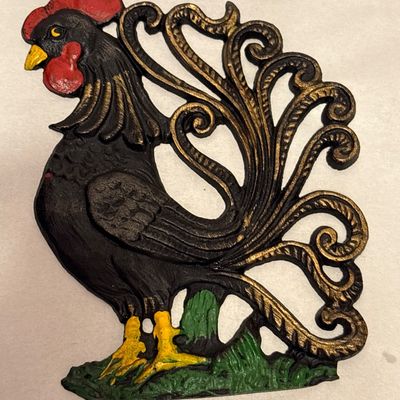
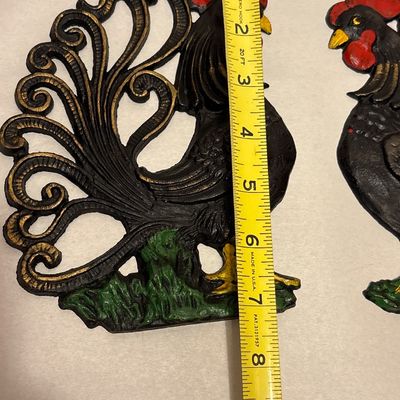
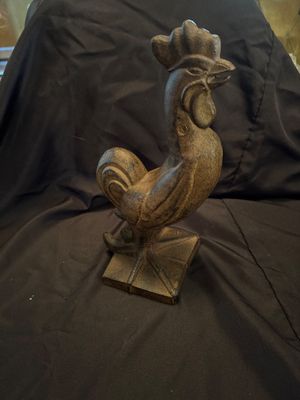
Sale Photo Thumbnail #751: 11x3.5x16. Adorable vintage metal cabinet with vintage handpainted rooster pieces
Sale Photo Thumbnail #752: No chips or cracks seen on either one
Sale Photo Thumbnail #753: 11x3.5x16. Adorable vintage metal cabinet with vintage handpainted rooster pieces
Sale Photo Thumbnail #754: No chips or cracks seen on either one
Sale Photo Thumbnail #755: 11x3.5x16. Adorable vintage metal cabinet with vintage handpainted rooster pieces
Sale Photo Thumbnail #756: No chips or cracks seen on either one
Sale Photo Thumbnail #757: 11x3.5x16. Adorable vintage metal cabinet with vintage handpainted rooster pieces
Sale Photo Thumbnail #758: No chips or cracks seen on either one
Sale Photo Thumbnail #759: 11x3.5x16. Adorable vintage metal cabinet with vintage handpainted rooster pieces
Sale Photo Thumbnail #760: No chips or cracks seen on either one
Sale Photo Thumbnail #761: 11x3.5x16. Adorable vintage metal cabinet with vintage handpainted rooster pieces
Sale Photo Thumbnail #762: No chips or cracks seen on either one
Sale Photo Thumbnail #763: No chips or cracks seen on either one
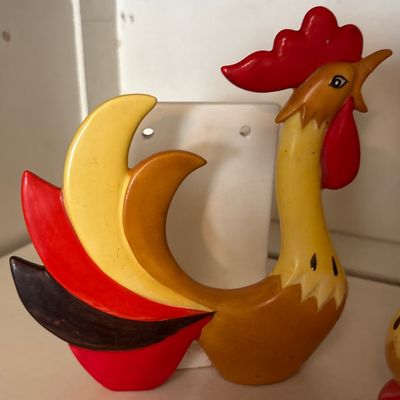
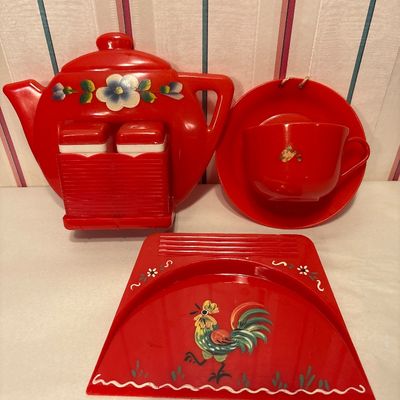
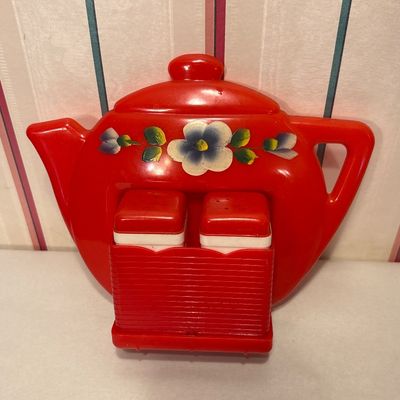
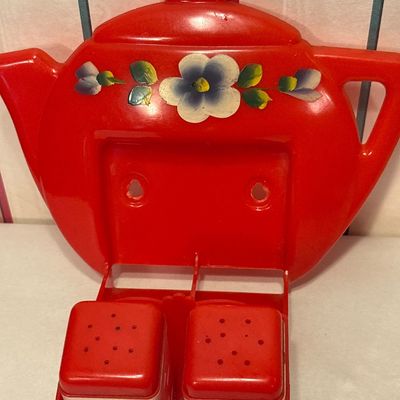
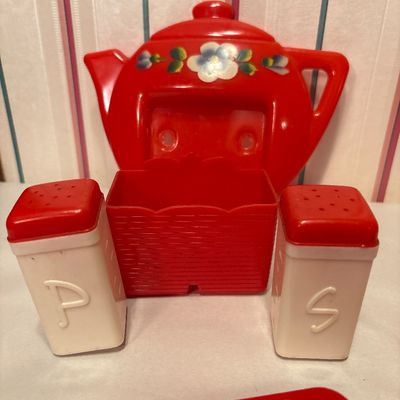
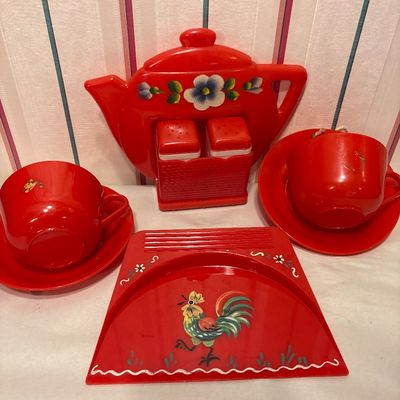
Sale Photo Thumbnail #764: Napkin holder, salt and pepper, candle holder, and dish
Sale Photo Thumbnail #765: Napkin holder, salt and pepper, candle holder, and dish
Sale Photo Thumbnail #766: Napkin holder, salt and pepper, candle holder, and dish
Sale Photo Thumbnail #767: Napkin holder, salt and pepper, candle holder, and dish
Sale Photo Thumbnail #768: Napkin holder, salt and pepper, candle holder, and dish
Sale Photo Thumbnail #769: Napkin holder, salt and pepper, candle holder, and dish
Sale Photo Thumbnail #770: Napkin holder, salt and pepper, candle holder, and dish
Sale Photo Thumbnail #771: See pictures
Sale Photo Thumbnail #772: See pics
Sale Photo Thumbnail #773: See pictures
Sale Photo Thumbnail #774: See pics
Sale Photo Thumbnail #775: See pictures
Sale Photo Thumbnail #776: See pics
Sale Photo Thumbnail #777: See pictures
Sale Photo Thumbnail #778: See pics
Sale Photo Thumbnail #779: See pictures
Sale Photo Thumbnail #780: See pics
Sale Photo Thumbnail #781: See pictures
Sale Photo Thumbnail #782: See pics
Sale Photo Thumbnail #783: See pics
Sale Photo Thumbnail #784: See pics
Sale Photo Thumbnail #785: See pictures
Sale Photo Thumbnail #786: No chips.
Sale Photo Thumbnail #787: See pictures
Sale Photo Thumbnail #788: No chips.
Sale Photo Thumbnail #789: See pictures
Sale Photo Thumbnail #790: No chips.
Sale Photo Thumbnail #791: See pictures
Sale Photo Thumbnail #792: No chips.
Sale Photo Thumbnail #793: See pictures
Sale Photo Thumbnail #794: See pictures
Sale Photo Thumbnail #795: See pictures
Sale Photo Thumbnail #796: No chips or cracks seen.
Sale Photo Thumbnail #797: See pics
Sale Photo Thumbnail #798: No chips or cracks seen.
Sale Photo Thumbnail #799: See pics
Sale Photo Thumbnail #800: No chips or cracks seen.
Sale Photo Thumbnail #801: See pics
Sale Photo Thumbnail #802: No chips or cracks seen.
Sale Photo Thumbnail #803: See pics
Sale Photo Thumbnail #804: See pics
Sale Photo Thumbnail #805: See pictures
Sale Photo Thumbnail #806: See pics
Sale Photo Thumbnail #807: See pictures
Sale Photo Thumbnail #808: See pics
Sale Photo Thumbnail #809: See pictures
Sale Photo Thumbnail #810: See pics
Sale Photo Thumbnail #811: See pictures
Sale Photo Thumbnail #812: See pics
Sale Photo Thumbnail #813: See pics
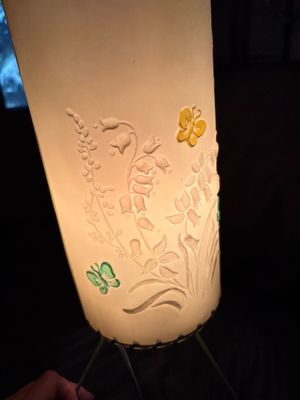
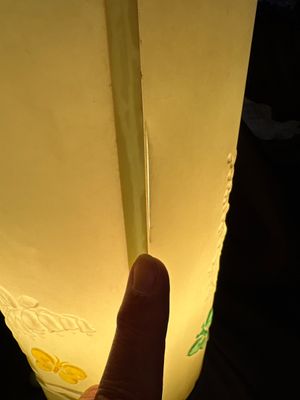
Sale Photo Thumbnail #814: One small cut where shade is put together.
Sale Photo Thumbnail #815: See pics
Sale Photo Thumbnail #816: One small cut where shade is put together.
Sale Photo Thumbnail #817: See pics
Sale Photo Thumbnail #818: One small cut where shade is put together.
Sale Photo Thumbnail #819: See pics
Sale Photo Thumbnail #820: One small cut where shade is put together.
Sale Photo Thumbnail #821: See pics
Sale Photo Thumbnail #822: One small cut where shade is put together.
Sale Photo Thumbnail #823: One small cut where shade is put together.
Sale Photo Thumbnail #824: One small cut where shade is put together.
Sale Photo Thumbnail #825: See pics
Sale Photo Thumbnail #826: See pictures
Sale Photo Thumbnail #827: See pics
Sale Photo Thumbnail #828: See pictures
Sale Photo Thumbnail #829: See pics
Sale Photo Thumbnail #830: See pictures
Sale Photo Thumbnail #831: See pics
Sale Photo Thumbnail #832: See pictures
Sale Photo Thumbnail #833: See pics
Sale Photo Thumbnail #834: See pics
Sale Photo Thumbnail #835: See pics
Sale Photo Thumbnail #836: See pics
Sale Photo Thumbnail #837: See pics
Sale Photo Thumbnail #838: See pics
Sale Photo Thumbnail #839: See pics
Sale Photo Thumbnail #840: See pics
Sale Photo Thumbnail #841: See pics
Sale Photo Thumbnail #842: See pics
Sale Photo Thumbnail #843: See pics
Sale Photo Thumbnail #844: See pics
Sale Photo Thumbnail #845: See pics
Sale Photo Thumbnail #846: See pics
Sale Photo Thumbnail #847: see pictures
Sale Photo Thumbnail #848: See pics
Sale Photo Thumbnail #849: see pictures
Sale Photo Thumbnail #850: See pics
Sale Photo Thumbnail #851: see pictures
Sale Photo Thumbnail #852: See pics
Sale Photo Thumbnail #853: see pictures
Sale Photo Thumbnail #854: see pictures
Sale Photo Thumbnail #855: see pictures
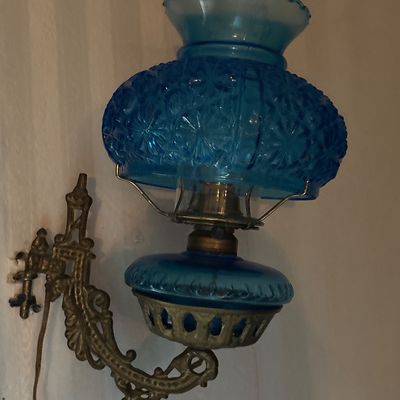
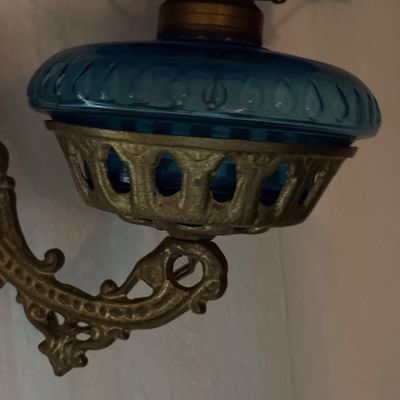
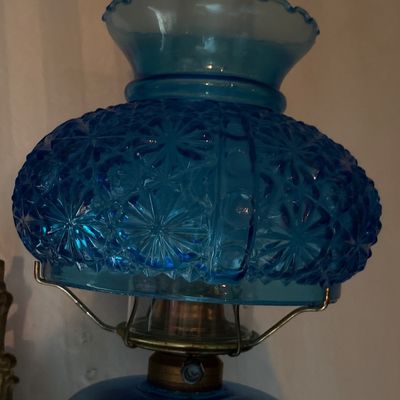
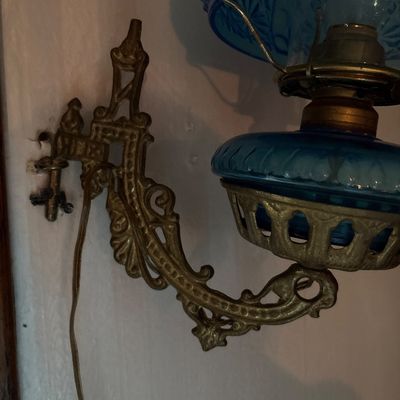
Sale Photo Thumbnail #856: Mount to wall
Sale Photo Thumbnail #857: In excellent shape. See pictures.
Sale Photo Thumbnail #858: Mount to wall
Sale Photo Thumbnail #859: In excellent shape. See pictures.
Sale Photo Thumbnail #860: Mount to wall
Sale Photo Thumbnail #861: In excellent shape. See pictures.
Sale Photo Thumbnail #862: Mount to wall
Sale Photo Thumbnail #863: Mount to wall
Sale Photo Thumbnail #864: See pics
Sale Photo Thumbnail #865: See pics
Sale Photo Thumbnail #866: See pics
Sale Photo Thumbnail #867: See pics
Sale Photo Thumbnail #868: See pictures
Sale Photo Thumbnail #869: Mounts on wall
Sale Photo Thumbnail #870: See pictures
Sale Photo Thumbnail #871: Mounts on wall
Sale Photo Thumbnail #872: See pictures
Sale Photo Thumbnail #873: Mounts on wall
Sale Photo Thumbnail #874: See pictures
Sale Photo Thumbnail #875: Mounts on wall
Sale Photo Thumbnail #876: See pictures
Sale Photo Thumbnail #877: Mounts on wall
Sale Photo Thumbnail #878: See pictures
Sale Photo Thumbnail #879: See pics
Sale Photo Thumbnail #880: See pictures
Sale Photo Thumbnail #881: See pics
Sale Photo Thumbnail #882: See pictures
Sale Photo Thumbnail #883: See pics
Sale Photo Thumbnail #884: See pictures
Sale Photo Thumbnail #885: See pics
Sale Photo Thumbnail #886: See pictures
Sale Photo Thumbnail #887: See pics
Sale Photo Thumbnail #888: See pics
Sale Photo Thumbnail #889: So pretty! See pics.
Sale Photo Thumbnail #890: So pretty! See pics.
Sale Photo Thumbnail #891: So pretty! See pics.
Sale Photo Thumbnail #892: So pretty! See pics.
Sale Photo Thumbnail #893: So pretty! See pics.
Sale Photo Thumbnail #894: So pretty! See pics.
Sale Photo Thumbnail #895: So pretty! See pics.
Sale Photo Thumbnail #896: See pics
Sale Photo Thumbnail #897: See pics
Sale Photo Thumbnail #898: See pics
Sale Photo Thumbnail #899: See pics
Sale Photo Thumbnail #900: See pics
Sale Photo Thumbnail #901: See pics
Sale Photo Thumbnail #902: See pics
Sale Photo Thumbnail #903: See pics
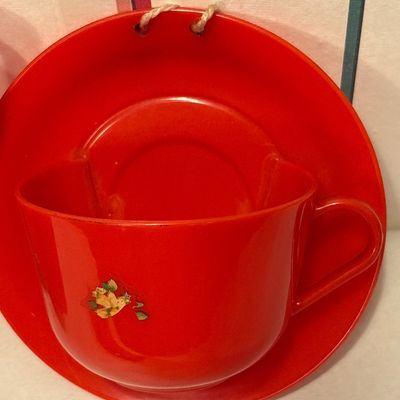
Sale Photo Thumbnail #904: Very groovy!! 2 cups saucer wall pockets
Sale Photo Thumbnail #905: Very groovy!! 2 cups saucer wall pockets
Sale Photo Thumbnail #906: Very groovy!! 2 cups saucer wall pockets
Sale Photo Thumbnail #907: Very groovy!! 2 cups saucer wall pockets
Sale Photo Thumbnail #908: Very groovy!! 2 cups saucer wall pockets
Sale Photo Thumbnail #909: Very groovy!! 2 cups saucer wall pockets
Sale Photo Thumbnail #910: Very groovy!! 2 cups saucer wall pockets
Sale Photo Thumbnail #911: See pics
Sale Photo Thumbnail #912: No cracks or chips noted
Sale Photo Thumbnail #913: See pics
Sale Photo Thumbnail #914: No cracks or chips noted
Sale Photo Thumbnail #915: See pics
Sale Photo Thumbnail #916: No cracks or chips noted
Sale Photo Thumbnail #917: See pics
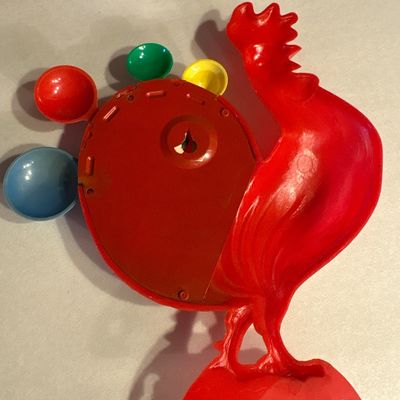
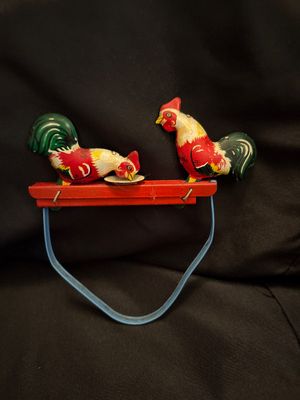
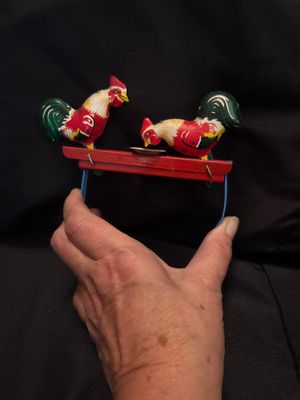
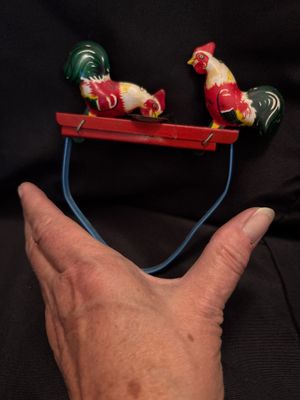
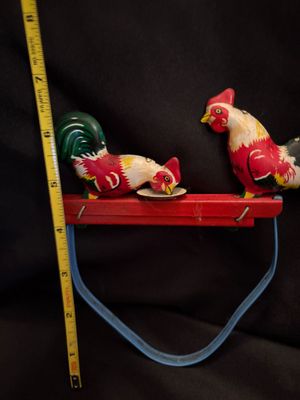
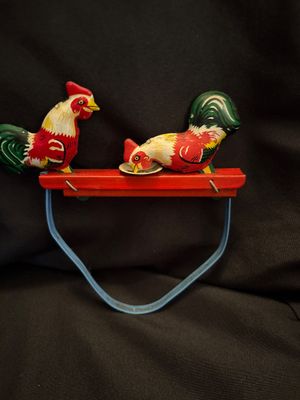
Sale Photo Thumbnail #918: Fun toy!  Excellent condition!
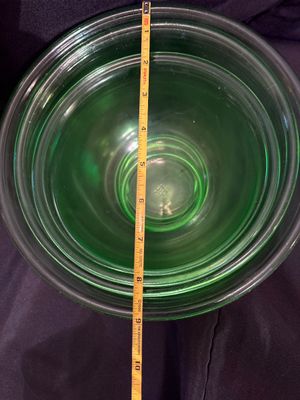
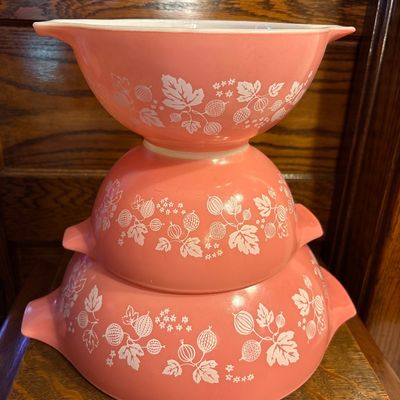
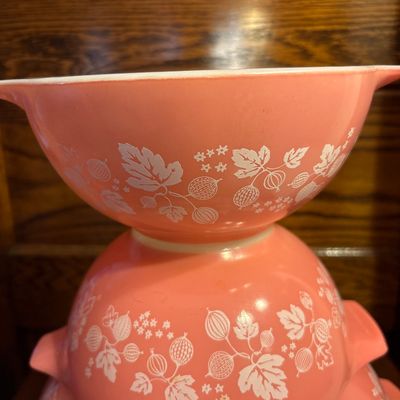
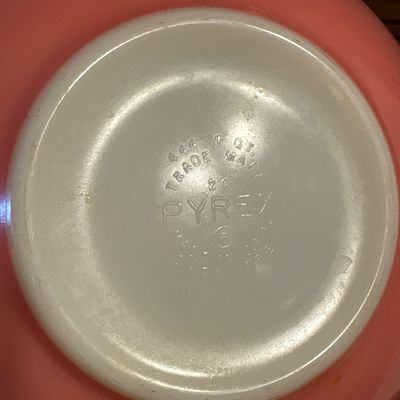
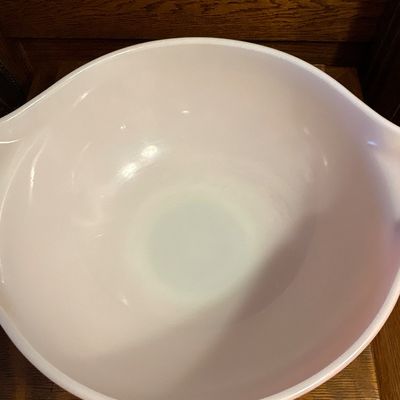
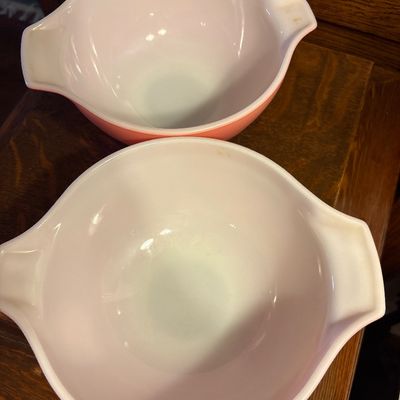
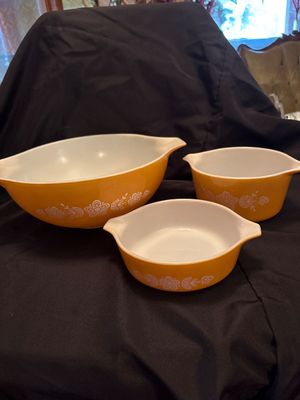
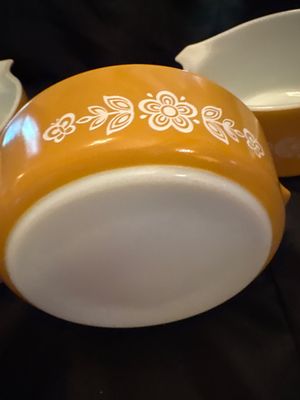
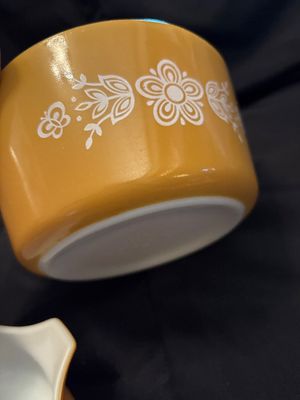
Sale Photo Thumbnail #919: In mint condition! 4 qt and two 1 1/2 qt bowls.
Sale Photo Thumbnail #920: Fun toy!  Excellent condition!
Sale Photo Thumbnail #921: In mint condition! 4 qt and two 1 1/2 qt bowls.
Sale Photo Thumbnail #922: Fun toy!  Excellent condition!
Sale Photo Thumbnail #923: In mint condition! 4 qt and two 1 1/2 qt bowls.
Sale Photo Thumbnail #924: Fun toy!  Excellent condition!
Sale Photo Thumbnail #925: In mint condition! 4 qt and two 1 1/2 qt bowls.
Sale Photo Thumbnail #926: Fun toy!  Excellent condition!
Sale Photo Thumbnail #927: In mint condition! 4 qt and two 1 1/2 qt bowls.
Sale Photo Thumbnail #928: In beautiful condition! No chips or cracks noted
Sale Photo Thumbnail #929: No chips.
Sale Photo Thumbnail #930: In beautiful condition! No chips or cracks noted
Sale Photo Thumbnail #931: No chips.
Sale Photo Thumbnail #932: In beautiful condition! No chips or cracks noted
Sale Photo Thumbnail #933: No chips.
Sale Photo Thumbnail #934: In beautiful condition! No chips or cracks noted
Sale Photo Thumbnail #935: In beautiful condition! No chips or cracks noted
Sale Photo Thumbnail #936: See pictures
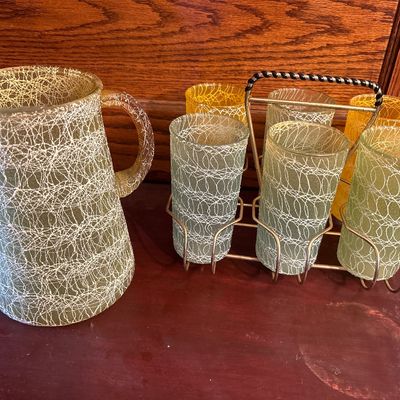
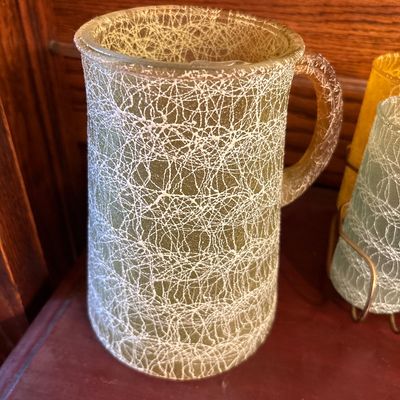
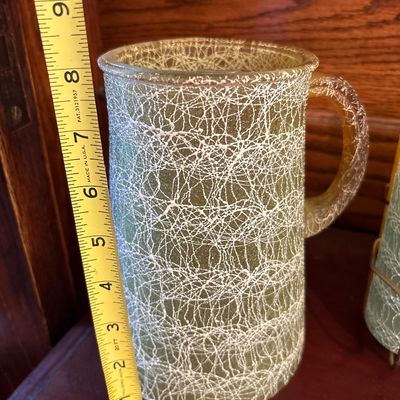
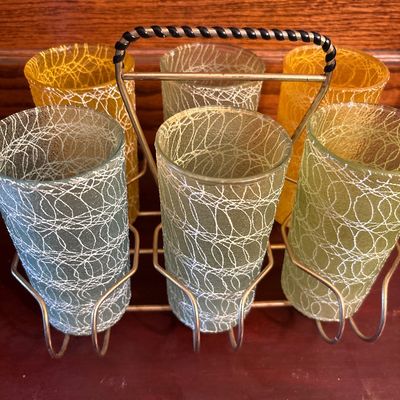
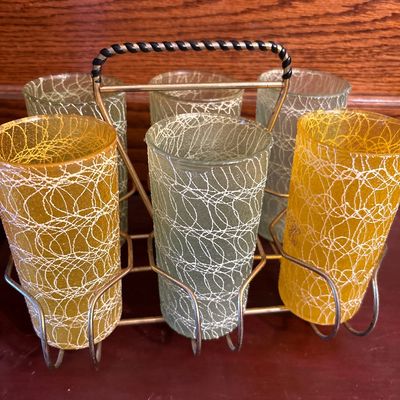
Sale Photo Thumbnail #937: Includes amazing glass holder. Four green and two yellow glasses, picture is green.
Sale Photo Thumbnail #938: See pictures
Sale Photo Thumbnail #939: Includes amazing glass holder. Four green and two yellow glasses, picture is green.
Sale Photo Thumbnail #940: See pictures
Sale Photo Thumbnail #941: Includes amazing glass holder. Four green and two yellow glasses, picture is green.
Sale Photo Thumbnail #942: Includes amazing glass holder. Four green and two yellow glasses, picture is green.
Sale Photo Thumbnail #943: Includes amazing glass holder. Four green and two yellow glasses, picture is green.
Sale Photo Thumbnail #944: Includes amazing glass holder. Four green and two yellow glasses, picture is green.
Sale Photo Thumbnail #945: See pictures
Sale Photo Thumbnail #946: See pictures
Sale Photo Thumbnail #947: See pictures
Sale Photo Thumbnail #948: See pictures
Sale Photo Thumbnail #949: See pictures
Sale Photo Thumbnail #950: See pictures
Sale Photo Thumbnail #951: See pictures
Sale Photo Thumbnail #952: See pics.
Sale Photo Thumbnail #953: See pictures
Sale Photo Thumbnail #954: See pics.
Sale Photo Thumbnail #955: See pictures
Sale Photo Thumbnail #956: See pics.
Sale Photo Thumbnail #957: See pictures
Sale Photo Thumbnail #958: See pics.
Sale Photo Thumbnail #959: See pictures
Sale Photo Thumbnail #960: See pics.
Sale Photo Thumbnail #961: See pictures
Sale Photo Thumbnail #962: See pics.
Sale Photo Thumbnail #963: See pictures
Sale Photo Thumbnail #964: See pics.
Sale Photo Thumbnail #965: No chips or cracks noted
Sale Photo Thumbnail #966: No chips or cracks noted
Sale Photo Thumbnail #967: No chips or cracks noted
Sale Photo Thumbnail #968: No chips or cracks noted
Sale Photo Thumbnail #969: No chips or cracks noted
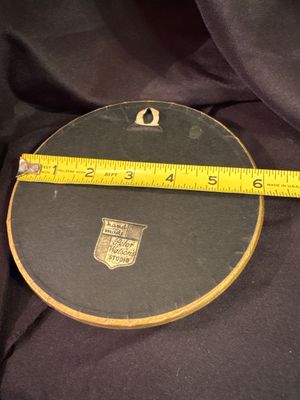
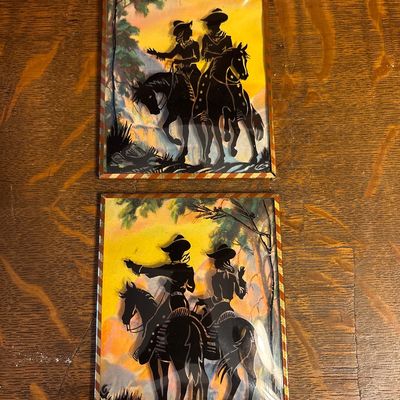
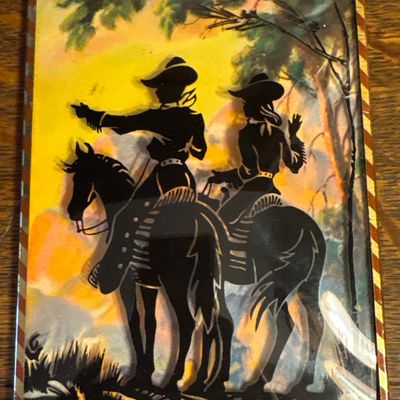
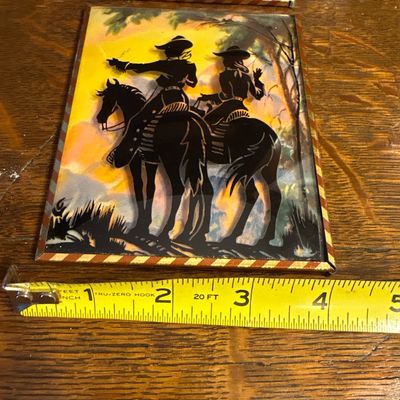
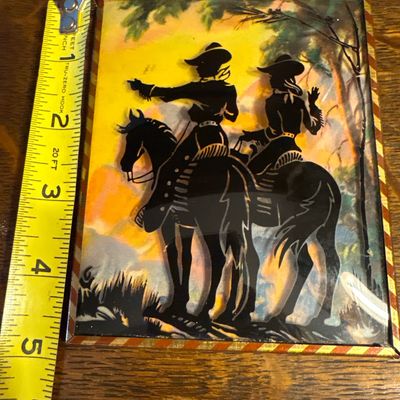
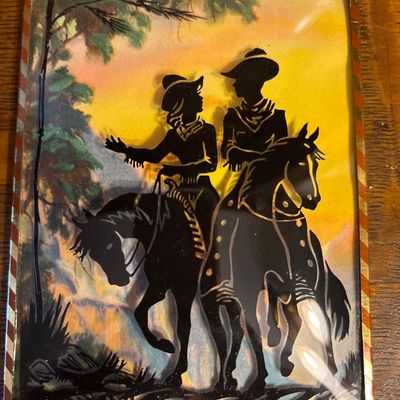
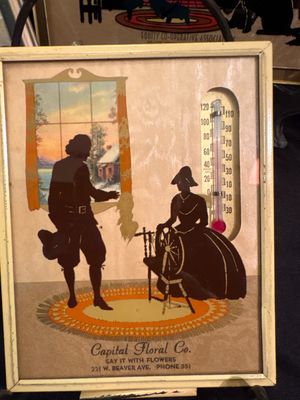
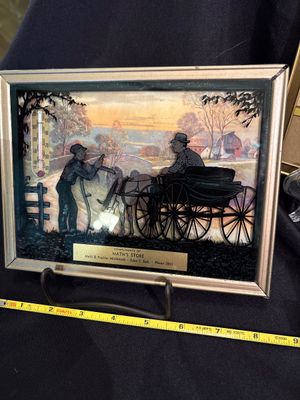
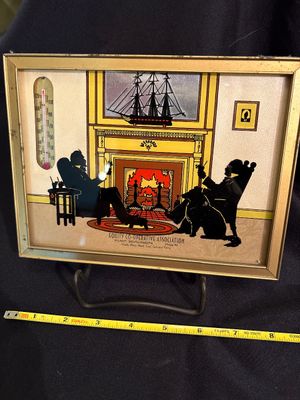
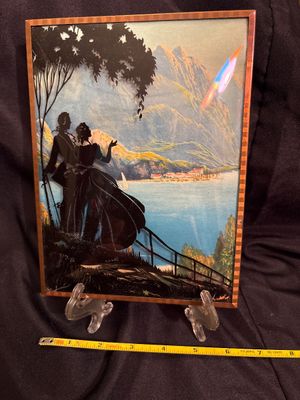
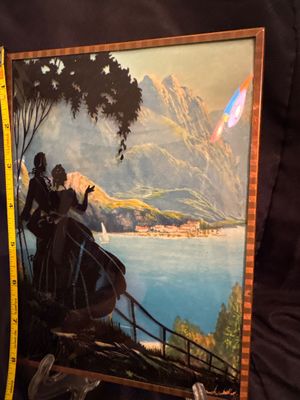
Sale Photo Thumbnail #970: Two vintage cowboy silhouette pictures
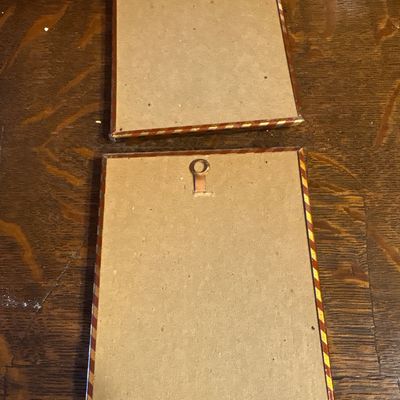
Sale Photo Thumbnail #971: See pictures
Sale Photo Thumbnail #972: Two vintage cowboy silhouette pictures
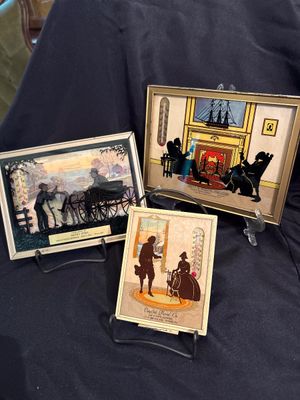
Sale Photo Thumbnail #973: See pictures
Sale Photo Thumbnail #974: Two vintage cowboy silhouette pictures
Sale Photo Thumbnail #975: See pictures
Sale Photo Thumbnail #976: Two vintage cowboy silhouette pictures
Sale Photo Thumbnail #977: See pictures
Sale Photo Thumbnail #978: Two vintage cowboy silhouette pictures
Sale Photo Thumbnail #979: Two vintage cowboy silhouette pictures
Sale Photo Thumbnail #980: Two vintage cowboy silhouette pictures
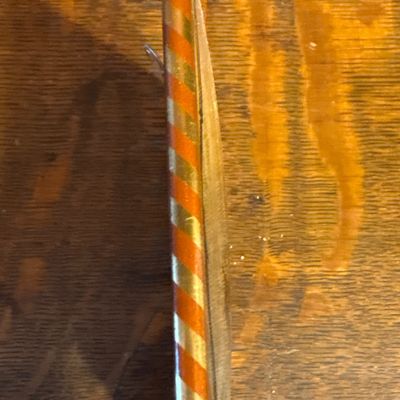
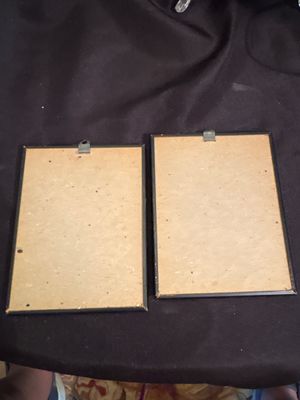
Sale Photo Thumbnail #981: Flat glass on each
Sale Photo Thumbnail #982: Flat glass on each
Sale Photo Thumbnail #983: Flat glass on each
Sale Photo Thumbnail #984: Flat glass on each
Sale Photo Thumbnail #985: Flat glass on each
Sale Photo Thumbnail #986: Flat glass on each
Sale Photo Thumbnail #987: See pictures
Sale Photo Thumbnail #988: See pictures
Sale Photo Thumbnail #989: See pictures
Sale Photo Thumbnail #990: See pictures
Sale Photo Thumbnail #991: See pictures
Sale Photo Thumbnail #992: See pictures
Sale Photo Thumbnail #993: See pictures
Sale Photo Thumbnail #994: See pictures
Sale Photo Thumbnail #995: See pictures
Sale Photo Thumbnail #996: See pictures
Sale Photo Thumbnail #997: See pictures
Sale Photo Thumbnail #998: See pictures
Sale Photo Thumbnail #999: See pictures
Sale Photo Thumbnail #1000: See pictures