The Internet's Largest Garage Sale Network
2M+ Monthly Shoppers • 6.6M+ Sales Since 2008
Post a sale
Post your sale
Register
Sign In
SHARE YOUR LOVE
Menu
HOME
FIND YARD SALES
TODAY'S MAP
POST A YARD SALE
GARAGE SALE GUIDE
BLOG
Back to Bixby Yard Sales
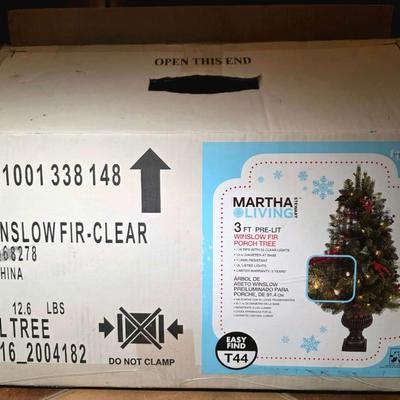
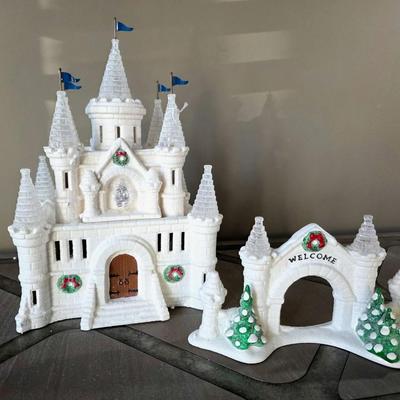
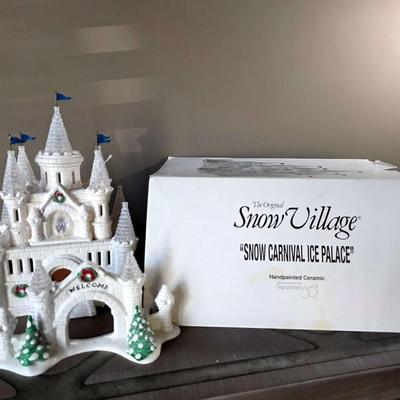
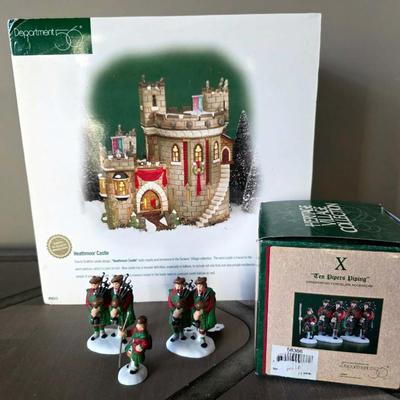
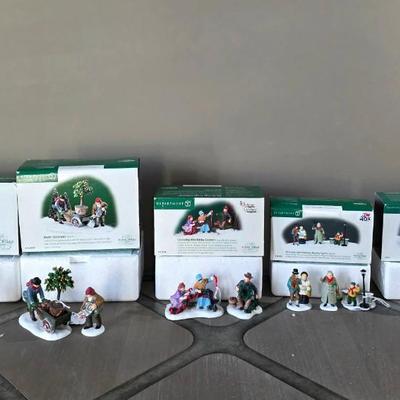
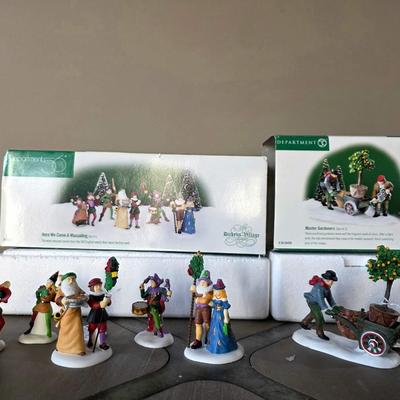
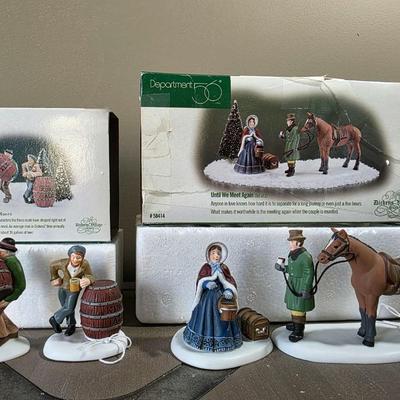
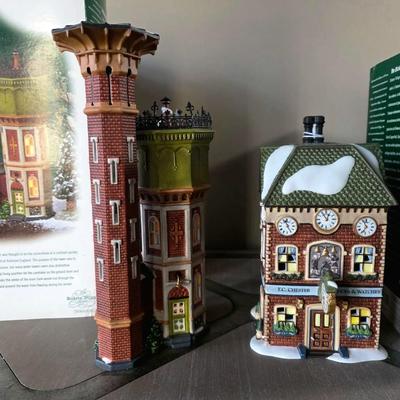
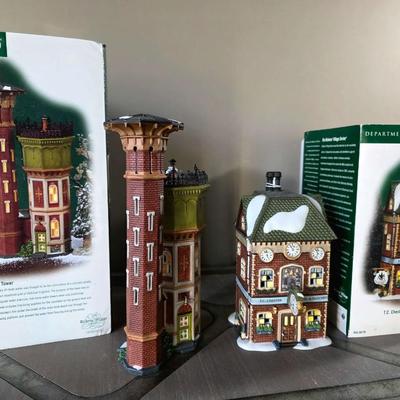
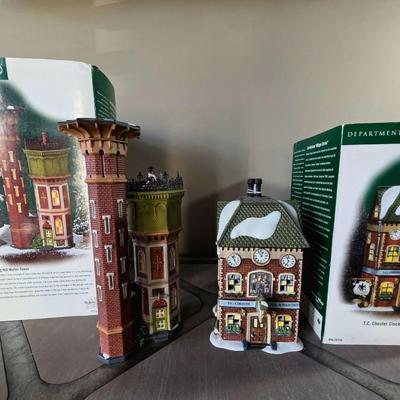
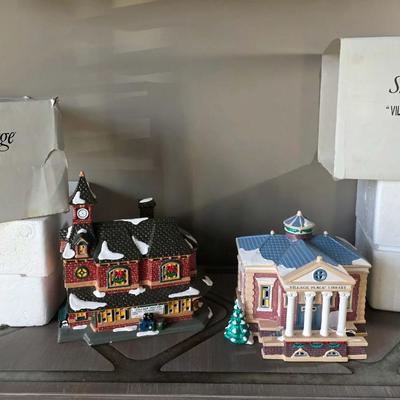
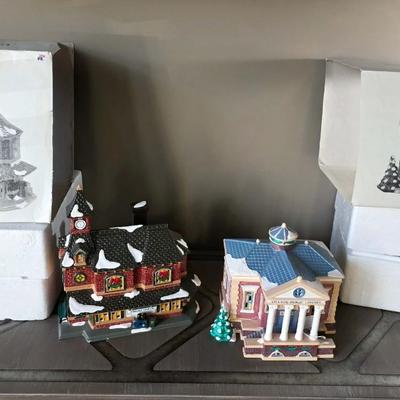
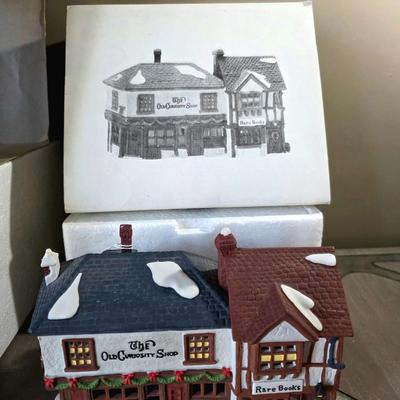
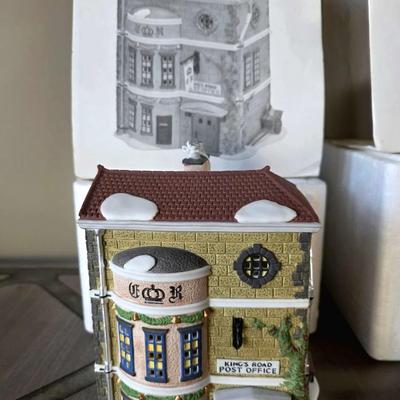
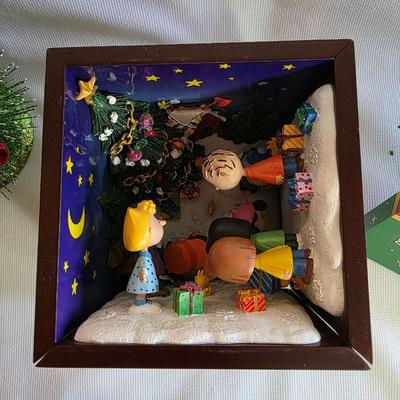
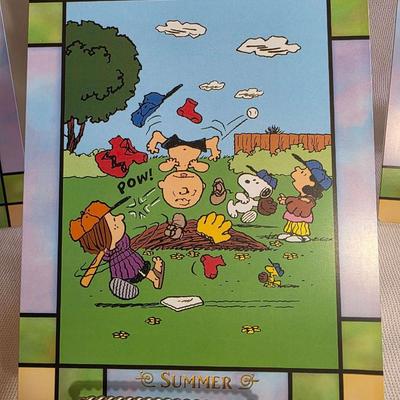
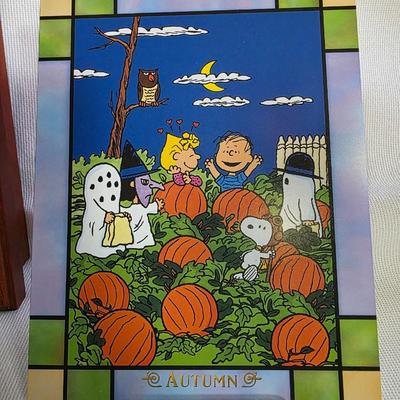
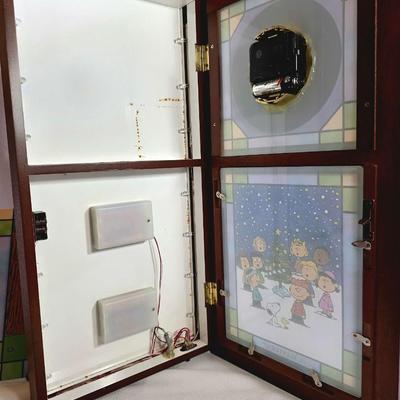
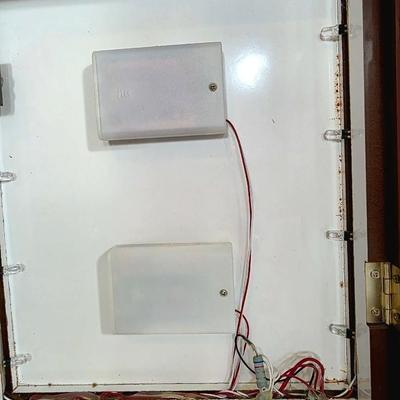
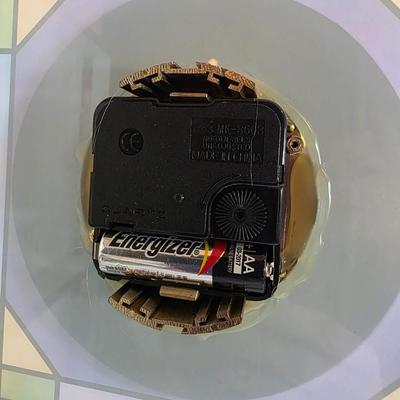
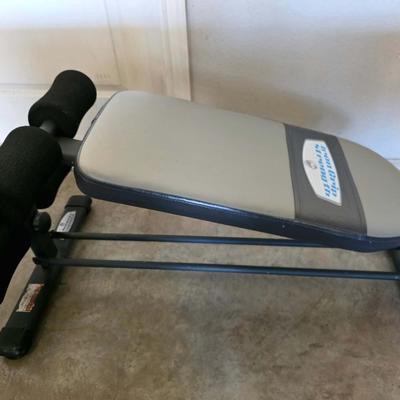
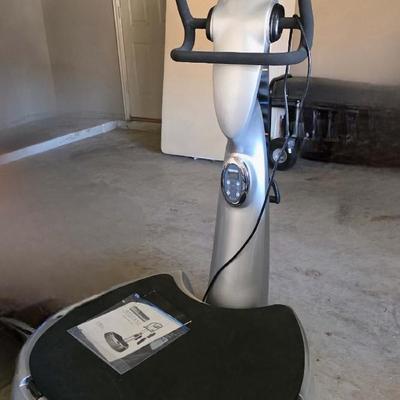
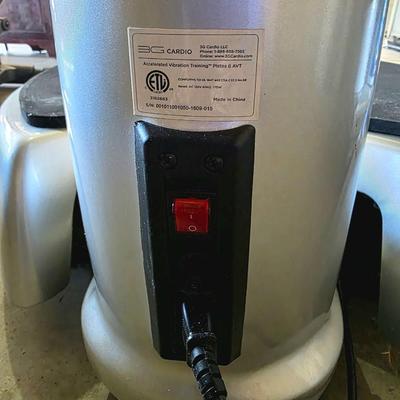
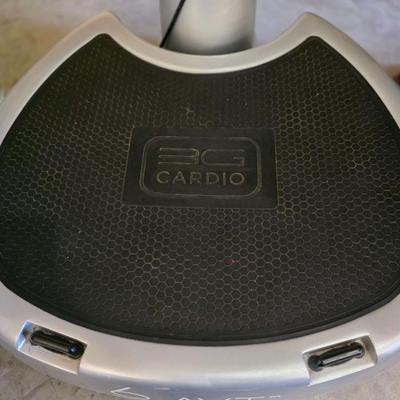
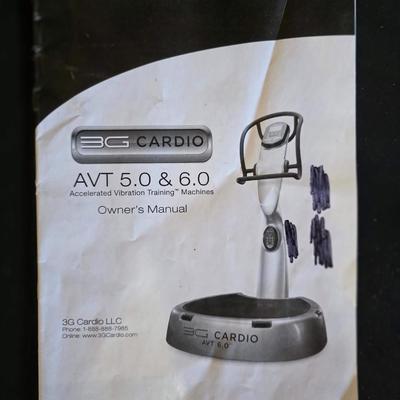
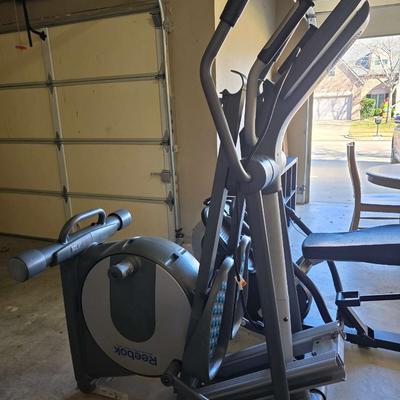
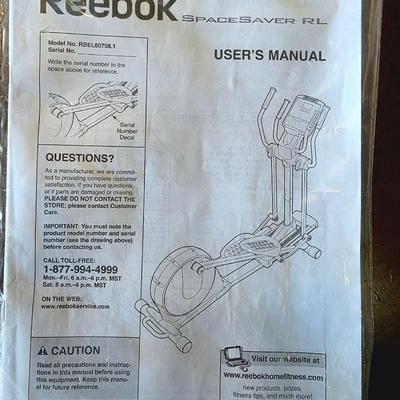
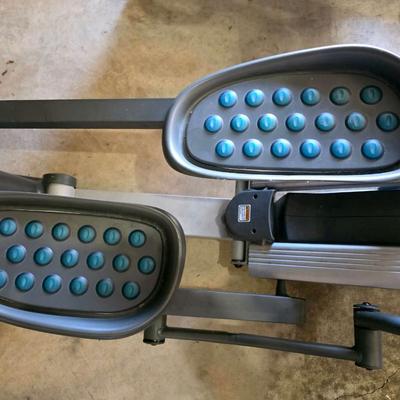
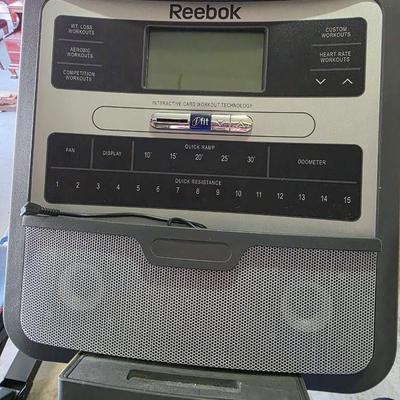
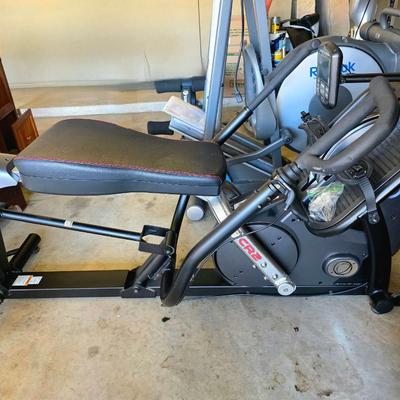
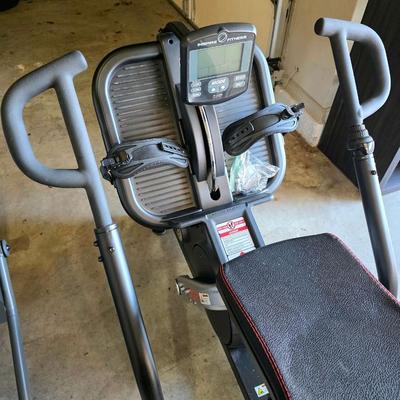
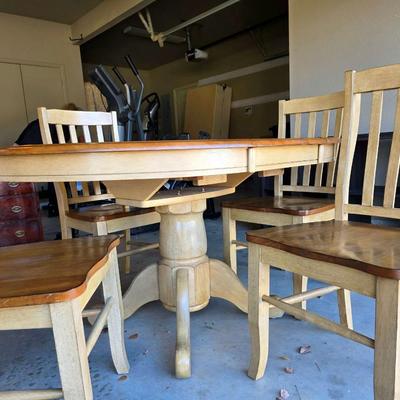
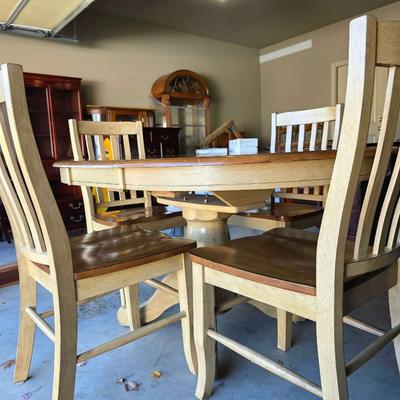
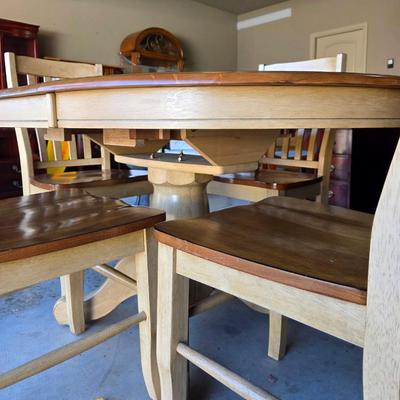
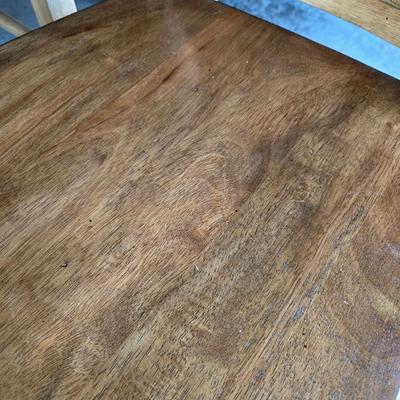
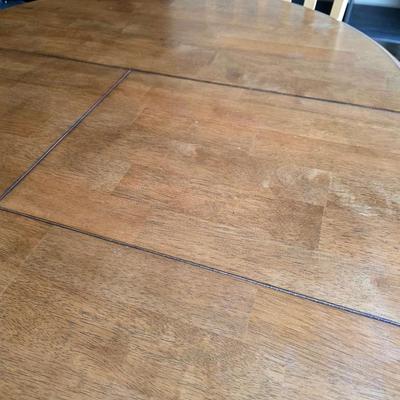
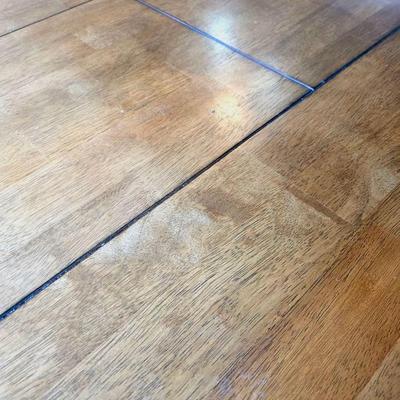
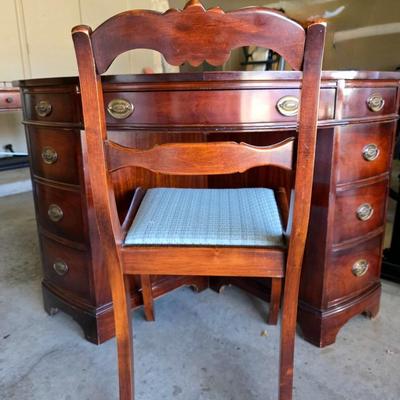
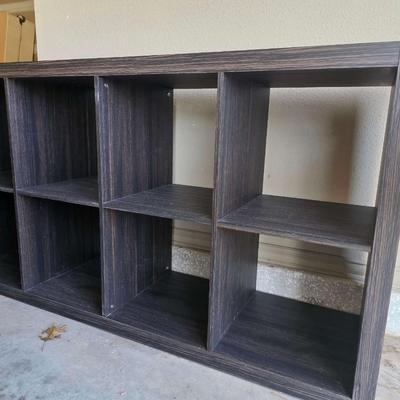
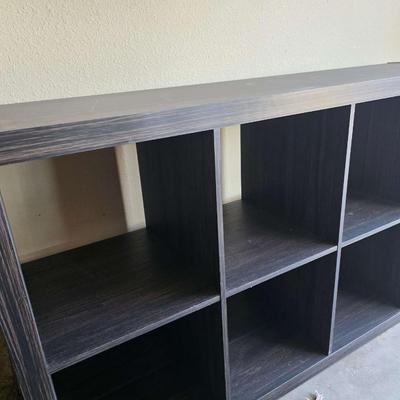
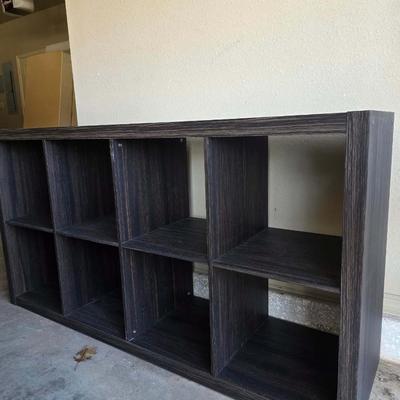
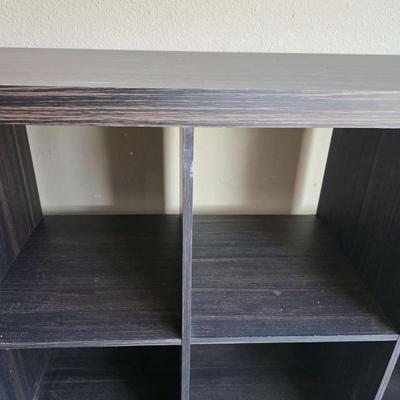
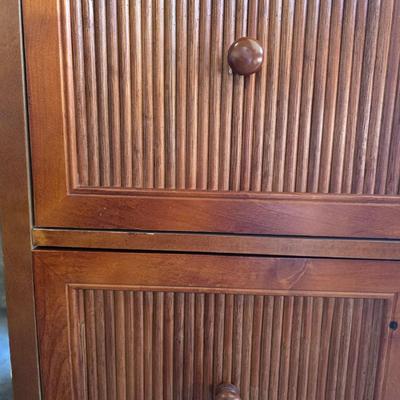
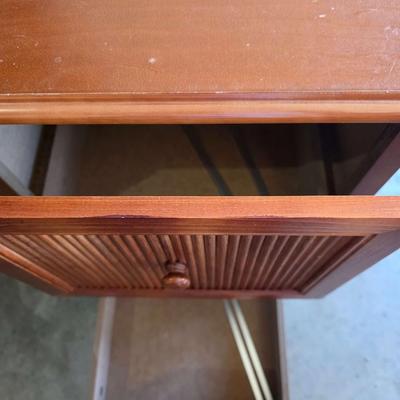
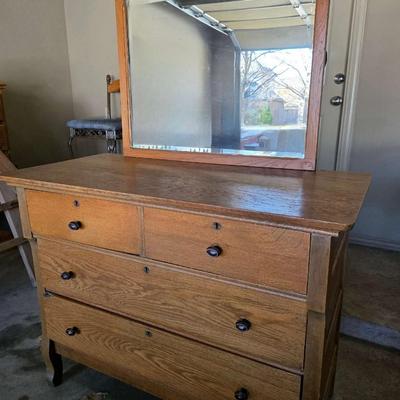
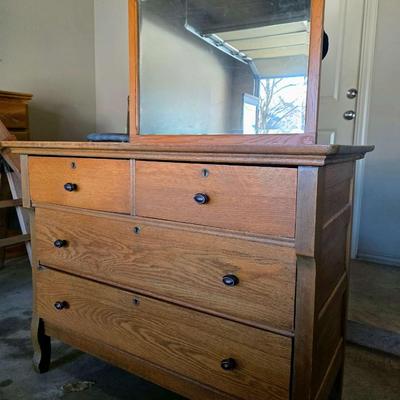
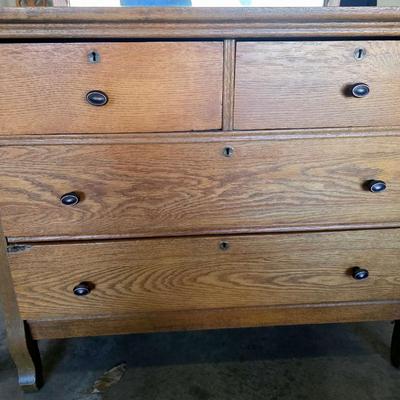
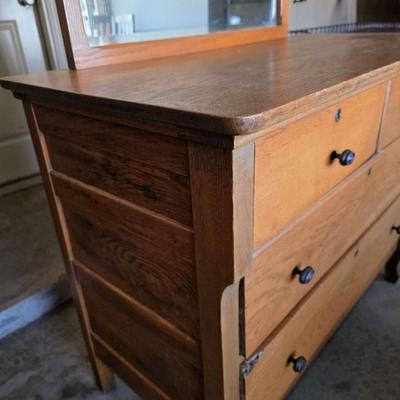
Fun And Festive Online Auction
Sale Details
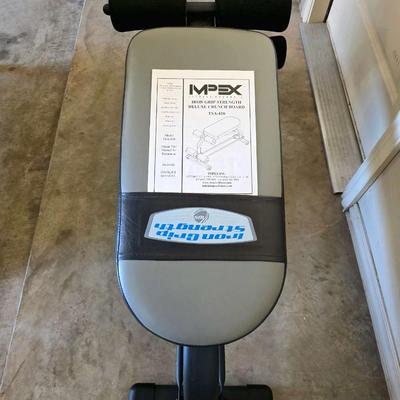
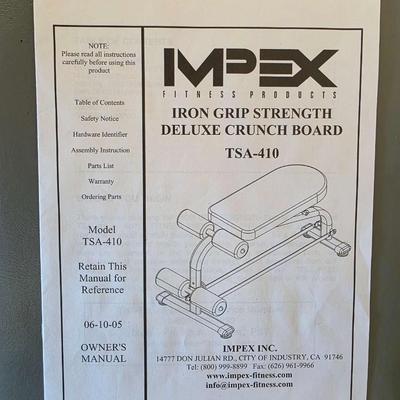
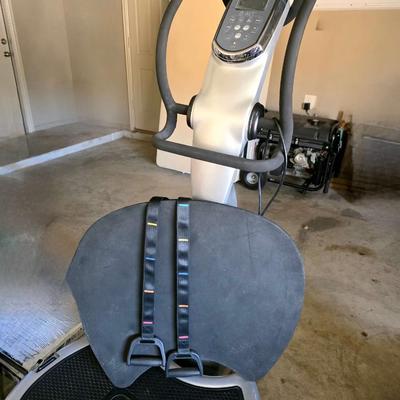
Photo Gallery
322